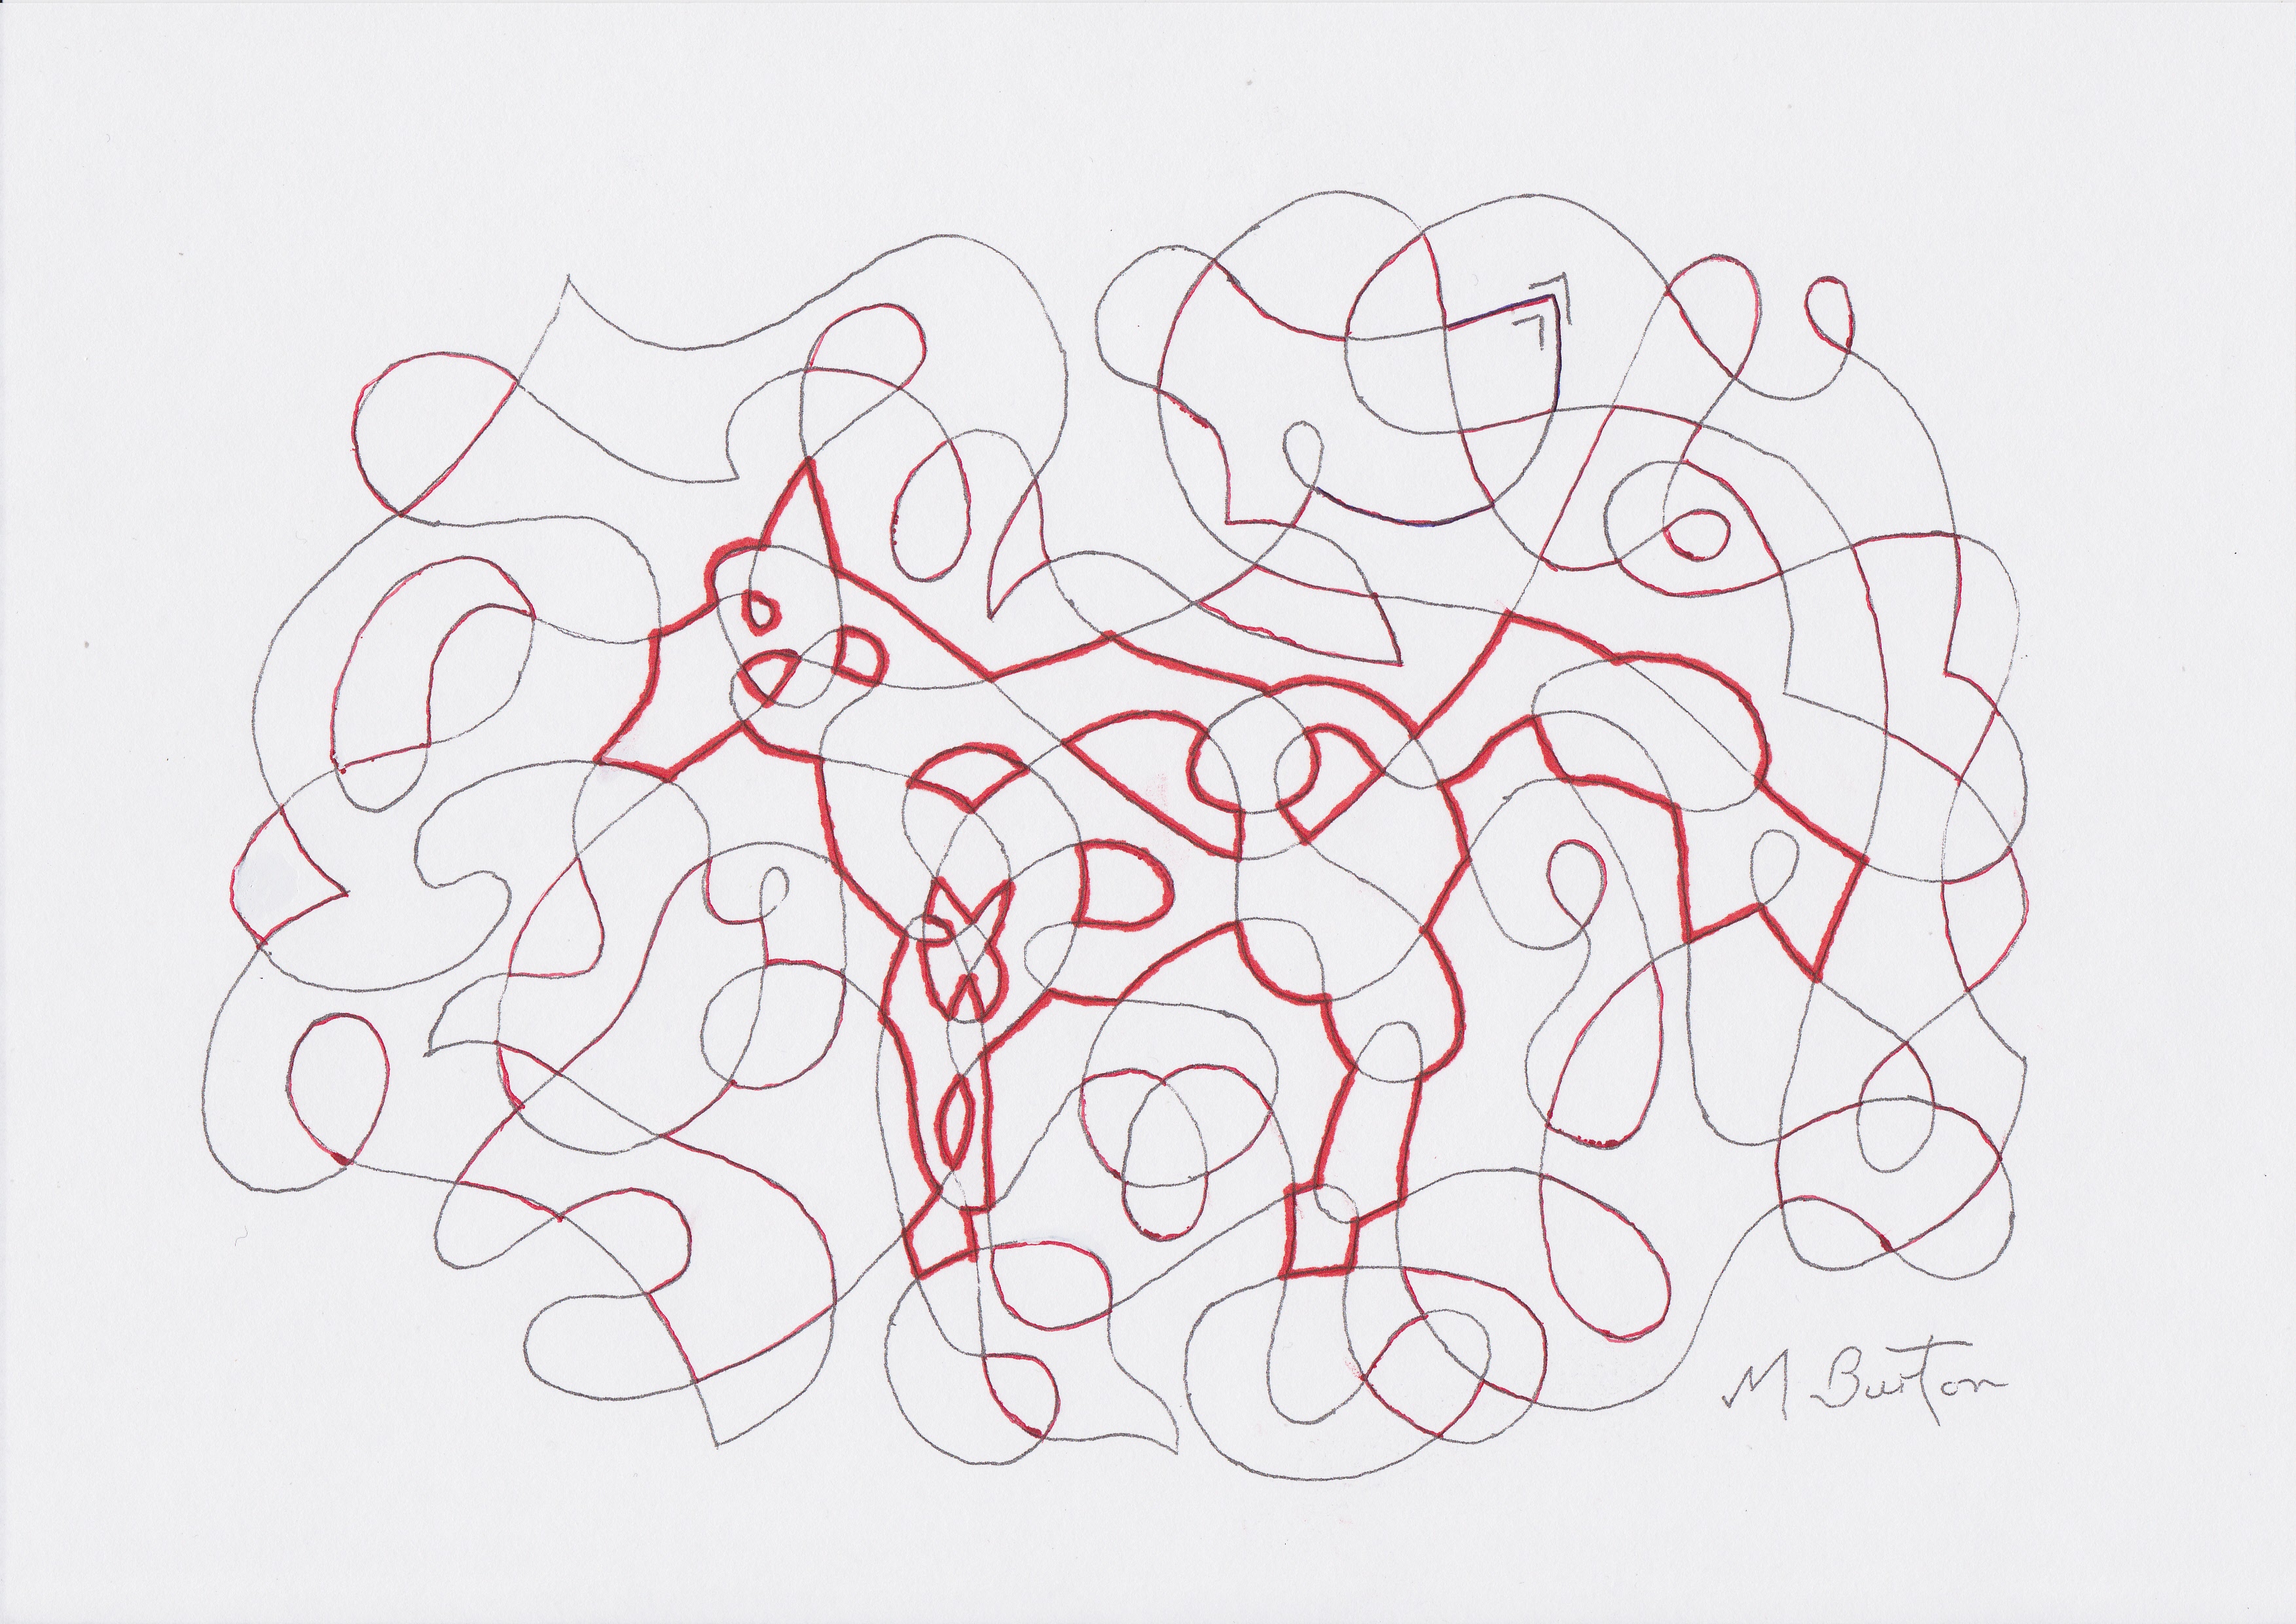
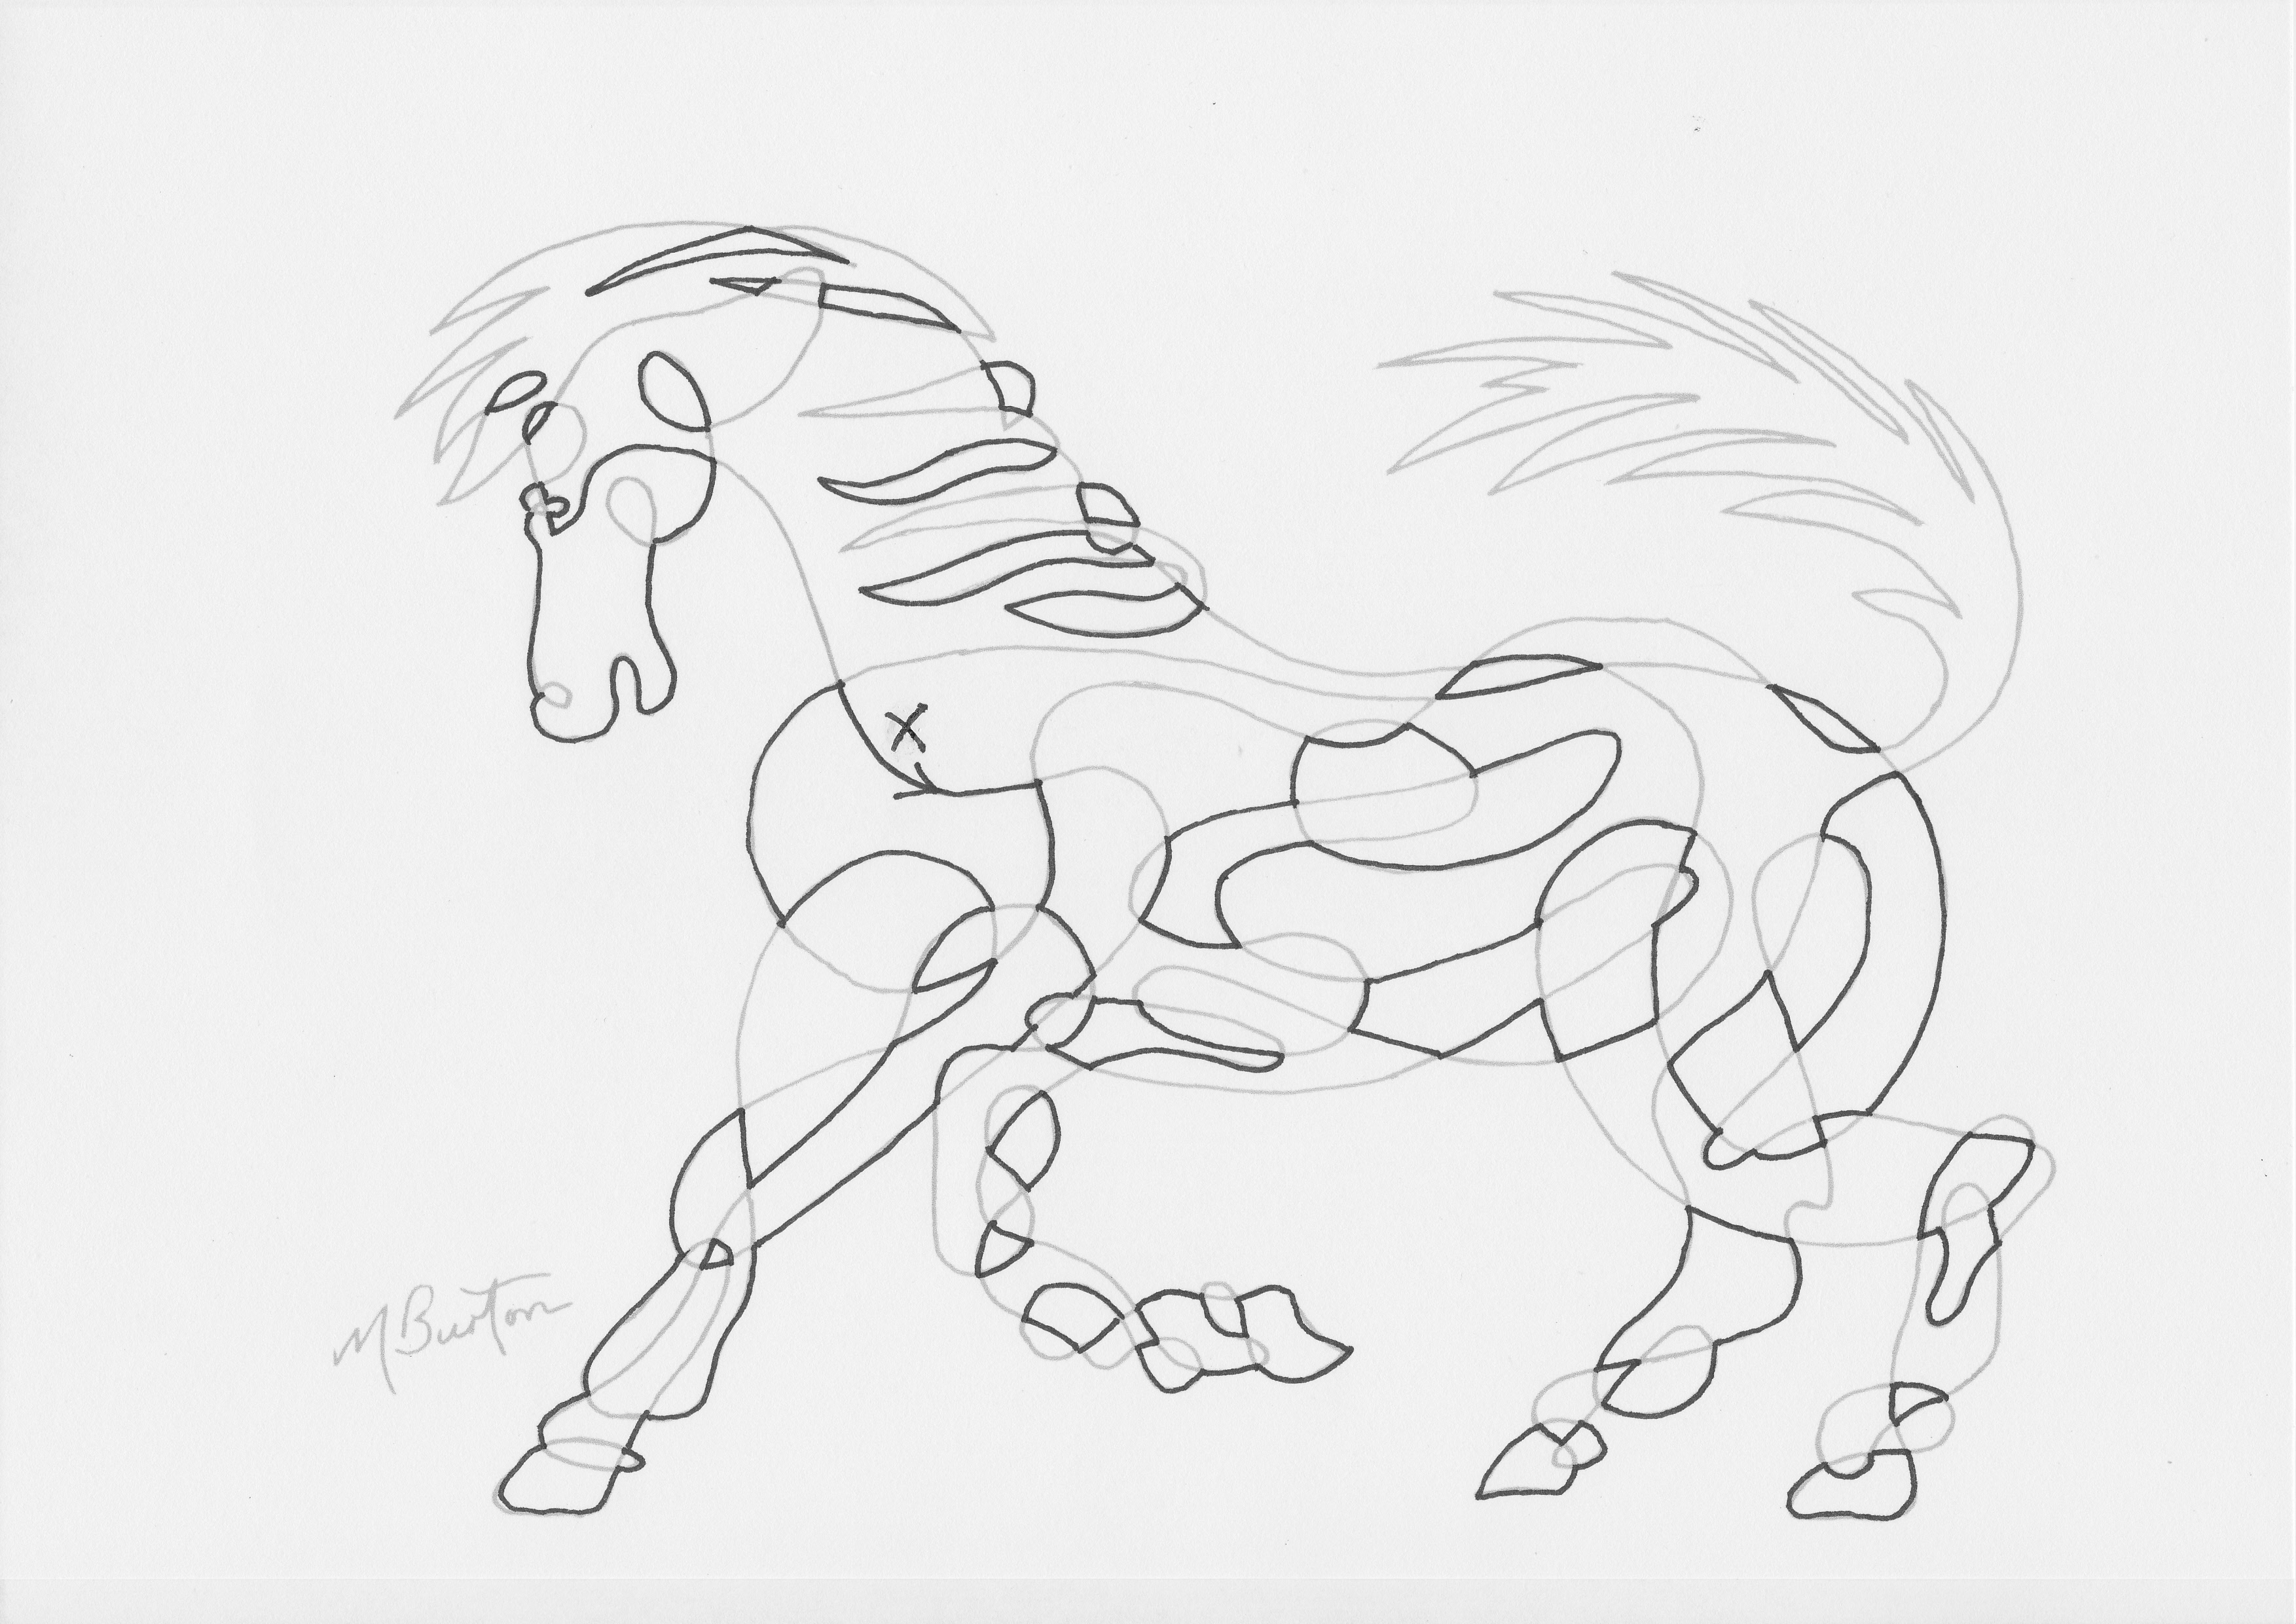
Fig 1. Completed Colour Sequence on Single Continuous Line Drawing of horse. Mick Burton, Continuous Line Blog.
How do I apply Colour Sequence to my Continuous Line Drawings, which I first developed in the late 1960,s ? In my last blog post, about Alternate Overdraw of My Continuous Lines, I pointed out that Colour Sequence was the next stage and so here we go. I will now show the stages involved in completing the colouring of this Horse.

Fig 2. Alternate Overdraw on Single Continuous Line Drawing of the Horse, as the first stage of Colour Sequence. Mick Burton, Continuous Line Blog.
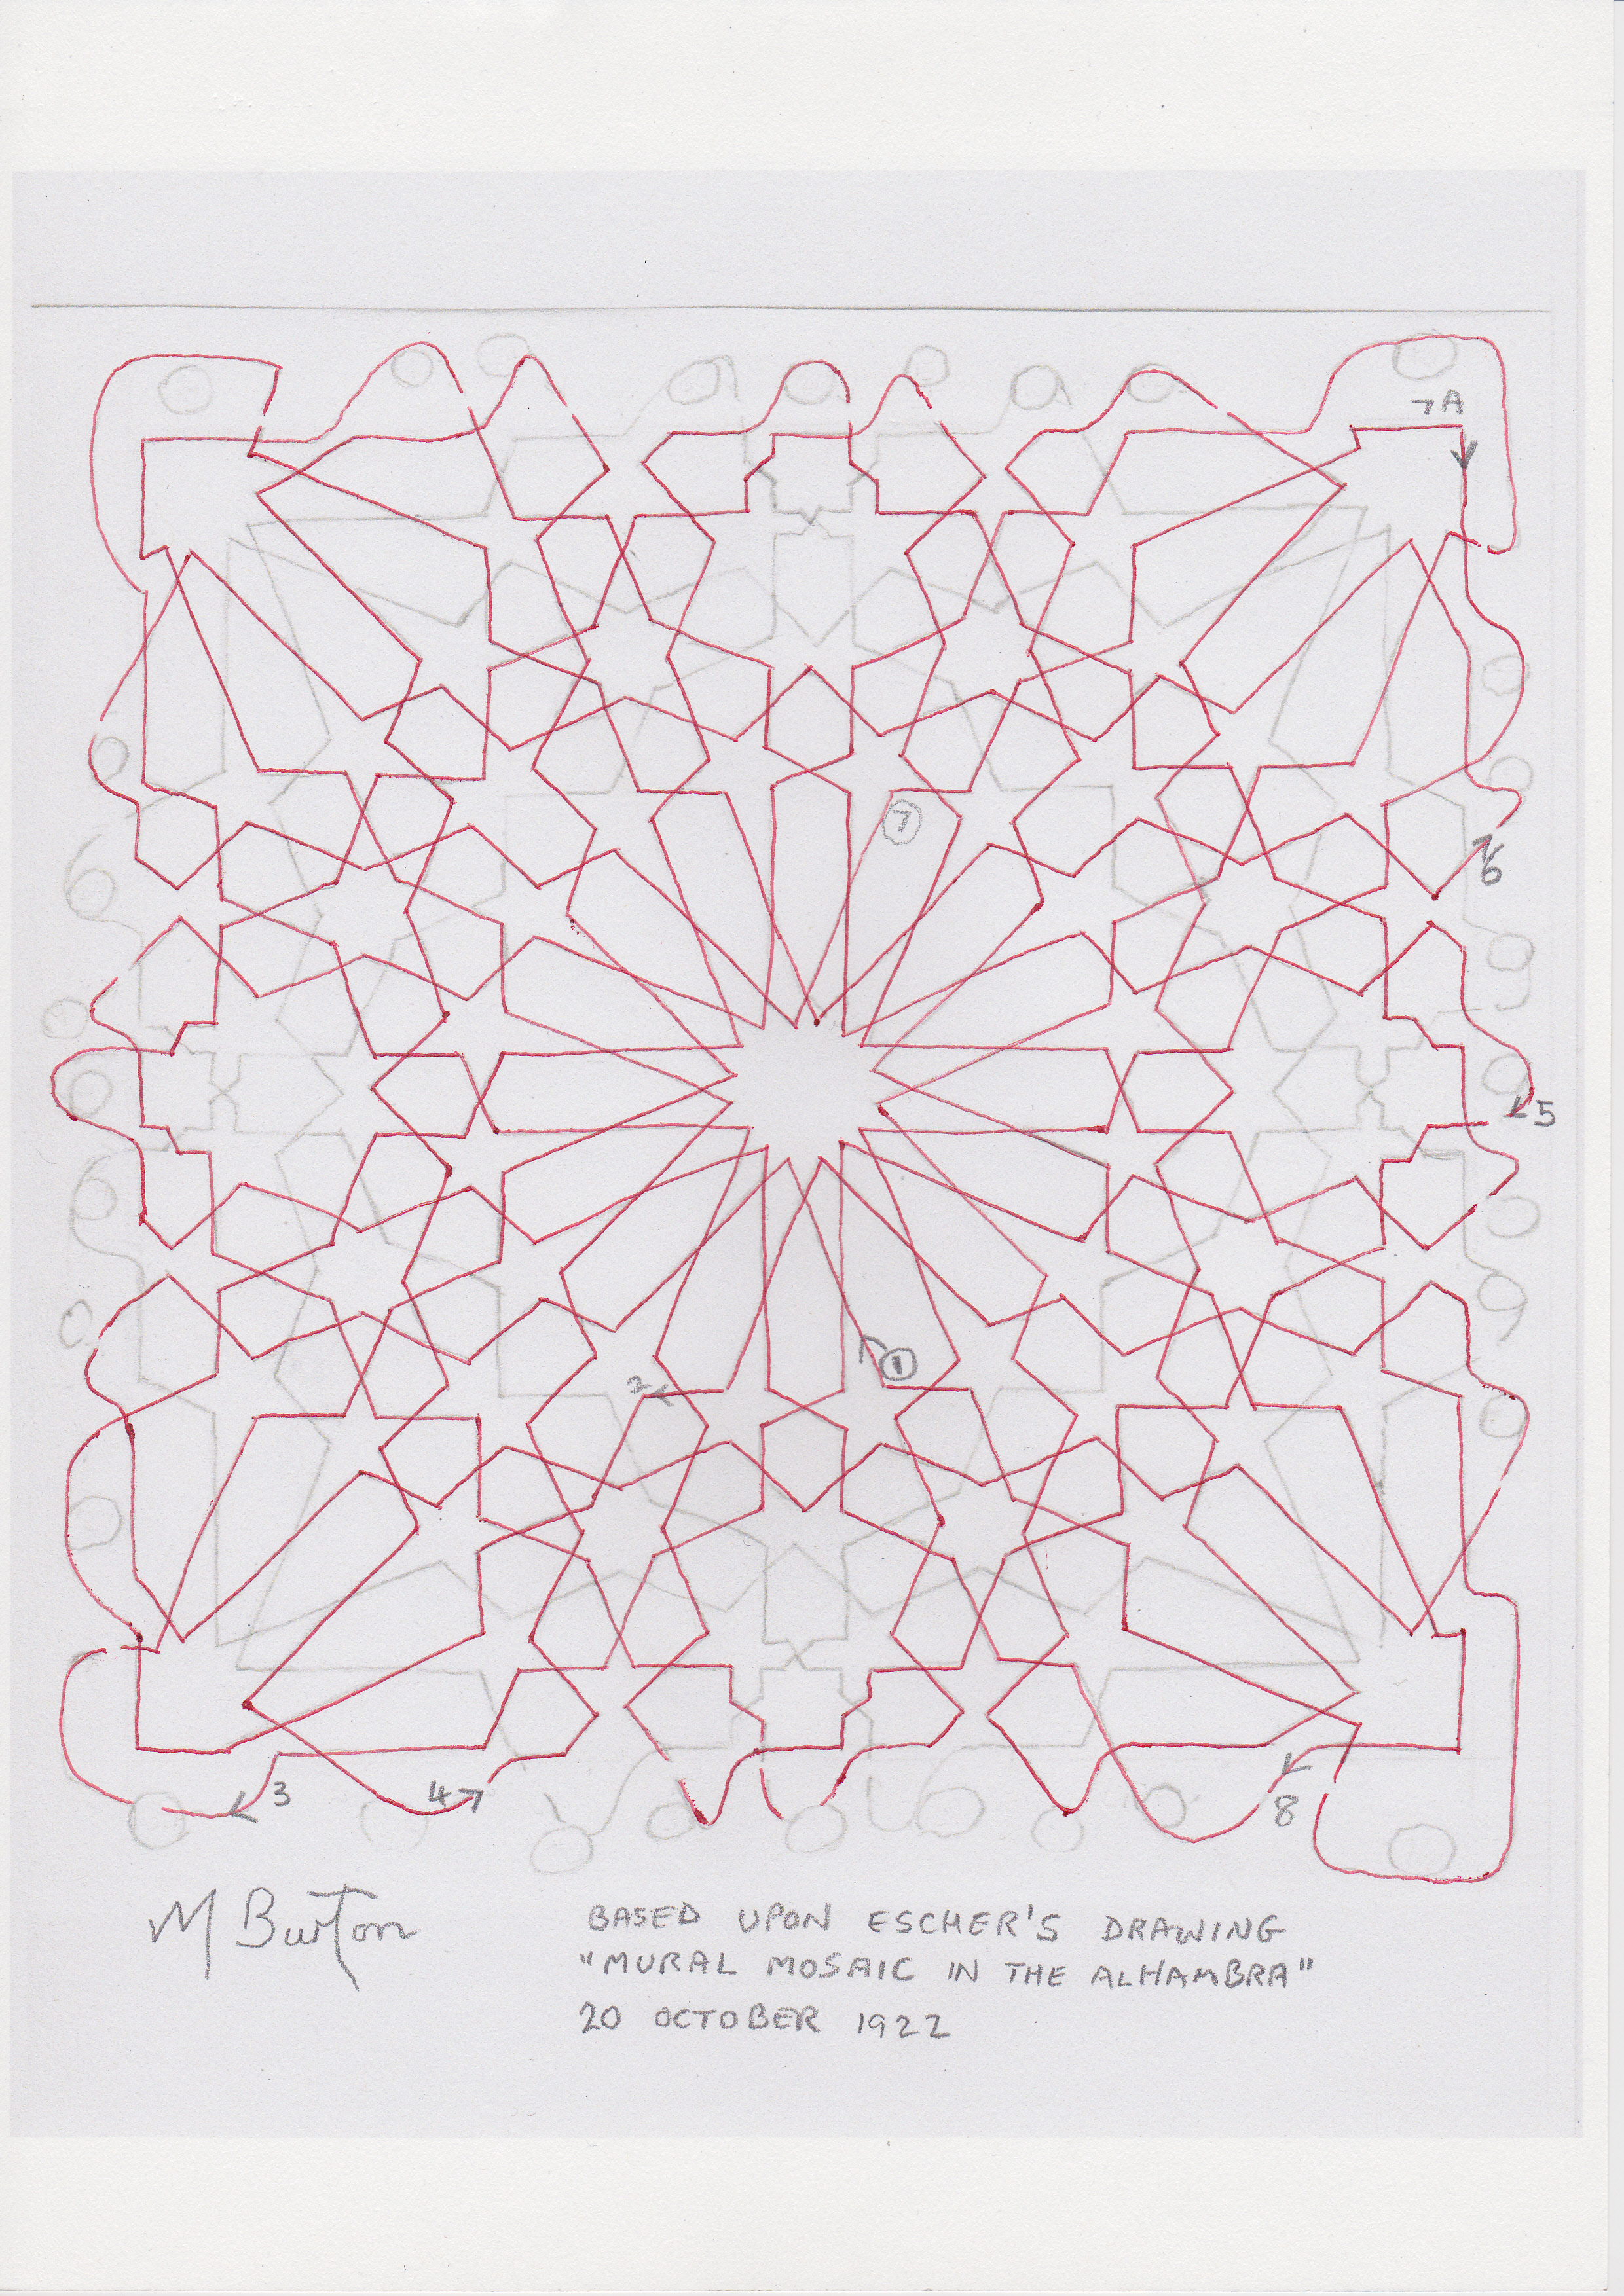
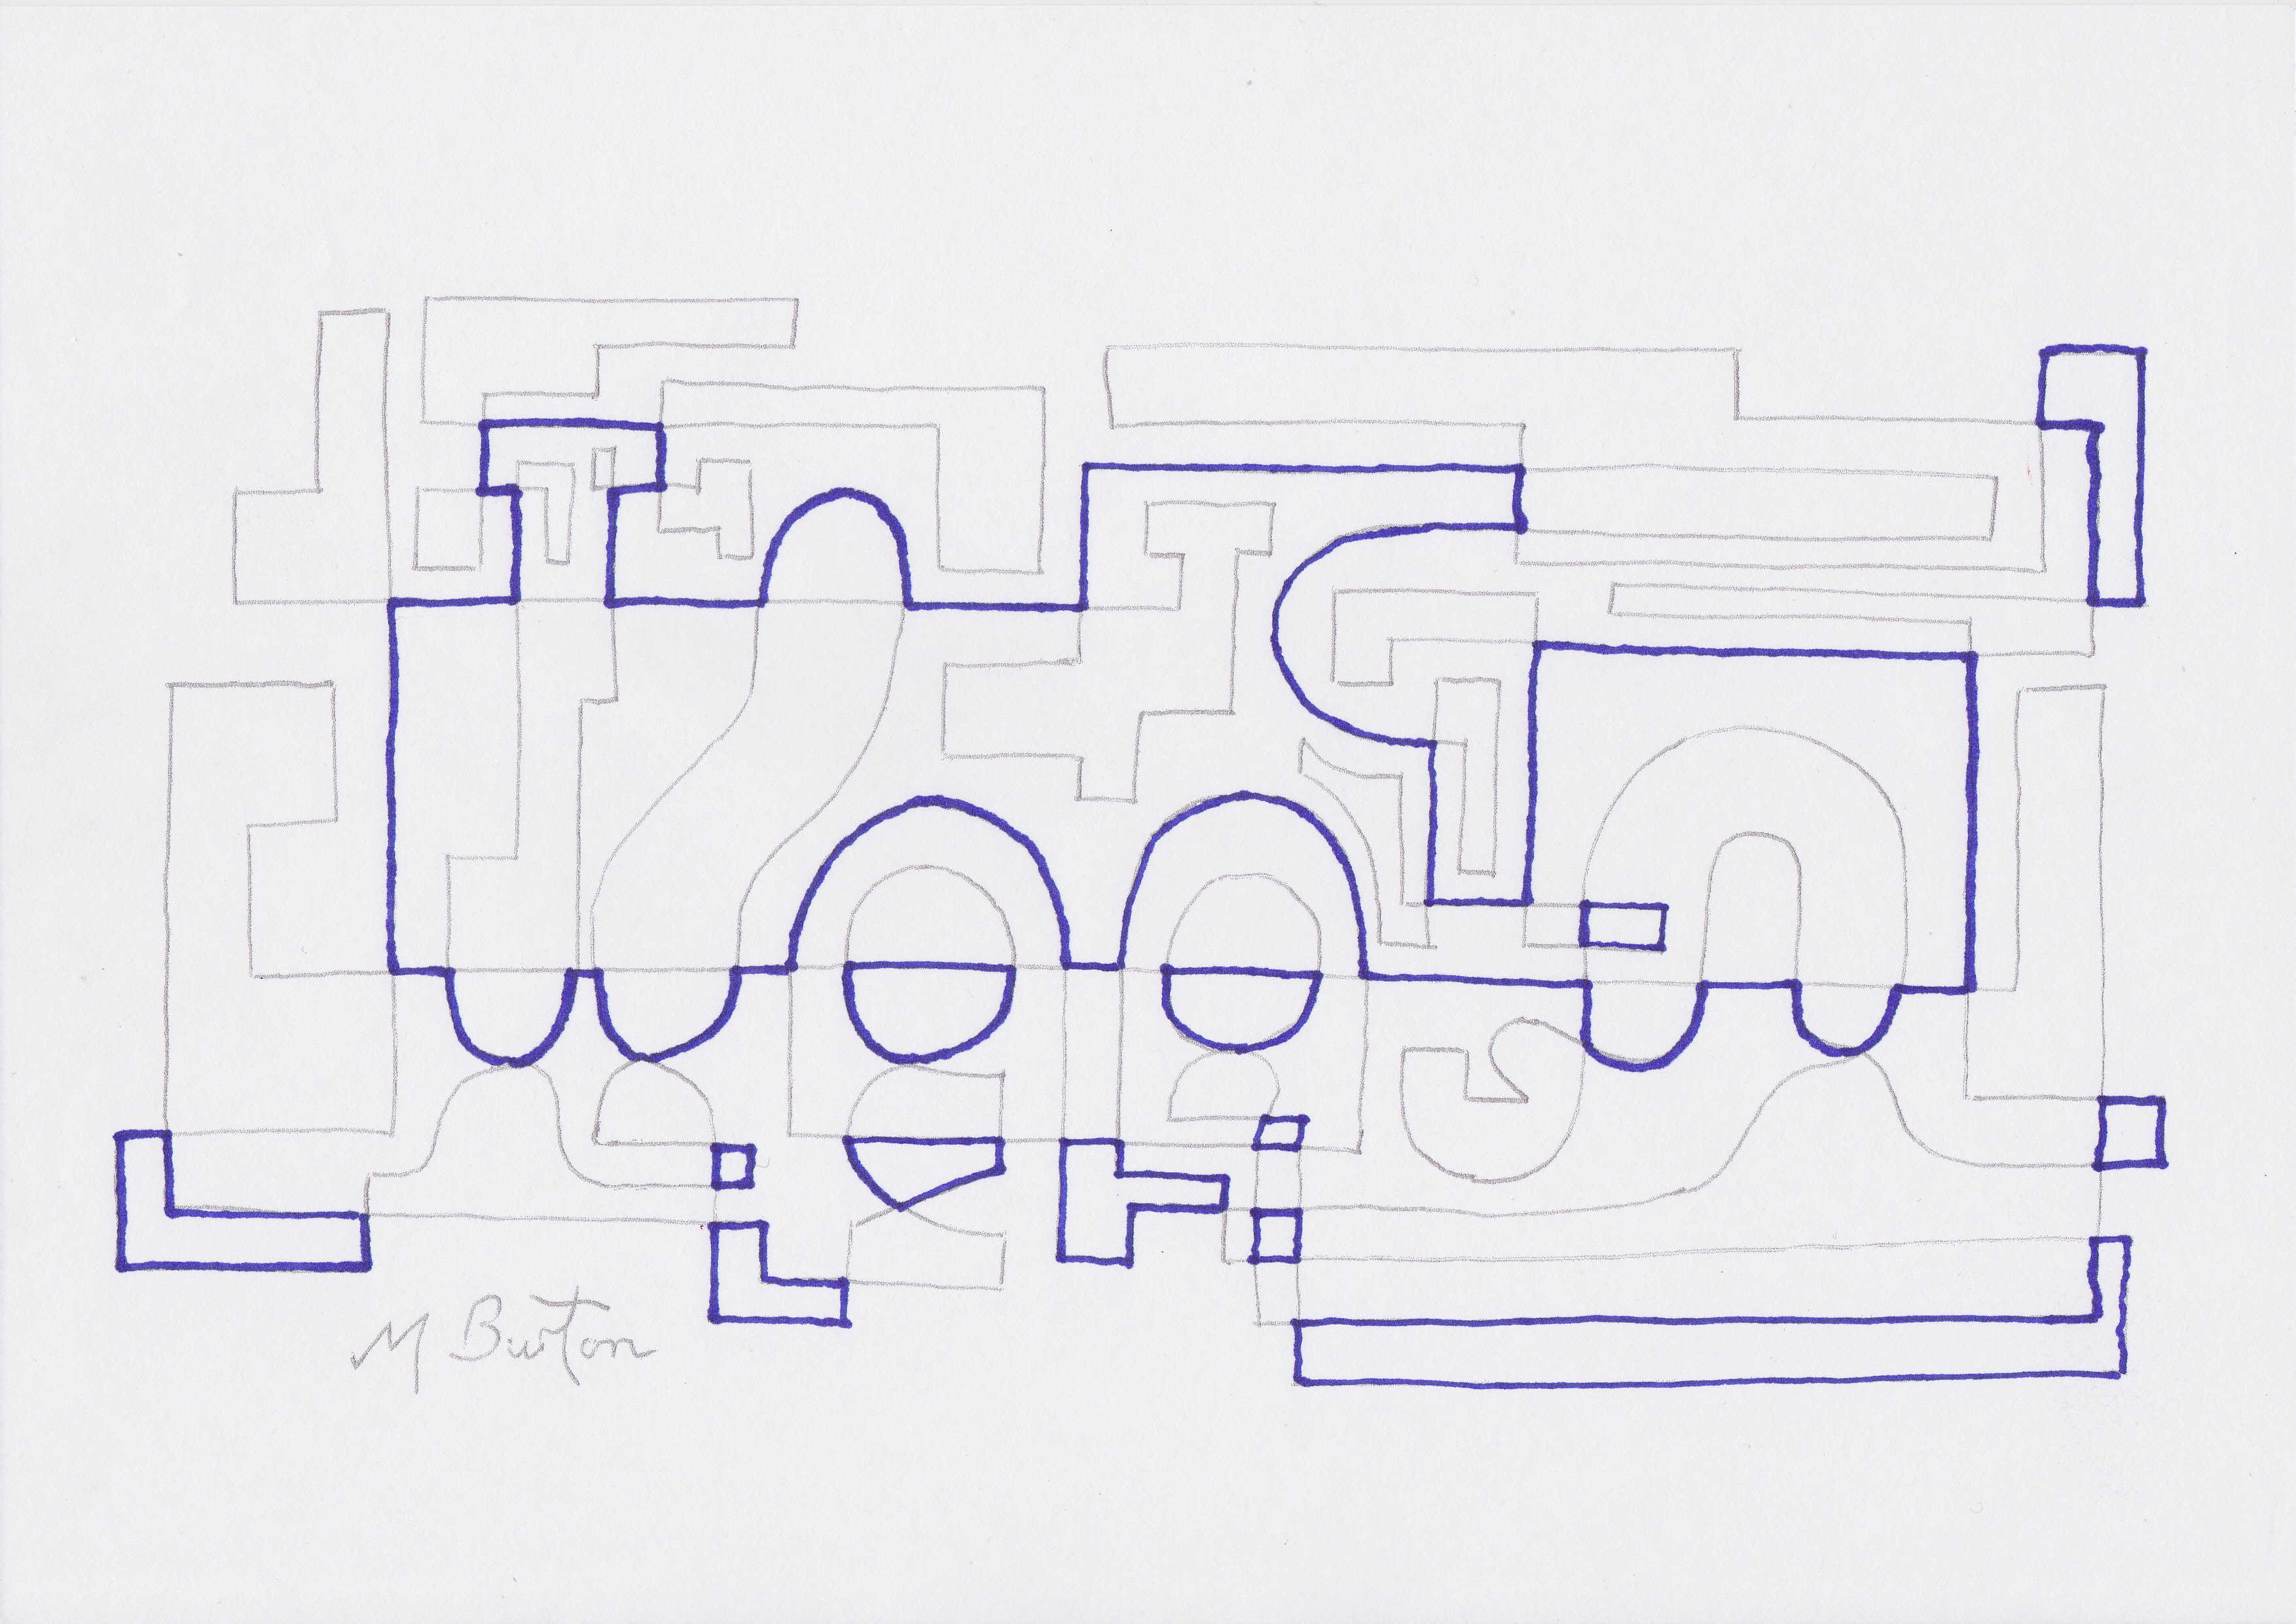
From the two Alternate Overdraw examples in the previous post, I have chosen Fig 2 commencing at point “X” for this example (either “A” or “X” would result in the same colour sequence).
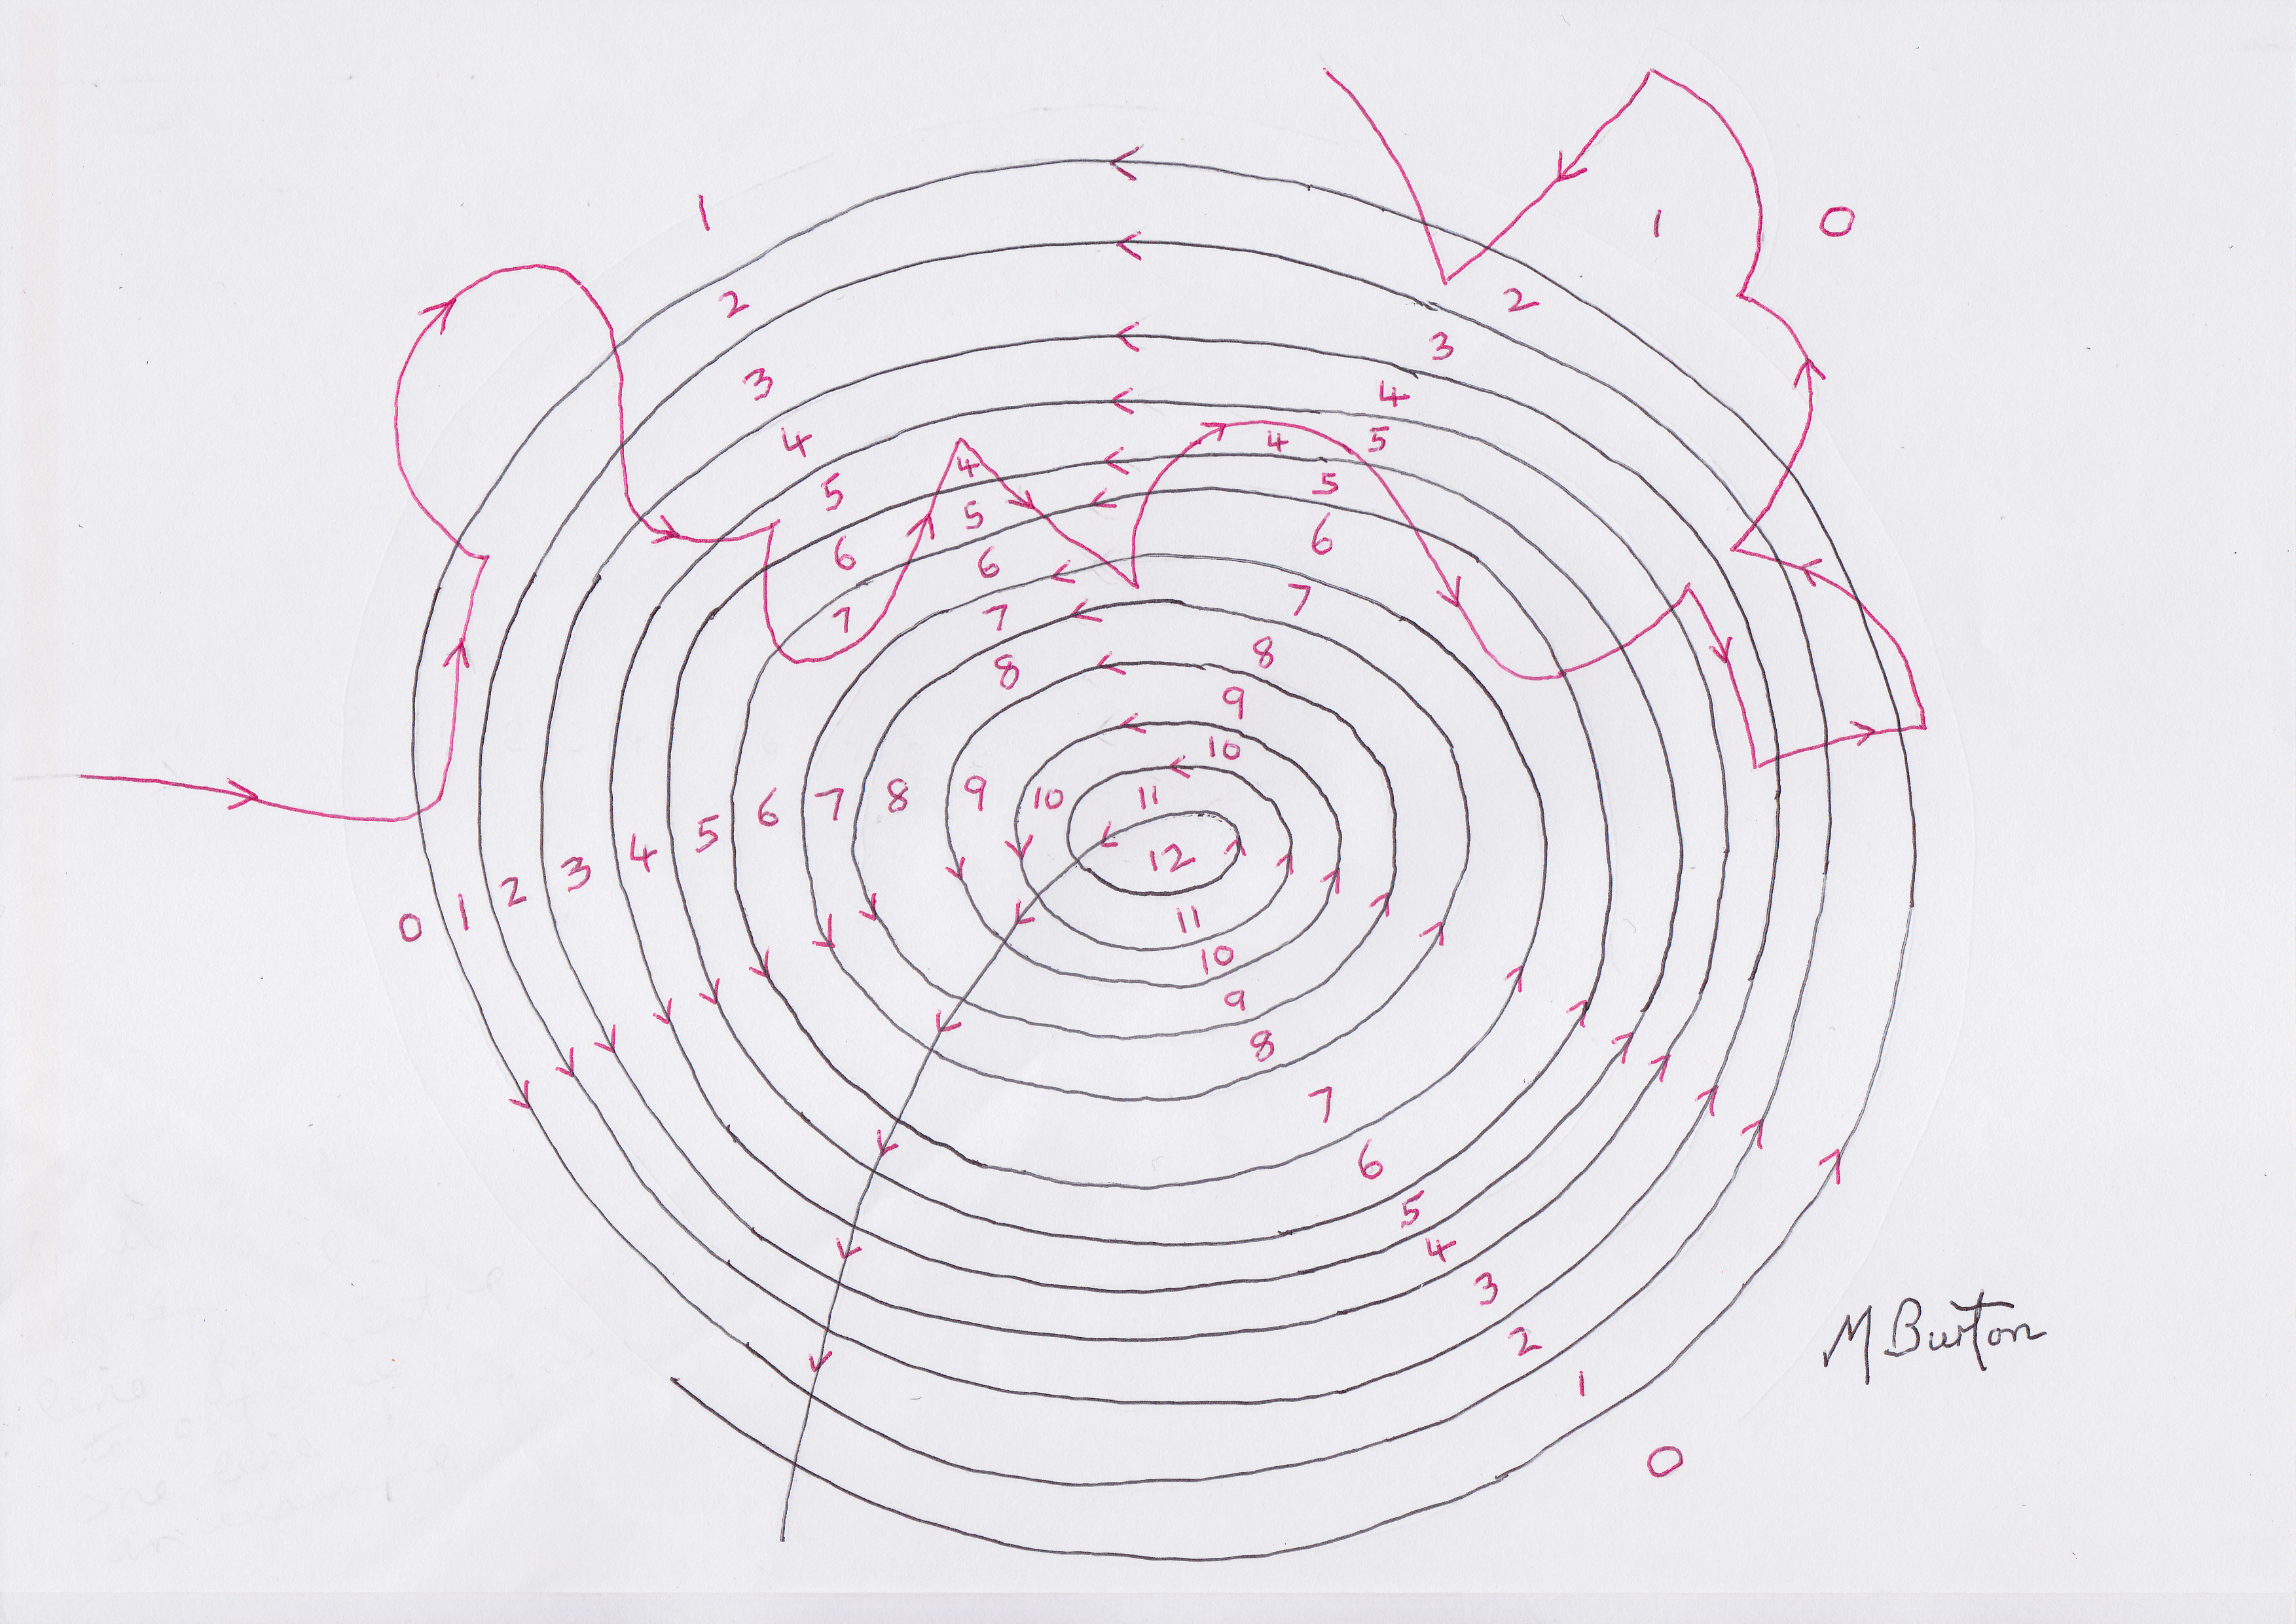
We are going to number all areas of the drawing, commencing with the background which will be numbered “0”. In this example the background will remain uncoloured but “0” will also occur within the drawing and have a colour.

Fig 3. Initial numbering (0 and 1) of channels between Alternate Overdraws on the Continuous Line Horse.
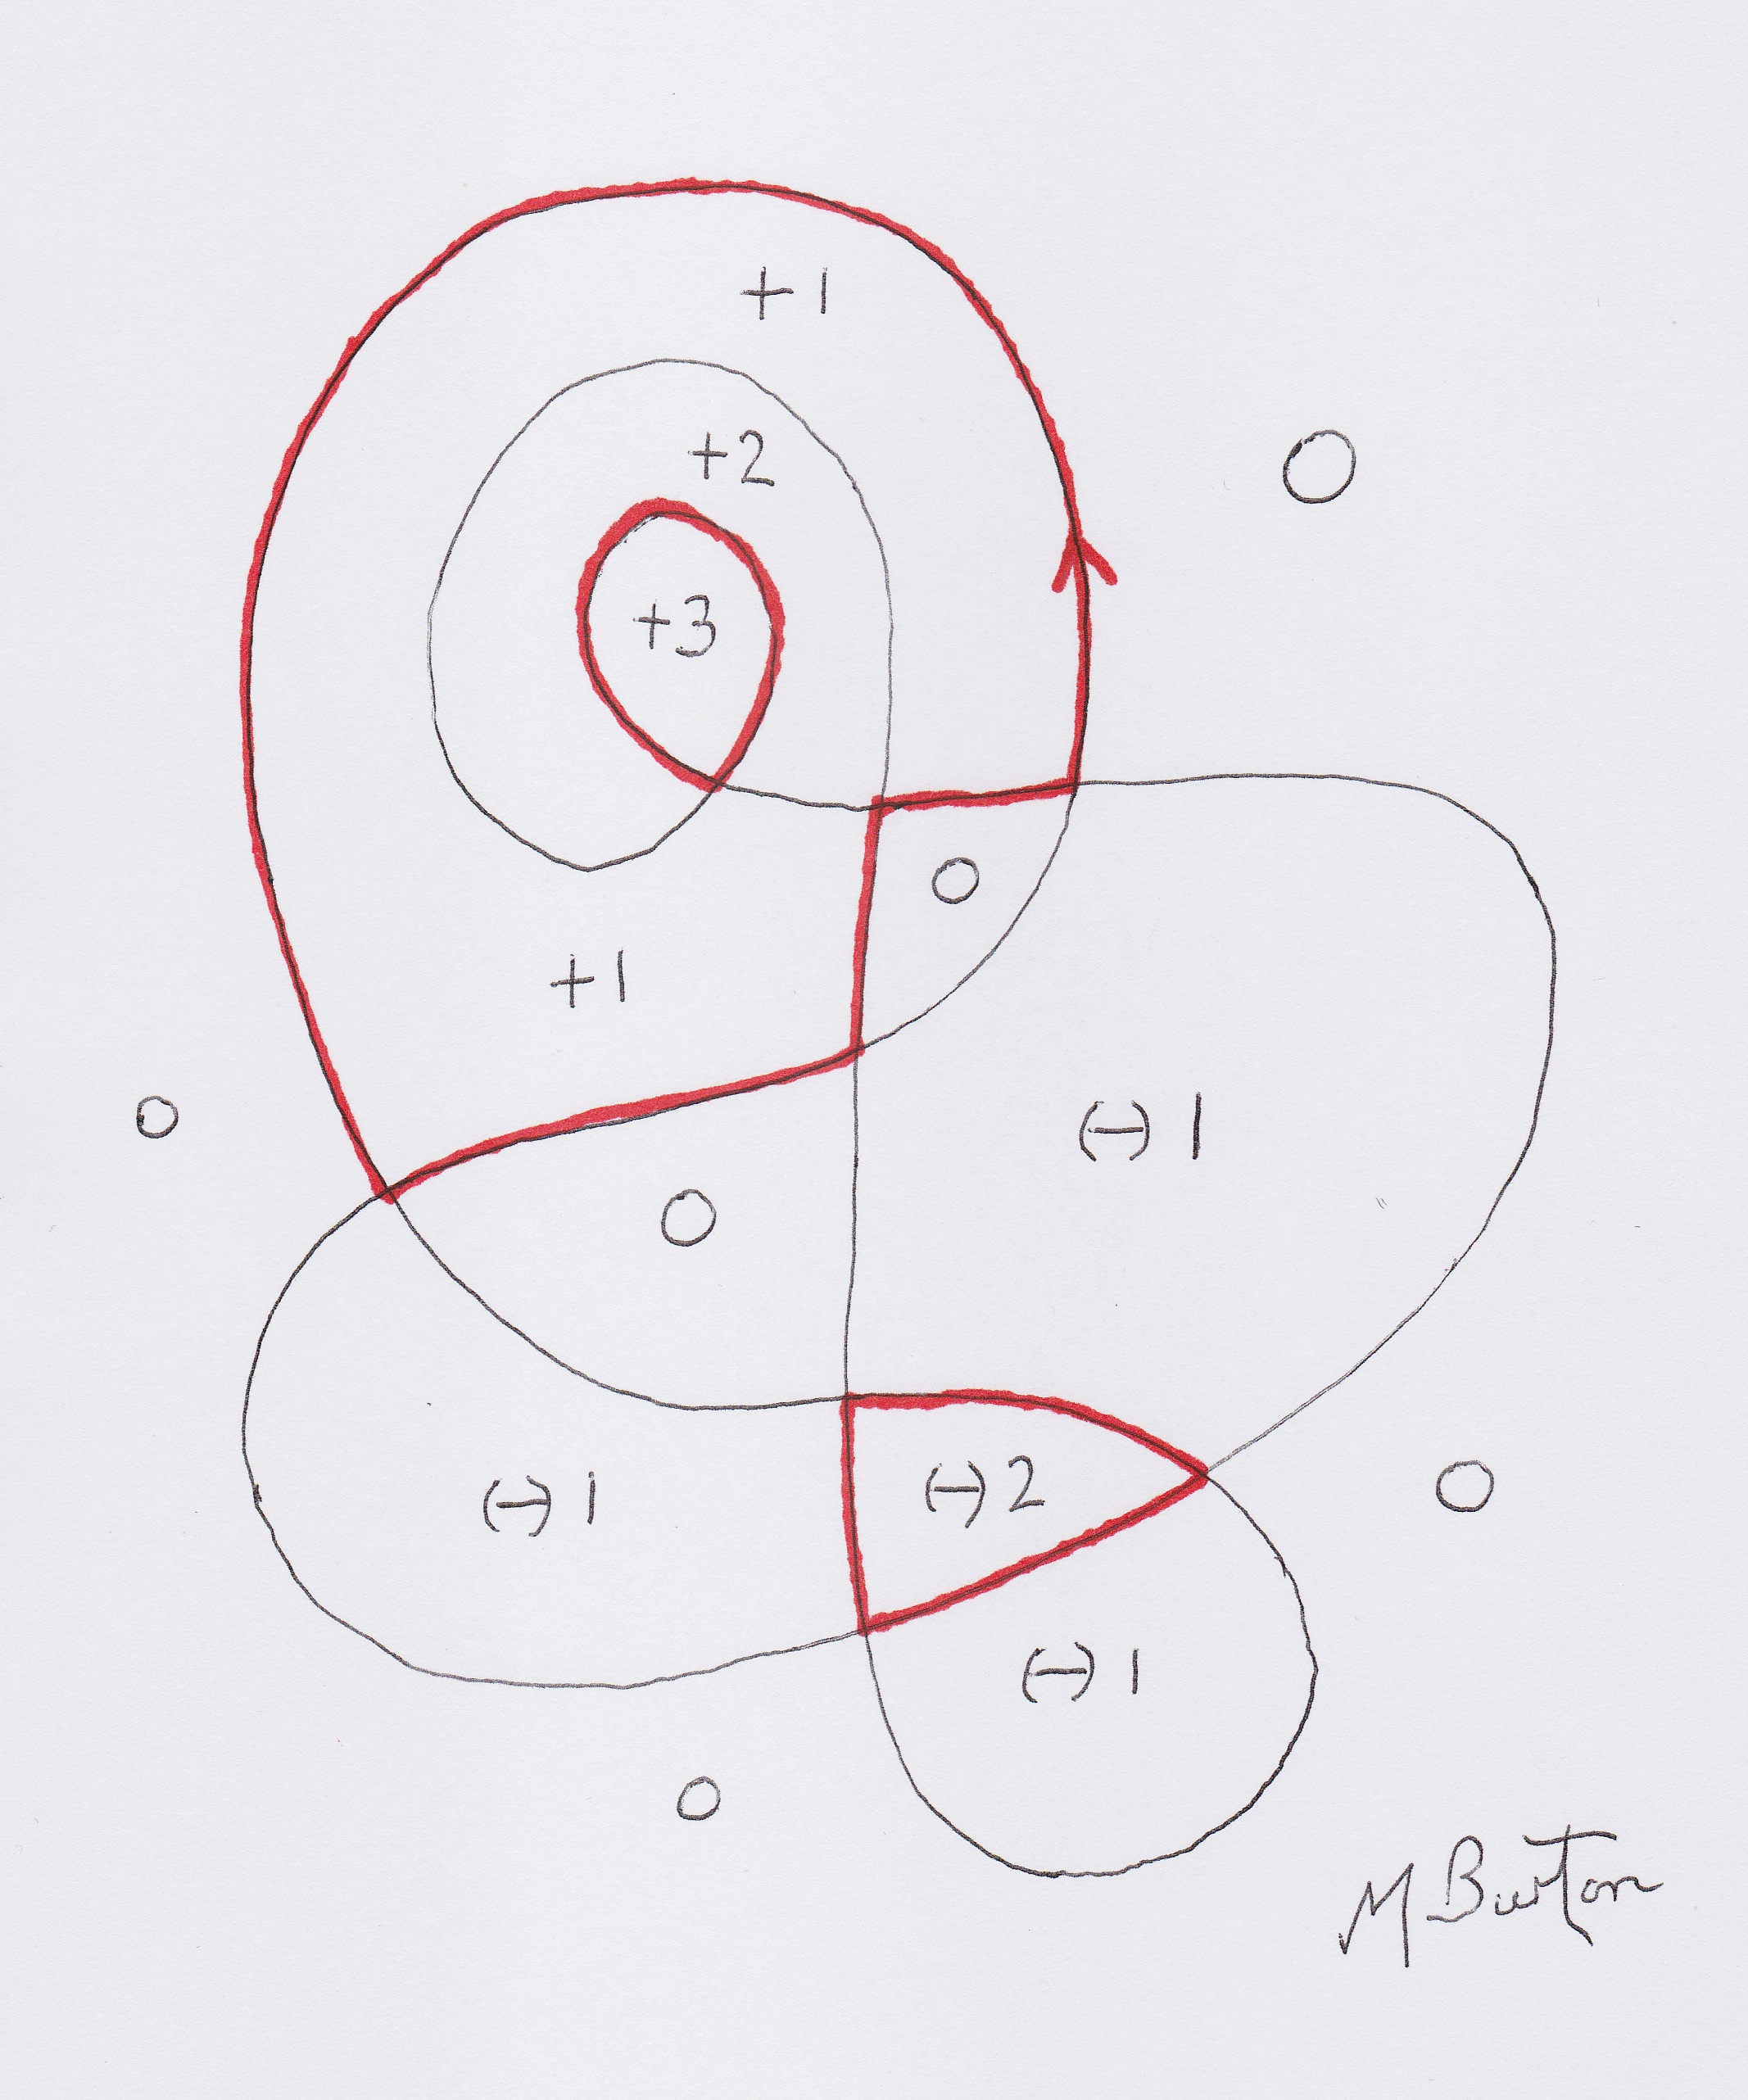
You will notice that between all the closed lines, formed by the Alternate Overdraws, there are channels of areas. These can be completely numbered alternately by only two numbers, which in this case are 0 and 1. So, starting with 0 on the background, work through all these linked channels, see Fig 3. This also sets the direction of the number sequence throughout the drawing.

Fig 4. Colour Sequence numbers 2 and 3 on the Continuous Line Horse.
The numbering progresses both upwards through positive numbers and downwards through negative numbers. We will start with the positive direction and allocate the next pair of numbers, 2 and 3. By moving from an 0 area into a 1 area, and on through its Alternate Overdraw border, we will enter an un-allocated area we can mark 2. Now deal with all the other areas in this new channel, marking alternate areas 3 and 2, to complete this allocation. After this we need to check for any further Alternate Overdraw channel, or channels, at this level adjacent to 1 areas and then allocate 2 and 3 to them also, see Fig 4.
We then need to check for any further Alternate Overdraw channels enclosed within any of the 2 and 3 channels. If we found one we would allocate 4 and 5 to the new channel or channels. In this case there is no higher level channel.

Fig 5. Colour Sequence numbers (-)1 and (-)2 on the Single Continuous Line Horse. Mick Burton, Continuous Line Blog.
Having completed the numbering of areas in the positive direction, we now go into the negative in Fig 5. By looking at an area 1 and moving through a 0 area with an Alternate Overdraw border we can cross through that into a (-)1 and (-)2 channel. Mark the initial one (-)1 and then allocate alternately through the channel with (-)2 and (-)1. After completing that channel, look for other un-allocated channels adjacent to 0 areas and allocate (-)1 and (-)2 to them. Now look for further channels in the negative direction enclosed within a (-)1 and (-)2 channel. There is one such, a single area (enclosed by its own Overdraw) in the front leg of the horse, which I have left blank in Fig 5 , which will be (-)3.

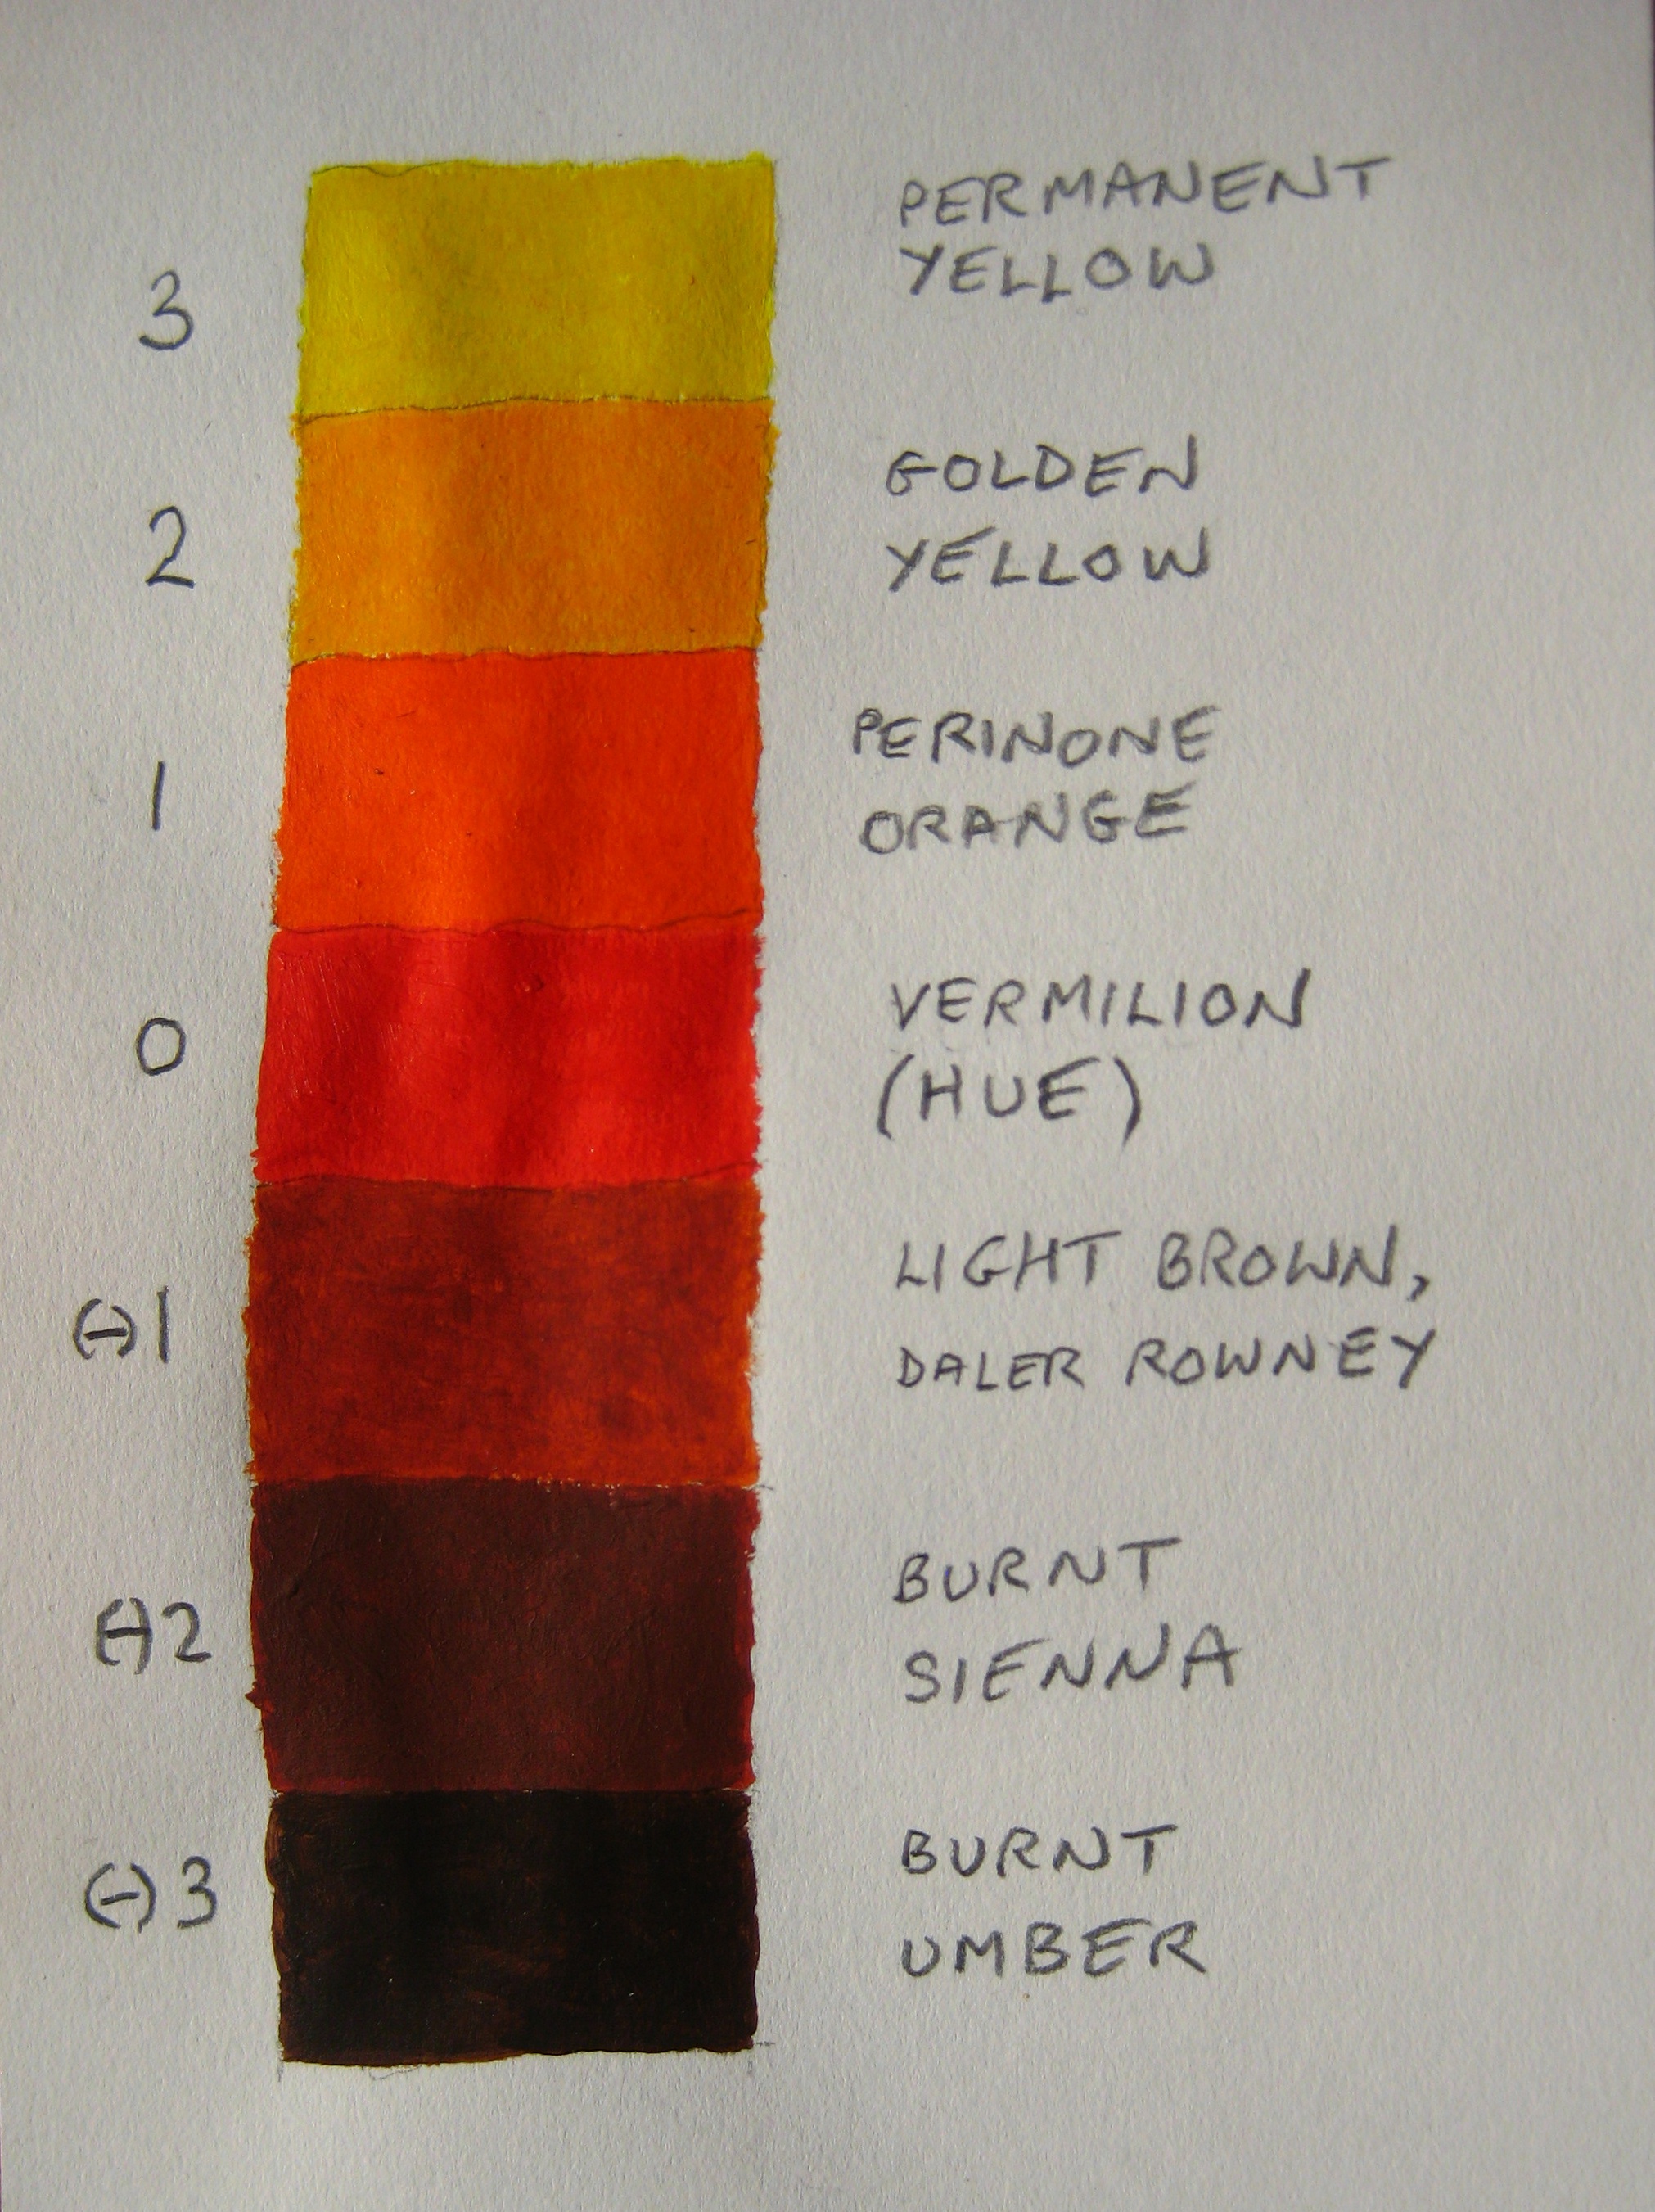
Fig 6. Colour Sequence colour chart for Continuous Line Horse. Mick Burton, Continuous Line Blog.
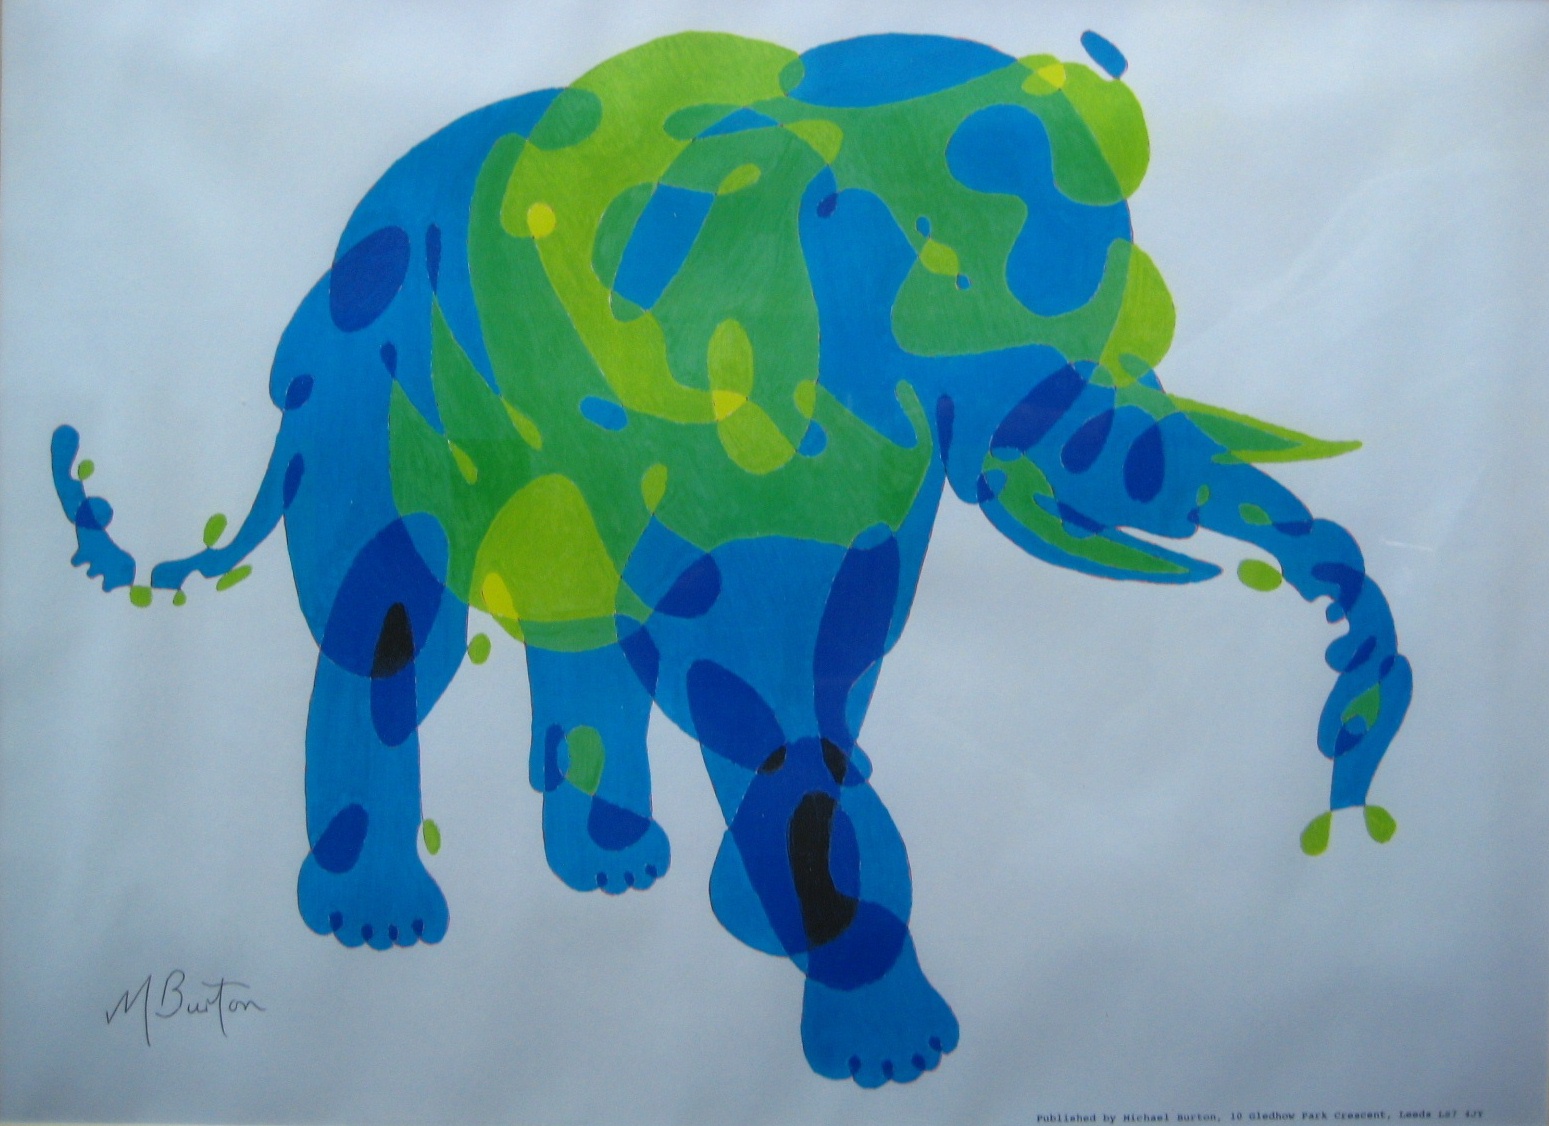
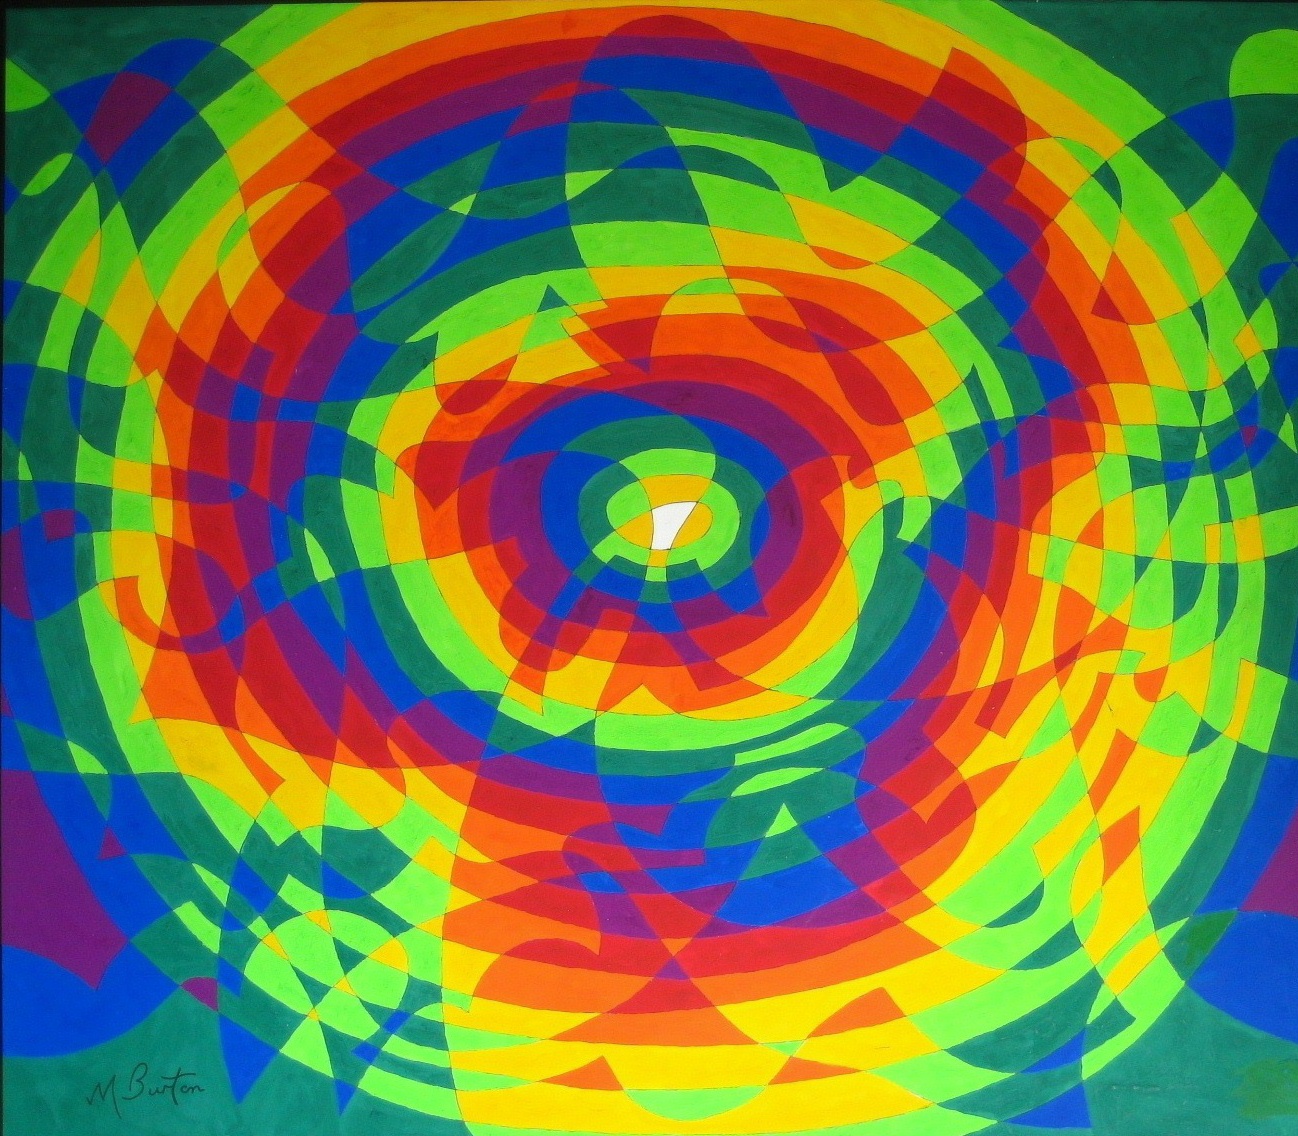
I was inspired by Rainbows in deciding on the sort of Colour Sequences I wanted to use for my Continuous Lines. For shorter sequences, I settled for “partial rainbows” involving two prime colours only with a progression of colour mix and tones from light to dark. For the Elephant I used yellows, greens and blues and for the Horse it was yellows, orange, red and browns in Fig 6.
I have carefully selected colours which have a stepped progression, both in colour and tone, and where possible I apply them from the tube (poster colour in the late 1960’s or acrylic now) to achieve an even and solid result. I avoid mixing if I can, to retain the pure consistency of colour application across the painting, but sometimes it is necessary.

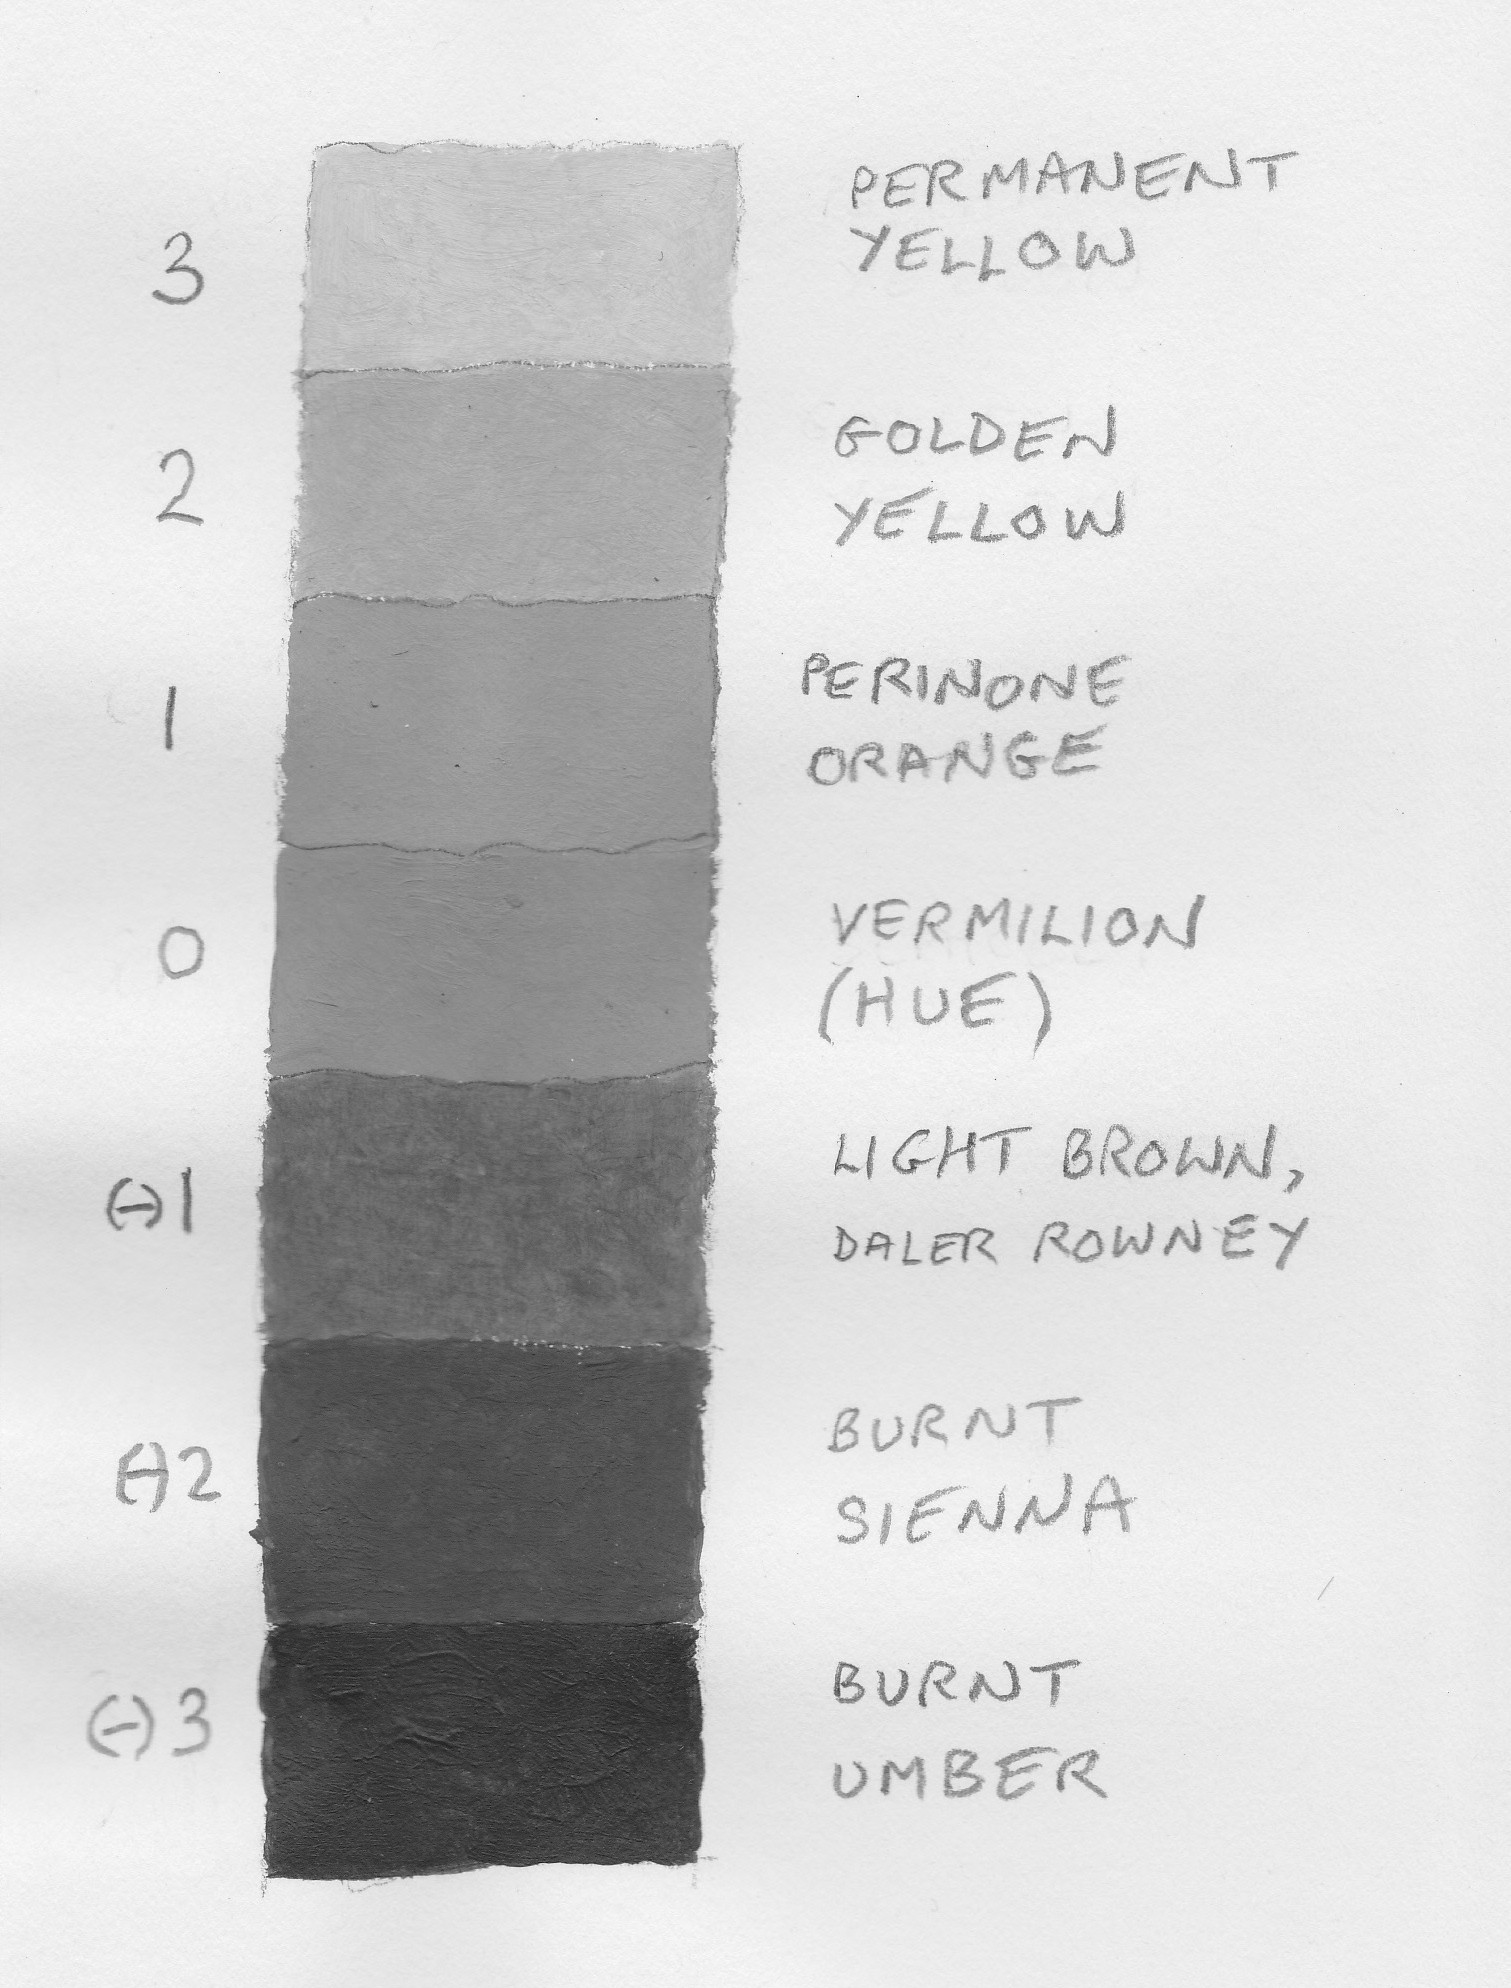
Fig 7. Black and white photocopy of Colour Chart for Continuous Line Horse.
To assess the accuracy of the progression steps of my Colour Sequence chart, I do a black and white (or grayscale) photocopy of my chart to check that the steps still work in monochrome, see Fig 7.
Having produced the Colour Sequence chart, we need to decide the direction of the colours matched to the numbers, ie. Light to dark in an upward or a downward direction. Generally I see whether a scale would mostly coincide with where a natural highlight would be, or have more darks towards the lower parts in a drawing to infer shadow. Usually it is fairly obvious, but you can always start again with the other direction of colours. Note that my style may take advantage of natural hints of highlight or shadow on a subject, but generally these aspects (along with perspective) are absent.
I remember that when doing equations at school, which produced two answers (+ or (-) ), was a puzzle to me which no one could explain. I understand the concept of a practical outcome from having two answers a bit better now.

Fig 8. Initial Colour Sequence pair of colours on Continuous Line Horse. Mick Burton, Continuous Line Blog.
Once we have decided on the colour match with the numbers, the initial two colours can be painted in, ie. Vermillion = 0 and Orange = 1, see Fig 8.

Fig 9. Second Colour Sequence pair of colours on Continuous Line Horse.
We can then match numbers 2 and 3 in areas to the colours required in the next channels up, or simply apply Golden Yellow to areas across the overdraw from Orange and then its alternate colour Permanent Yellow, in Fig 9.

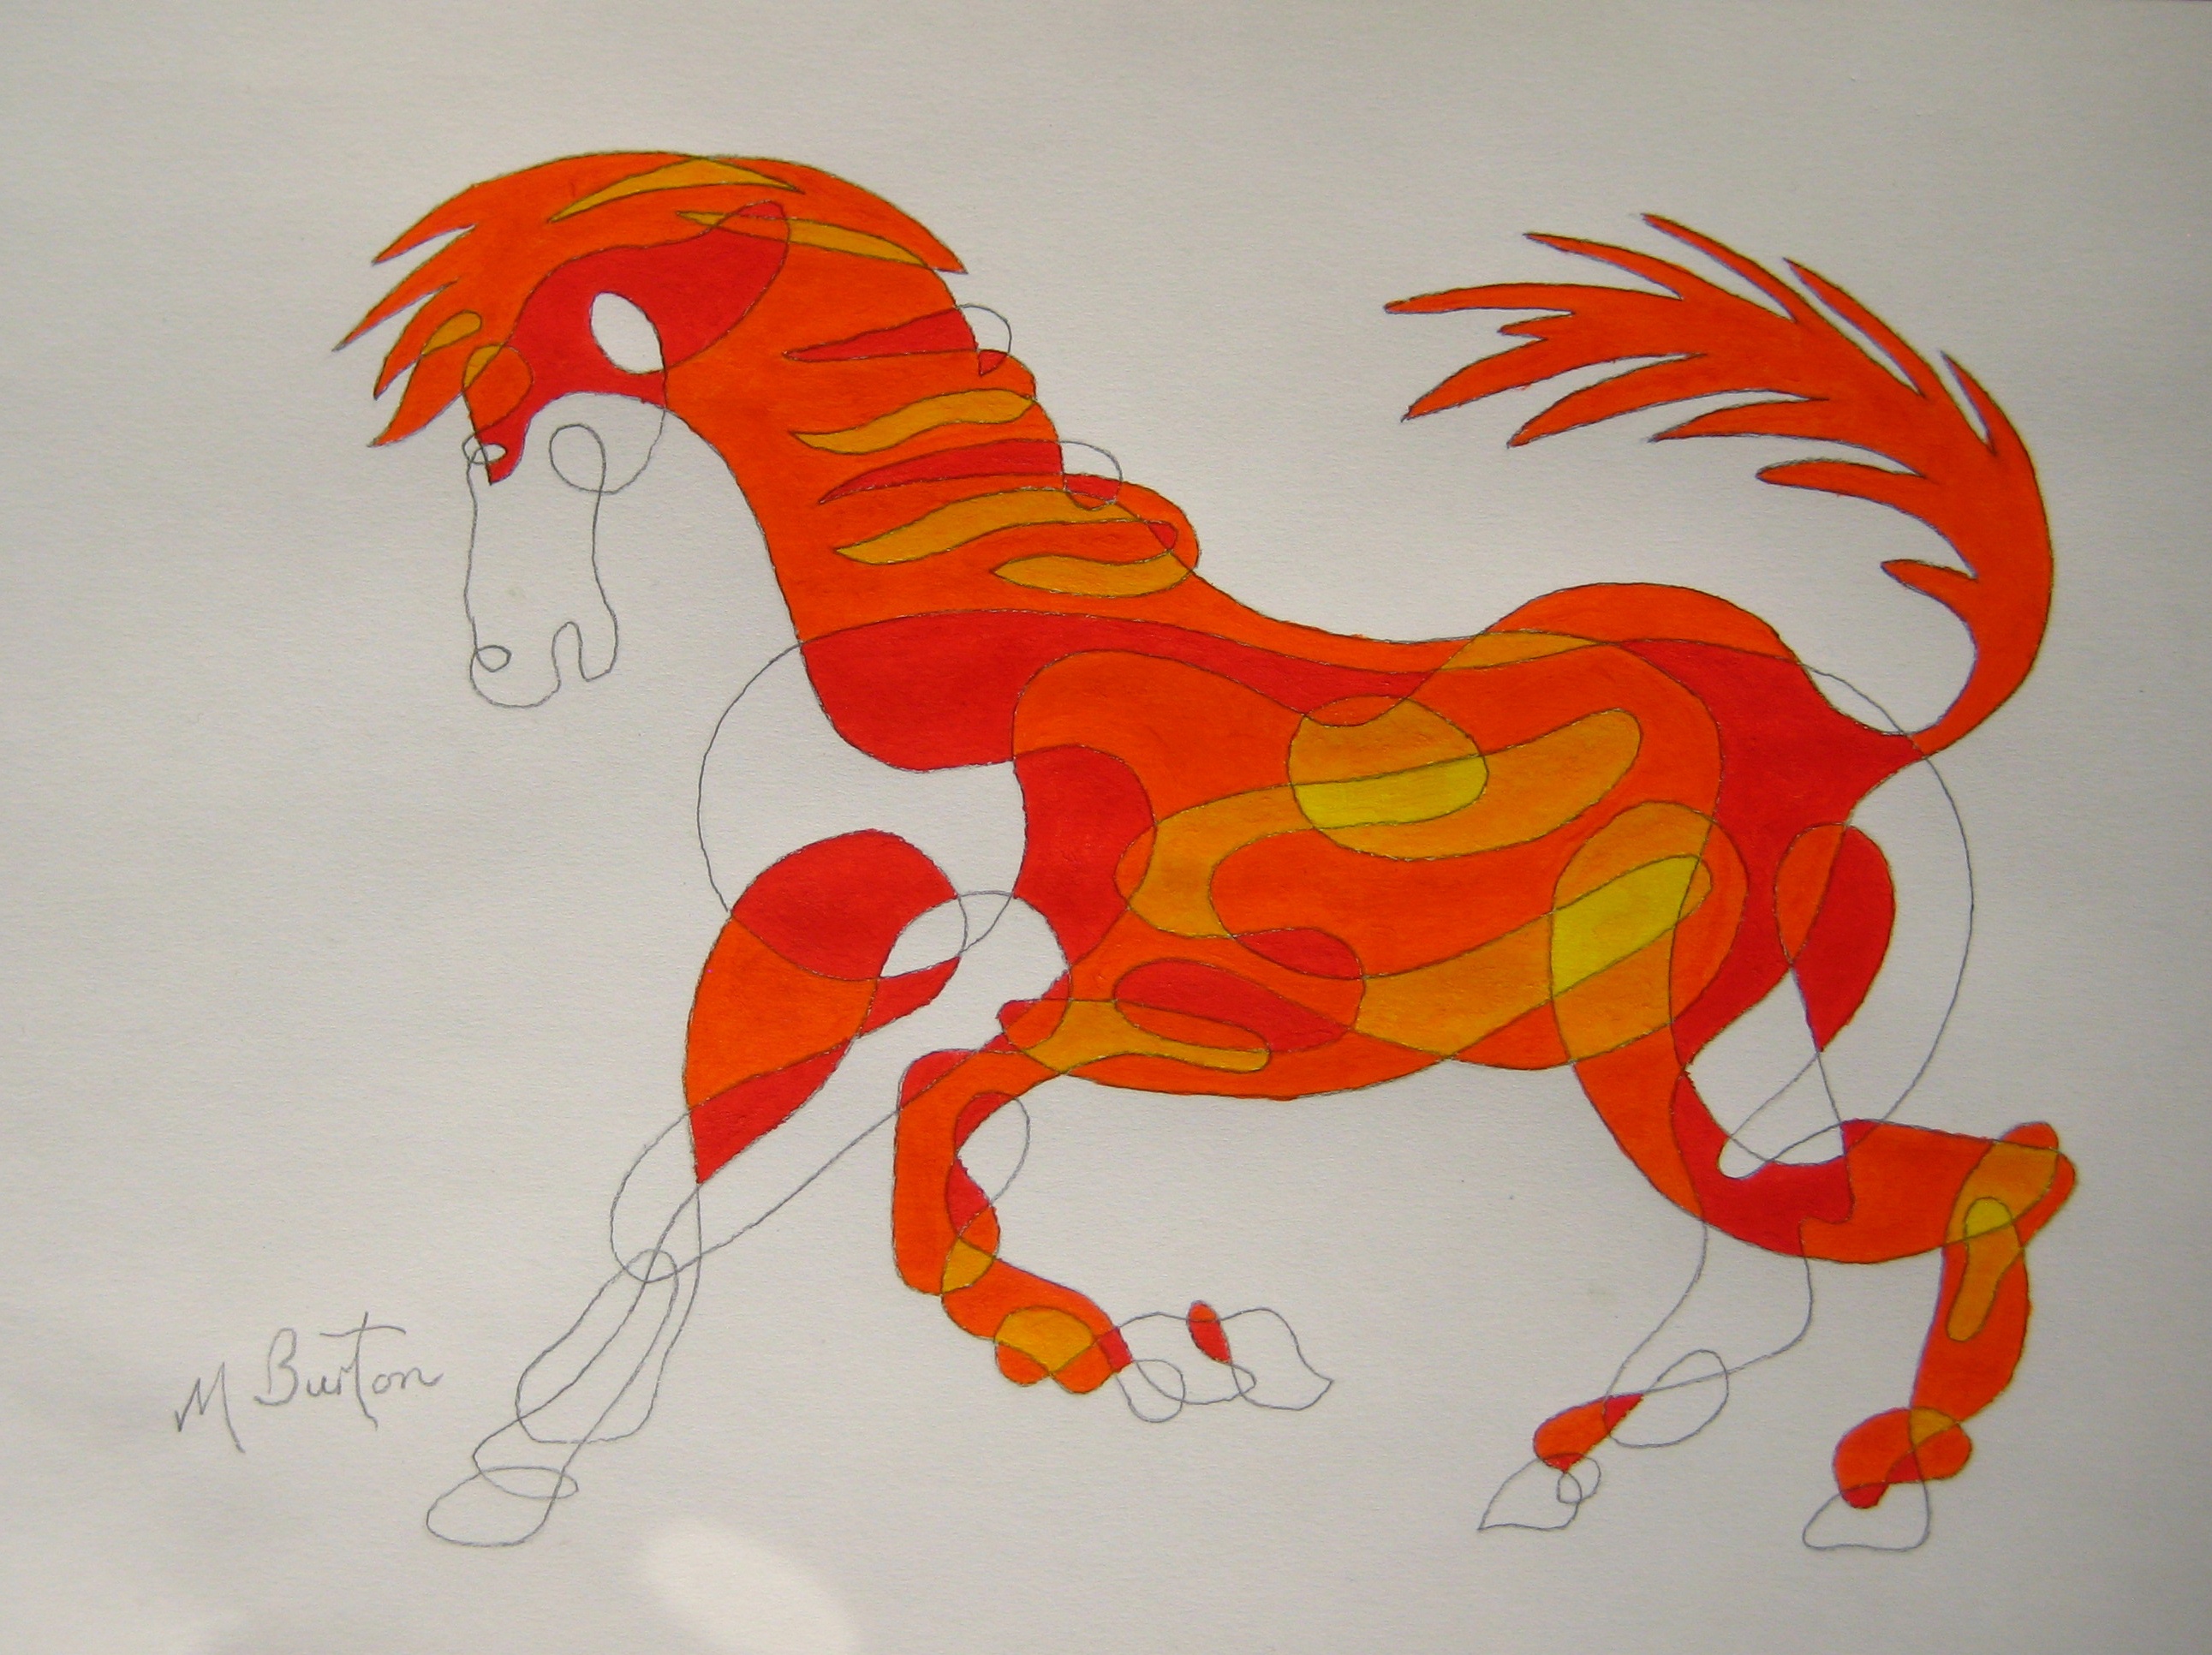
Fig 10. Third Colour Sequence pair of colours, in the negative direction, on the Single Continuous Line Drawing of Horse. Mick Burton, Continuous Line Blog.
Now we can match numbers (-)1 and (-)2 in the negative direction, or simply apply Light Brown to areas across the Overdraws from Vermillion. When these Light Brown and Burnt Sienna channels have been completed the last channel colour is (-)3 which is Burnt Umber. In Fig 10 I have left this final area blank (on the front left leg of the Horse).
So you have seen my Colour Sequence method, using Alternate Overdraw, for Continuous Line Drawings. Sorry if it has been a long explanation (particularly if you grasped it quickly or had already come across parts of it), but I have tried to pitch it as helpfully as I can, based on my demonstration sessions.
A couple a years after I started Colour Sequence I came across the Winding Number Theory. There is a connection and I did pick up one or two ideas from it. I will talk about this in a later post, but as always I am not a trained mathematician and so I will keep talking in pictures.
I hope that you will give it a try and I am sure you will enjoy the ride, as I have for so long.
If you display or publish your results, it would be great if you could specifically acknowledge me and my ideas.