Tag Archives: Mick Burton

Continuous Line Portrait with Colour Sequence.

Continuous Line Portrait “Colourful Musician” by Mick Burton.

This is the second Colour Sequence portrait that I have completed, the first being of “Barry” 10 years ago which had a shorter range of colours.

As usual, I have worked out the natural range of levels running through the drawing and I can choose which end of the range to allocate Red and then Blue at the other end of this 6 colour sequence.  You may ask why the end of the sequence is in an eye coloured Red in some of my pictures of Animals (eg. Hen and Iguana).  The answer is that when I draw continuous line eyes there is a final loop (or even a loop within a loop), which can extend the range of colours if it is already at the end of the existing range (orange in this case).

Normally, only one eye is visible from a side-on view of most of my animals.  I do not then have the situation where the other eye can be at the other end of the colour range.  In the “Colourful Musician” I have ended up with totally different coloured eyes.  Fortunately, the portrait is of a Surrealist painter who is happy with this outcome.

I do not mind either, because continuous line drawing produces its own three dimensional appearance naturally.  Conventional Artists may regard my drawings as very technical, but I can argue that they use perspective and shadows in their art, which I regard as technical, and I get by without using either.  The head in this painting has a natural rounded appearance and the “Blue” eye side implies shadow.

Sometimes I have had to alter the lines to ensure that both eyes are the same colour, which I did with Nessie the cockapoo painting.

The “Colourful Musician” painting only came about after we had one of those sketch a fellow member sessions at Harrogate and Nidderdale Art Club, this one being run by Chairman Steve Walmsley who also announced that I would sketch him.

Sketch of Steve at Harrogate and Nidderdale Art Club. Mick Burton, continuous line artist.

Someone asked if I would do more work on my sketch and I said that it may turn into a Continuous Line Drawing.  Steve said “If you do, then I want all your colours”.  So I took a photo of him for added reference.

Steve Walmsley, Chairman of Harrogate and Nidderdale Art Club. Mick Burton, continuous line artist.

I produced a Single Continuous Line portrait using Over and Under lines before I went onto the colour version above.

“Surrealist Artist” Continuous Line Drawing by Mick
Burton.

Steve has his own unique approach to colour in his pictures, which are increasingly Digital Art.  You can view his full range of Surrealism, Abstractions, Landscapes, Portraits and Digital Art on his website    http://www.steven-walmsley.pixels.com   .

I particularly like the following pictures he has created.  The first one is acrylic and the rest are all digital art.

“Self Portrait with Sax” by Steve Walmsley, Surrealist Artist.

“Desert” by Steve Walmsley, Surrealist Artist.

“Neanderthal” by Steve Walmsley, Surrealist Artist.

“The Cruel Sea” by Steve Walmsley, Surrealist Artist.

“Reflections” by Steve Walmsley, Surrealist Artist.

“The Waterwheel” by Steve Walmsley, Surrealist Artist.

Another Artist in the Burton Family

Fathers’ Day card, from my daughter Kate, painted by my grandson Lucas.      Mick Burton, continuous line artist.

This action painting reminded me of a fast rushing stream.

Kate is a professional artist and film maker (see my post of 2 February 2016 – “BB” by Kate Burton, Glasgow film maker, at London Short Film Festival), and three year old Lucas receives plenty of encouragement to make pictures.

Lucas also squeezes paint tubes directly onto a piece of card to create mixes of paint, before Kate provides another piece of card to squash the paint.  There is a sort of ink blot “butterfly” copy effect.

Lucas squeezes paint directly from the tube.        Mick Burton, continuous line artist.

Here are some results, along with “Grandad” type observations.

Lucas watery landscape.         Mick Burton, continuous line artist.

This result made me think of a sort of Chinese or Japanese landscape painting.  Here is a modern version for comparison.

Autumn Mountains at Dawn, by Zhang Daqian.      En.wahooart.com.

The next picture has the appearance of a flying elephant, and I have done a few continuous line elephants in my time.  

Lucas’s flying elephant.    Mick Burton, continuous line artist.

Lucas’s flying elephant.  Naturally, he has a squash copy flying the other way.  See below Dumbo, the most famous flying elephant.

Dumbo the Elephant, from Tim Burton’s remake of Dumbo Takes Flight.

Another Lucas watery image reminded me of a Monet.

Lucas – garden pond squash painting.    Mick Burton, continuous line artist.

Here is one of Monet’s many paintings of water lilies.

Water Lilies Giverny – by Claude Monet.

One day I may tell you about a picture Kate painted when she was four.

Pateley Bridge Art Club Continuous Line Drawings

Pateley Bridge Art Club member’s single continuous line Rhino with internal pattern.

I was at Pateley Bridge Art Club earlier this month with a Demonstration and Workshop for the members.  They have covered the evening in their News Blog with a report by Charles Mellor, which included 16 examples of members’ pictures.  You can find the report at >      https://www.pateleybridgeartclub.org      .

I include here an additional three pictures by members which illustrate how you can devise an internal pattern which represents aspects of the subject.  Members could base their initial attempt at a continuous line, or lines, on a subject of their choosing or one or more of several faint outlines provided by myself.

I demonstrated how the basic ongoing line can involve curves, loops, angles, etc. taking in parts of the outline itself and involving where possible a novel pattern for that subject.  At the same time there is a need to leave spaces for the line to return to the start.  I said that members were free to use rubbers to correct their drawings or have more than one continuous line in their picture to get used to the process.

One member drew a Giraffe which incorporated some of the distinctive inner pattern of that animal.

Giraffe by Pateley Bridge Art Club member, showing inner pattern.

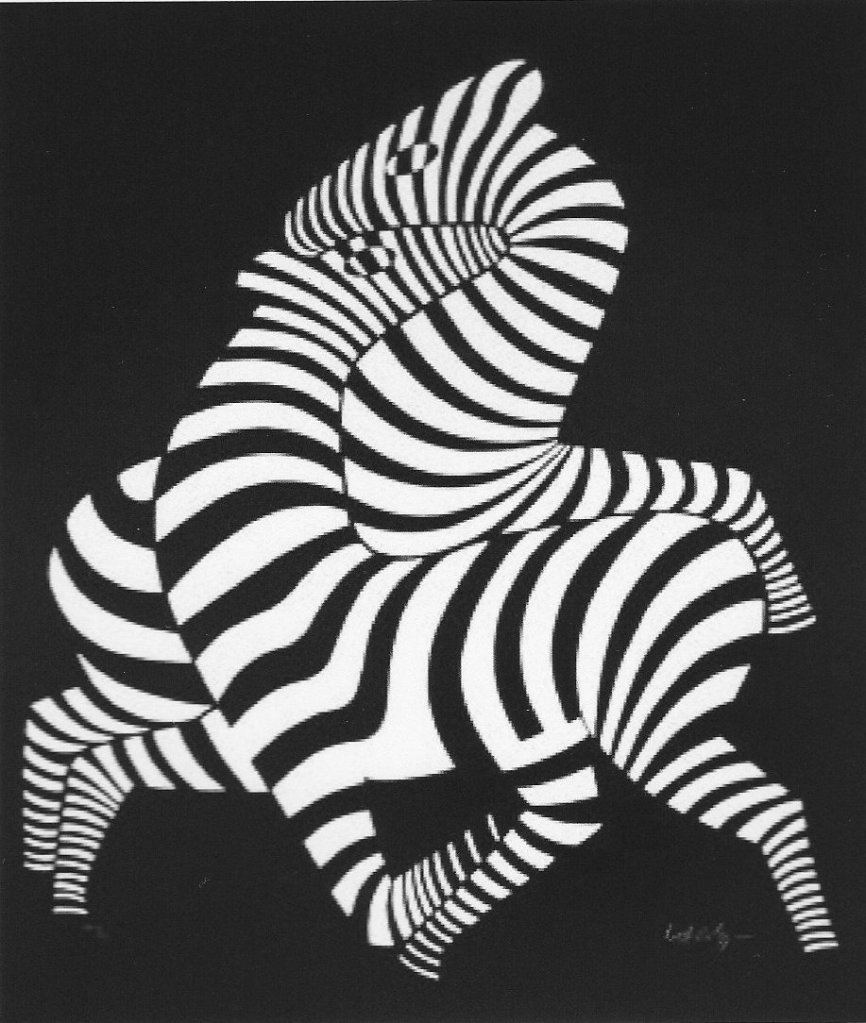
My third example is a Zebra where the member has included the famous stripes.

Head of a Zebra, by Pateley Bridge Art Club member.

The Rhinoceros above has a good inner pattern reflecting the armour plating appearance of the animal.  It reminds me of the woodcut by Albrecht Durer, who was amongst the first artists to portray this animal.

Rhinoceros woodcut by Albrecht Durer in 1515.

And that’s not all.  The Pateley Bridge member’s Rhino at the top of this post has a clear single continuous line and includes two specific features I have used in the past which appear in pictures which I displayed on the evening but may, or may not, have have influenced the drawing of this Rhino –

a.  The Rhino’s left eye is depicted by a gap in the outline, similar to my Panther’s right eye below, where I show only the pupil of the right eye.

b.  The Rhino’s armour pattern involves the outside running into the interior of the animal, similar to my Zebra below.

Continuous line Zebra without crossover lines.

I have requested that the Pateley Bridge member, who did the Rhino, copies the line and then applies alternate shading to highlight the “inside outside” effect.  If not I may have to do it myself.

Picasso was certainly aware of this “inside outside” situation.  At my Demonstrations I pass around Picasso’s book “One-liners” which has 50 pictures.  Most have the line starting at one end and then stopping on completion elsewhere, but there are several which are single continuous lines.  The last two pen drawings in the book are as follows.

Picasso “Studies for Mercury”. Picasso’s One Liners. Artisan, 1997.

On the left, the head, arms, body and legs are all inside the single continuous line.  At first glance it is the same on the right, but in fact there is no “inside”.

Red Alert, Continuous Line Detected on Train Tracks Puzzle.

I started doing Train Tracks puzzles in the Daily Mail a few months ago and then moved onto Medium puzzles (dimensions up to 10 x10) on puzzlemadness.co.uk and a month ago tried Large difficulty (dimensions up to 12 x 12).

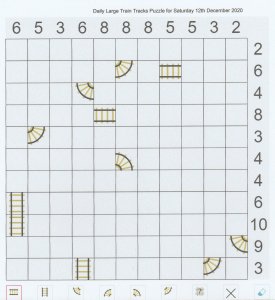
You start off with a grid which states the number of cells which occur vertically or horizontally and they give you some bits of track initially, including start and end track at the edge.

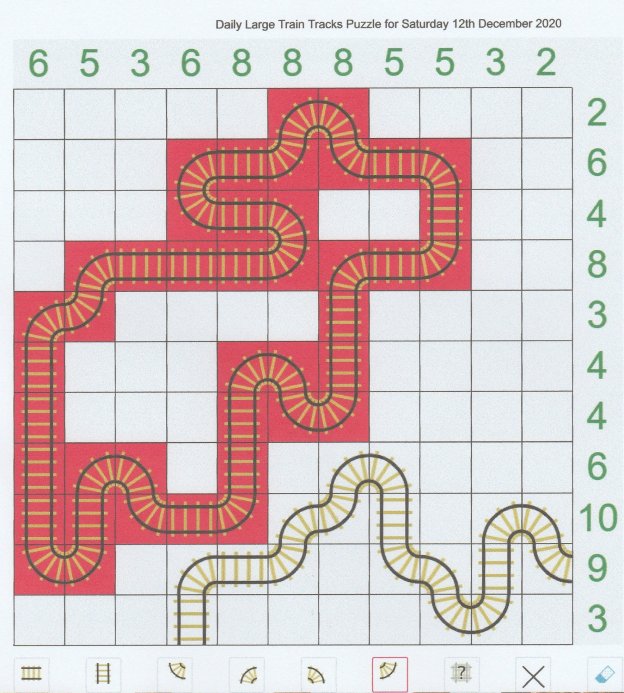
Train tracks from puzzlemadness.co.uk Large difficulty 12.12.2020. Mick Burton, continuous line artist.

There are many attractive elements to this sort of puzzle, including the possibility of solving them totally without trial and error.  The first thing to do is to add initial offshoots for all these start tracks.  Next look for any rows which already meet the number of cells containing track, such as the right hand vertical which has the required two including the offshoot.  This allows you to allocate spaces to the remaining 10 cells. 

Being an artist, I know the value of space in a picture and it is particularly important here.  Then you have to consider the various types of track and on you go.  Constantly checking and rechecking is the key as you add pieces.  Bear in mind that the aim is to end up with one route from start to finish, avoiding dead ends, and use that to your advantage.  Finding dead ends is also useful as you can allocate spaces.

It is best to start off with smaller easier Train Tracks puzzles to get used to the process.

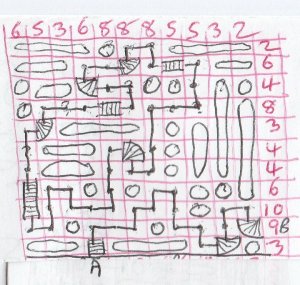
I attempt my puzzles on paper where I draw the grid and enter the numbers and given track pieces.  My fingers are too wide and clumsy to do much prodding on my mobile phone and if I complete the puzzle I then tap in the answer.  Here is my initial drawing of the above puzzle.

Initial attempt at the rail track puzzle (large difficulty) of 12.12.2020. Mick Burton, continuous line artist.

When I loaded this on my phone, I expected that as I tapped in the last piece the completed puzzle would disappear to be replaced by congratulations across the screen, for completing a route from start to finish.  Instead I saw the Red Alert.  It is not normally an offence to produce a continuous line in this blog.

I am good at mending this sort of thing of course and here is the final result – there is a X (space indicator) so that you see the complete shape before the last piece goes in causing the whole thing to disappear.

Correct completion of Train Tracks puzzle, with just the last bit to go in. Mick Burton, continuous line artist.

I am interested in various stand alone structures which have an environmental feel to them, where all the different elements can produce a surprising result.  

As it has been Lockdown etc,  I have completed 94 in about 10 weeks scoring 17,925 points, which put me at position 272 out of 863 listed.  Top is Stirlingkincaid with 2,766,965 !

On the monthly list I am 91st with 7,650 points.  Stirlingkincaid has 228,640 – does this person ever sleep?

Personally, I will probably move on now, looking for more structures which I can unlock with my continuous line knowledge.  Also, I need to finish my current work about Drawing Prime Numbers.

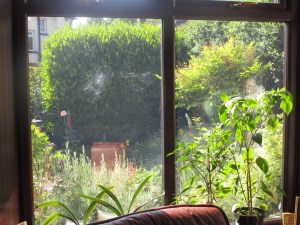
Tawny Owl window impression in Gledhow Valley.

Window impression of Tawny Owl.  Front garden in Gledhow Valley.  Mick Burton, Leeds continuous line artist.

Yesterday morning Joan said that there was a mucky mark on the lounge window and that the Window Cleaner had only just been the other day for the first time since the start of Lockdown.  Maybe a bird had done it. 

The impression was pretty detailed and we thought about pigeon size. We looked outside, as a blackbird had smashed into the window a few years ago and did not survive.  No sign this time so we hope that this bird is ok.

Here is a closer version of the impression, which I have darkened a bit so the grey impression, lit by the sun, shows up more against our evergreen hedge.

Full window impression of Tawny Owl, with good body, head and wing detail.  Mick Burton, Leeds continuous line artist.

I know that we have Tawny Owls in Gledhow Valley, Leeds, but I have only seen one sitting in a tree at dusk and of course heard them.  I looked up Tawny Owl in our RSPB Handbook of British Birds, by Peter Holden and Tim Cleeves.  “37-39cm.  As large as a Woodpigeon.  Has a tubby body, large round head and rounded wings.  Its face is surrounded by a ring of dark feathers….”  I took a closer photo of the body shape to look at this sort of detail.

Close up of the body of the Tawny Owl window impression, showing feathers around the head, beak and tubby body.  Mick Burton, Leeds continuous line artist.

You can see the faint ring of feathers around the head and where the beak has hit the window.  Also the tubby body and chest.  I suppose the impression is made by grease and dust off the feathers.

The impression of the body did not seem to be full size, so this may have been a youngster which first flew at the end of April.

I had been sorting out some of my framed paintings and had left one out on the guest room bed.  It was my single continuous line Barn Owl, which has a virtually identical composition to the window impression, with the sun shining through its wings.  See also my Post of November 2015 about this owl.

Continuous line drawing of Barn Owl onto Wet on Wet watercolour, 2015. Mick Burton.

Active Life, including Table Tennis, at Armley Leisure Centre Leeds

IMG_20190419_0004 - Copy

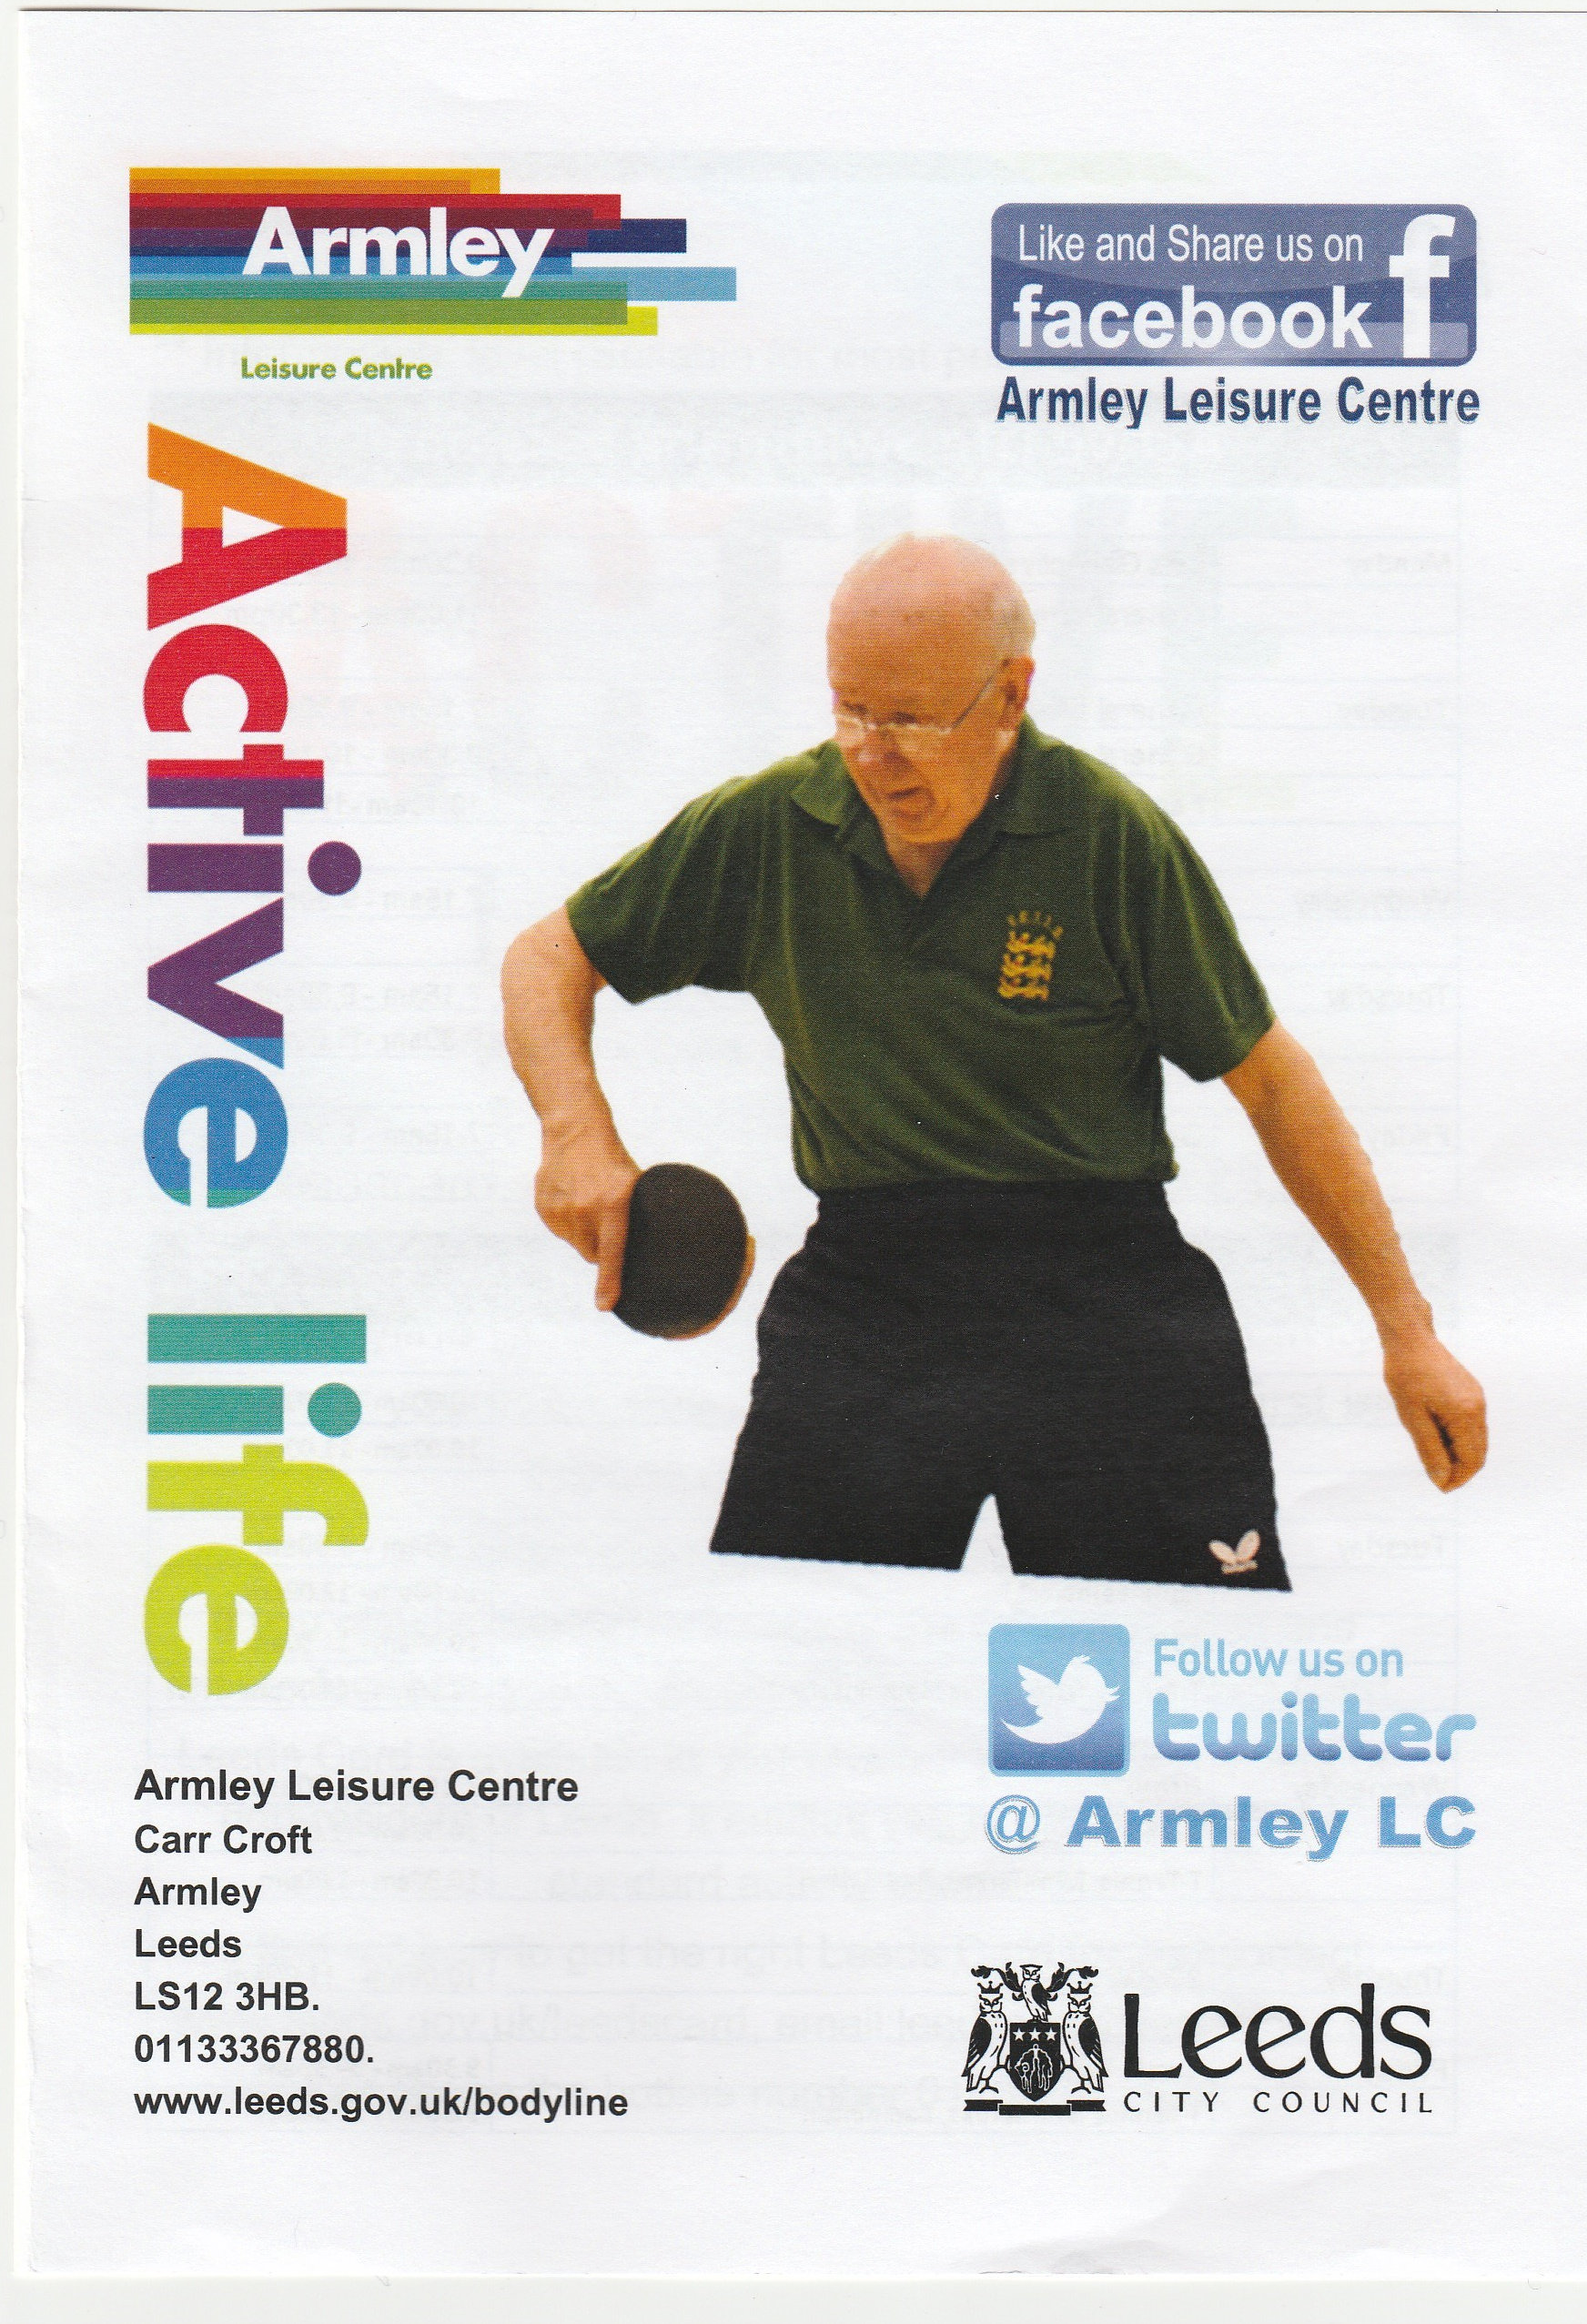
Active Life at Armley Leisure Centre, Leeds, leaflet.   Featuring Mick Burton, veteran table tennis player.

Active Life is an exercise programme especially designed for the over 50’s that can include more than one activity in each session.

There are a broad range of activities giving a variety every day of the week. Fitness class, gym session, go for a swim or the multi sport sessions which include Table Tennis, Mini Tennis and Badminton.

Joan has been going to the two hour table tennis sessions for about 5 years, starting as a beginner. The standard varies from beginners, people starting again through to improved players now in the local league.  I go along with Joan, when I can, to support table tennis coach, Sandra Rider who runs the Table Tennis and Mini tennis on Tuesdays, Wednesdays and Fridays.

There are 10 table tennis tables with an attendance of about 30 and two mini tennis courts attended by up to 15.

Some people switch between table tennis and mini tennis.

It is a very social group and Sandra also organises separate events such as annual ten pin bowling and the Xmas lunch.

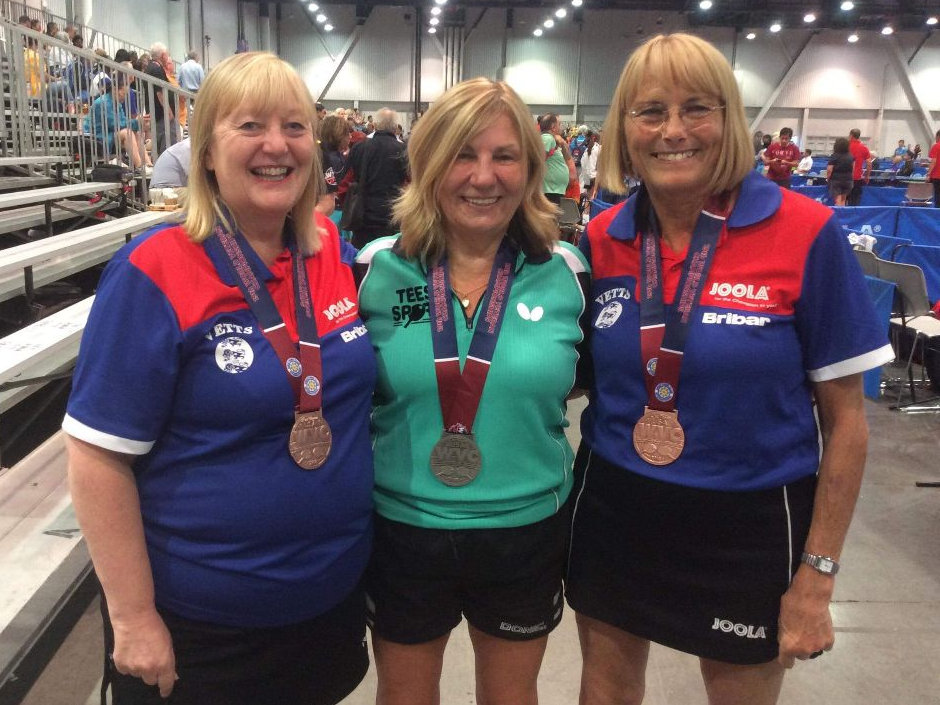
Sandra has vast experience both as player and coach and still plays at League, County and Internationally as a veteran.  She also has medals at Veteran European and World Championships.

Sandra Rider, world champ medal. IMG_2245 - Copy

Sandra Rider, on the right, with her Bronze Medal in the over 60’s Ladies Doubles event at the World Veterans Table Tennis Championships, 2018, held in Las Vagas.  Her doubles partner Shirley Gelder is on the left.

I have played in leagues since I was 16, including mostly full seasons in Leeds Division 1 for 50 years for Victoria Table Tennis Club, until 4 years ago when I moved to Leeds Judean Table Tennis Club.

Joan and myself decided to join Sandra at the Veterans World Championships in Alicante in 2016.  I lost all my group games three straight, although the other player who went into the Over 70’s Consolation with me won it.

Joan led a lady from Brazil in the Over 70’s Singles by 2 games to 1 before losing in the 5th.

Joan Frank playing in the over 70’s doubles with her Japanese partner at the 2016 World Veterans Table Tennis Championships in Alicante, Spain.  Photo Mick Burton, continuous line artist.

People just seem to keep on playing table tennis. 

Last week, I was short of two players for my team’s first Summer League match in Leeds Division 1 against Lawnswood YMCA A team.  I thought I may have to re-arrange the match but was given two lower division players.  Step forward Malcolm Shedlow, age 86, and Dennis Fisher, age 80, who both started playing for Leeds Judean Table Tennis Club in the 1950’s and spent many years in Division 1.  I am only 75 so brought the average age of my team down to 80.

IMG_5845 - Copy

Leeds Judean table tennis C team in the Leeds Summer League against Lawnswood YMCA A team at the YMCA on 4 June 2019. Dennis Fisher, aged 80, Mick Burton, age 75 and Malcolm Shedlow, age 86.   Photo by Mark Bleakley of Lawnswood YMCA. 

Our opponents were Mark Bleakley, Ankush Vidyarth and Kiran Babra with average age early 40’s.  The result reflected our respective ages!

The Sunbathing Foxes are back in Gledhow Valley.

IMG_5567

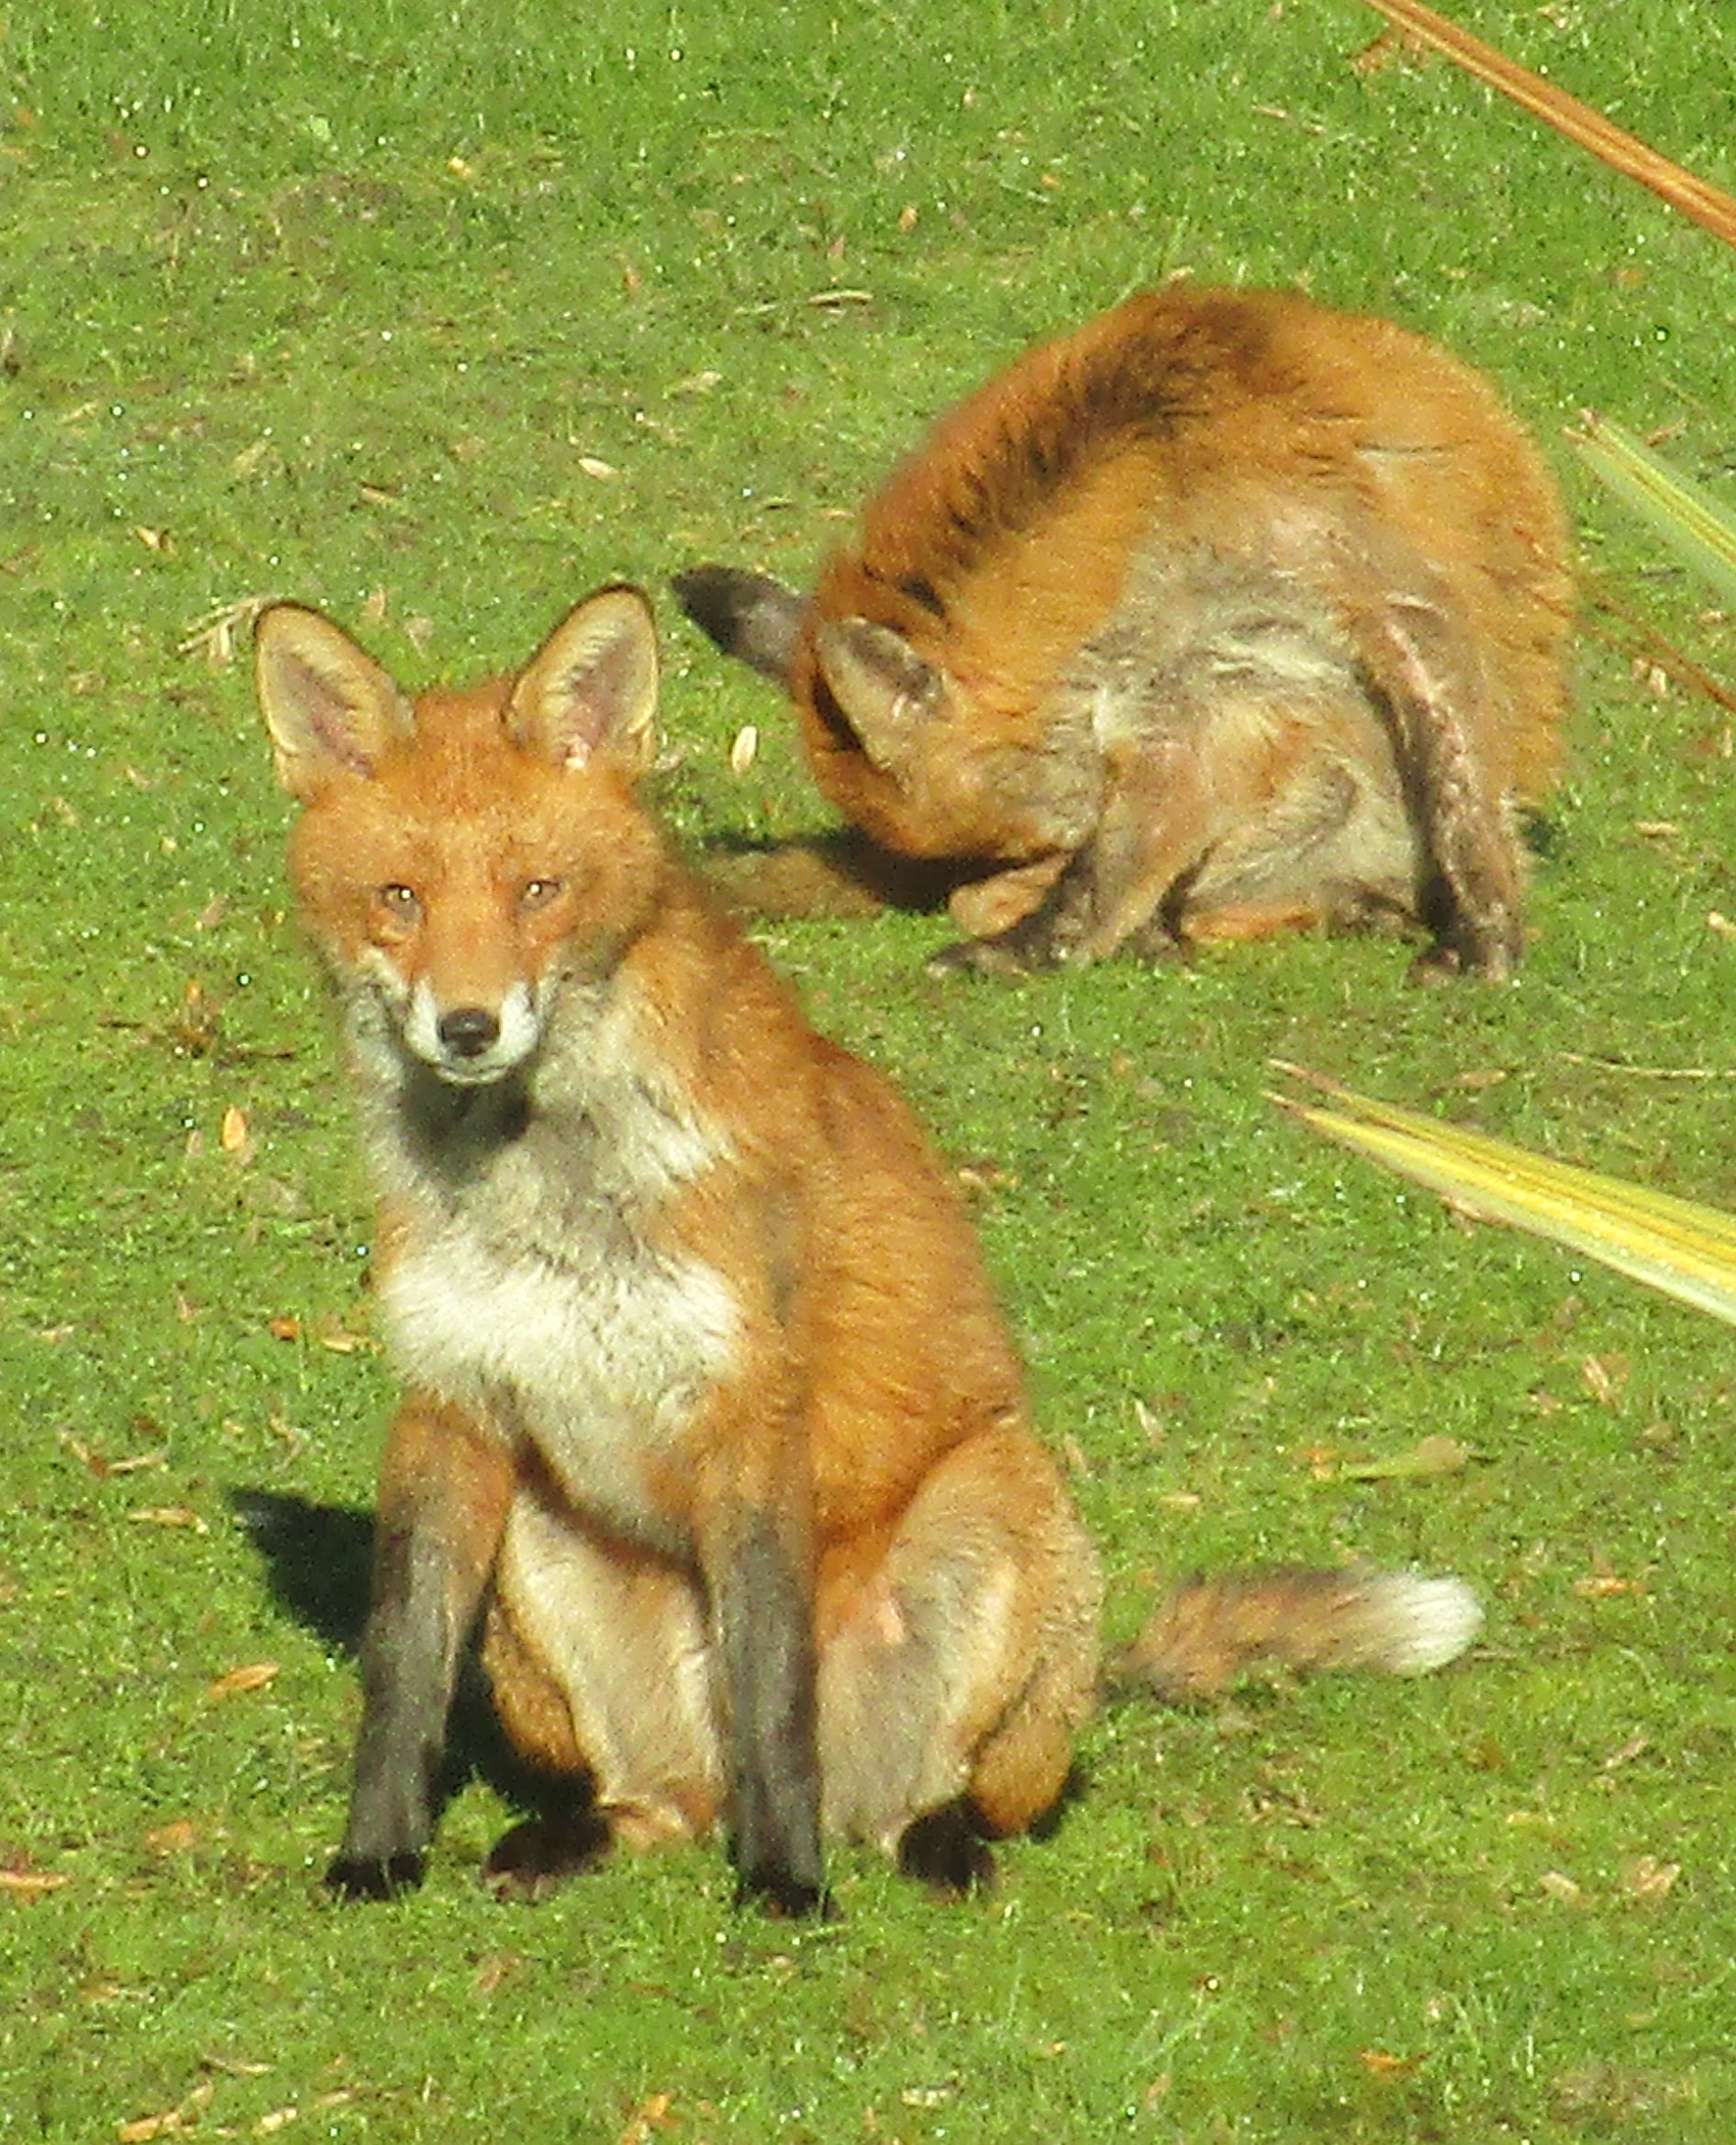
Two foxes sunbathing in my garden in Gledhow Valley on 15 February 2019.  Photo by Mick Burton, continuous line artist, Leeds, Yorkshire.

This burst of warm spring weather is bringing out the foxes just about every day. These two spent about 30 minutes wandering around, sitting and just relaxing.

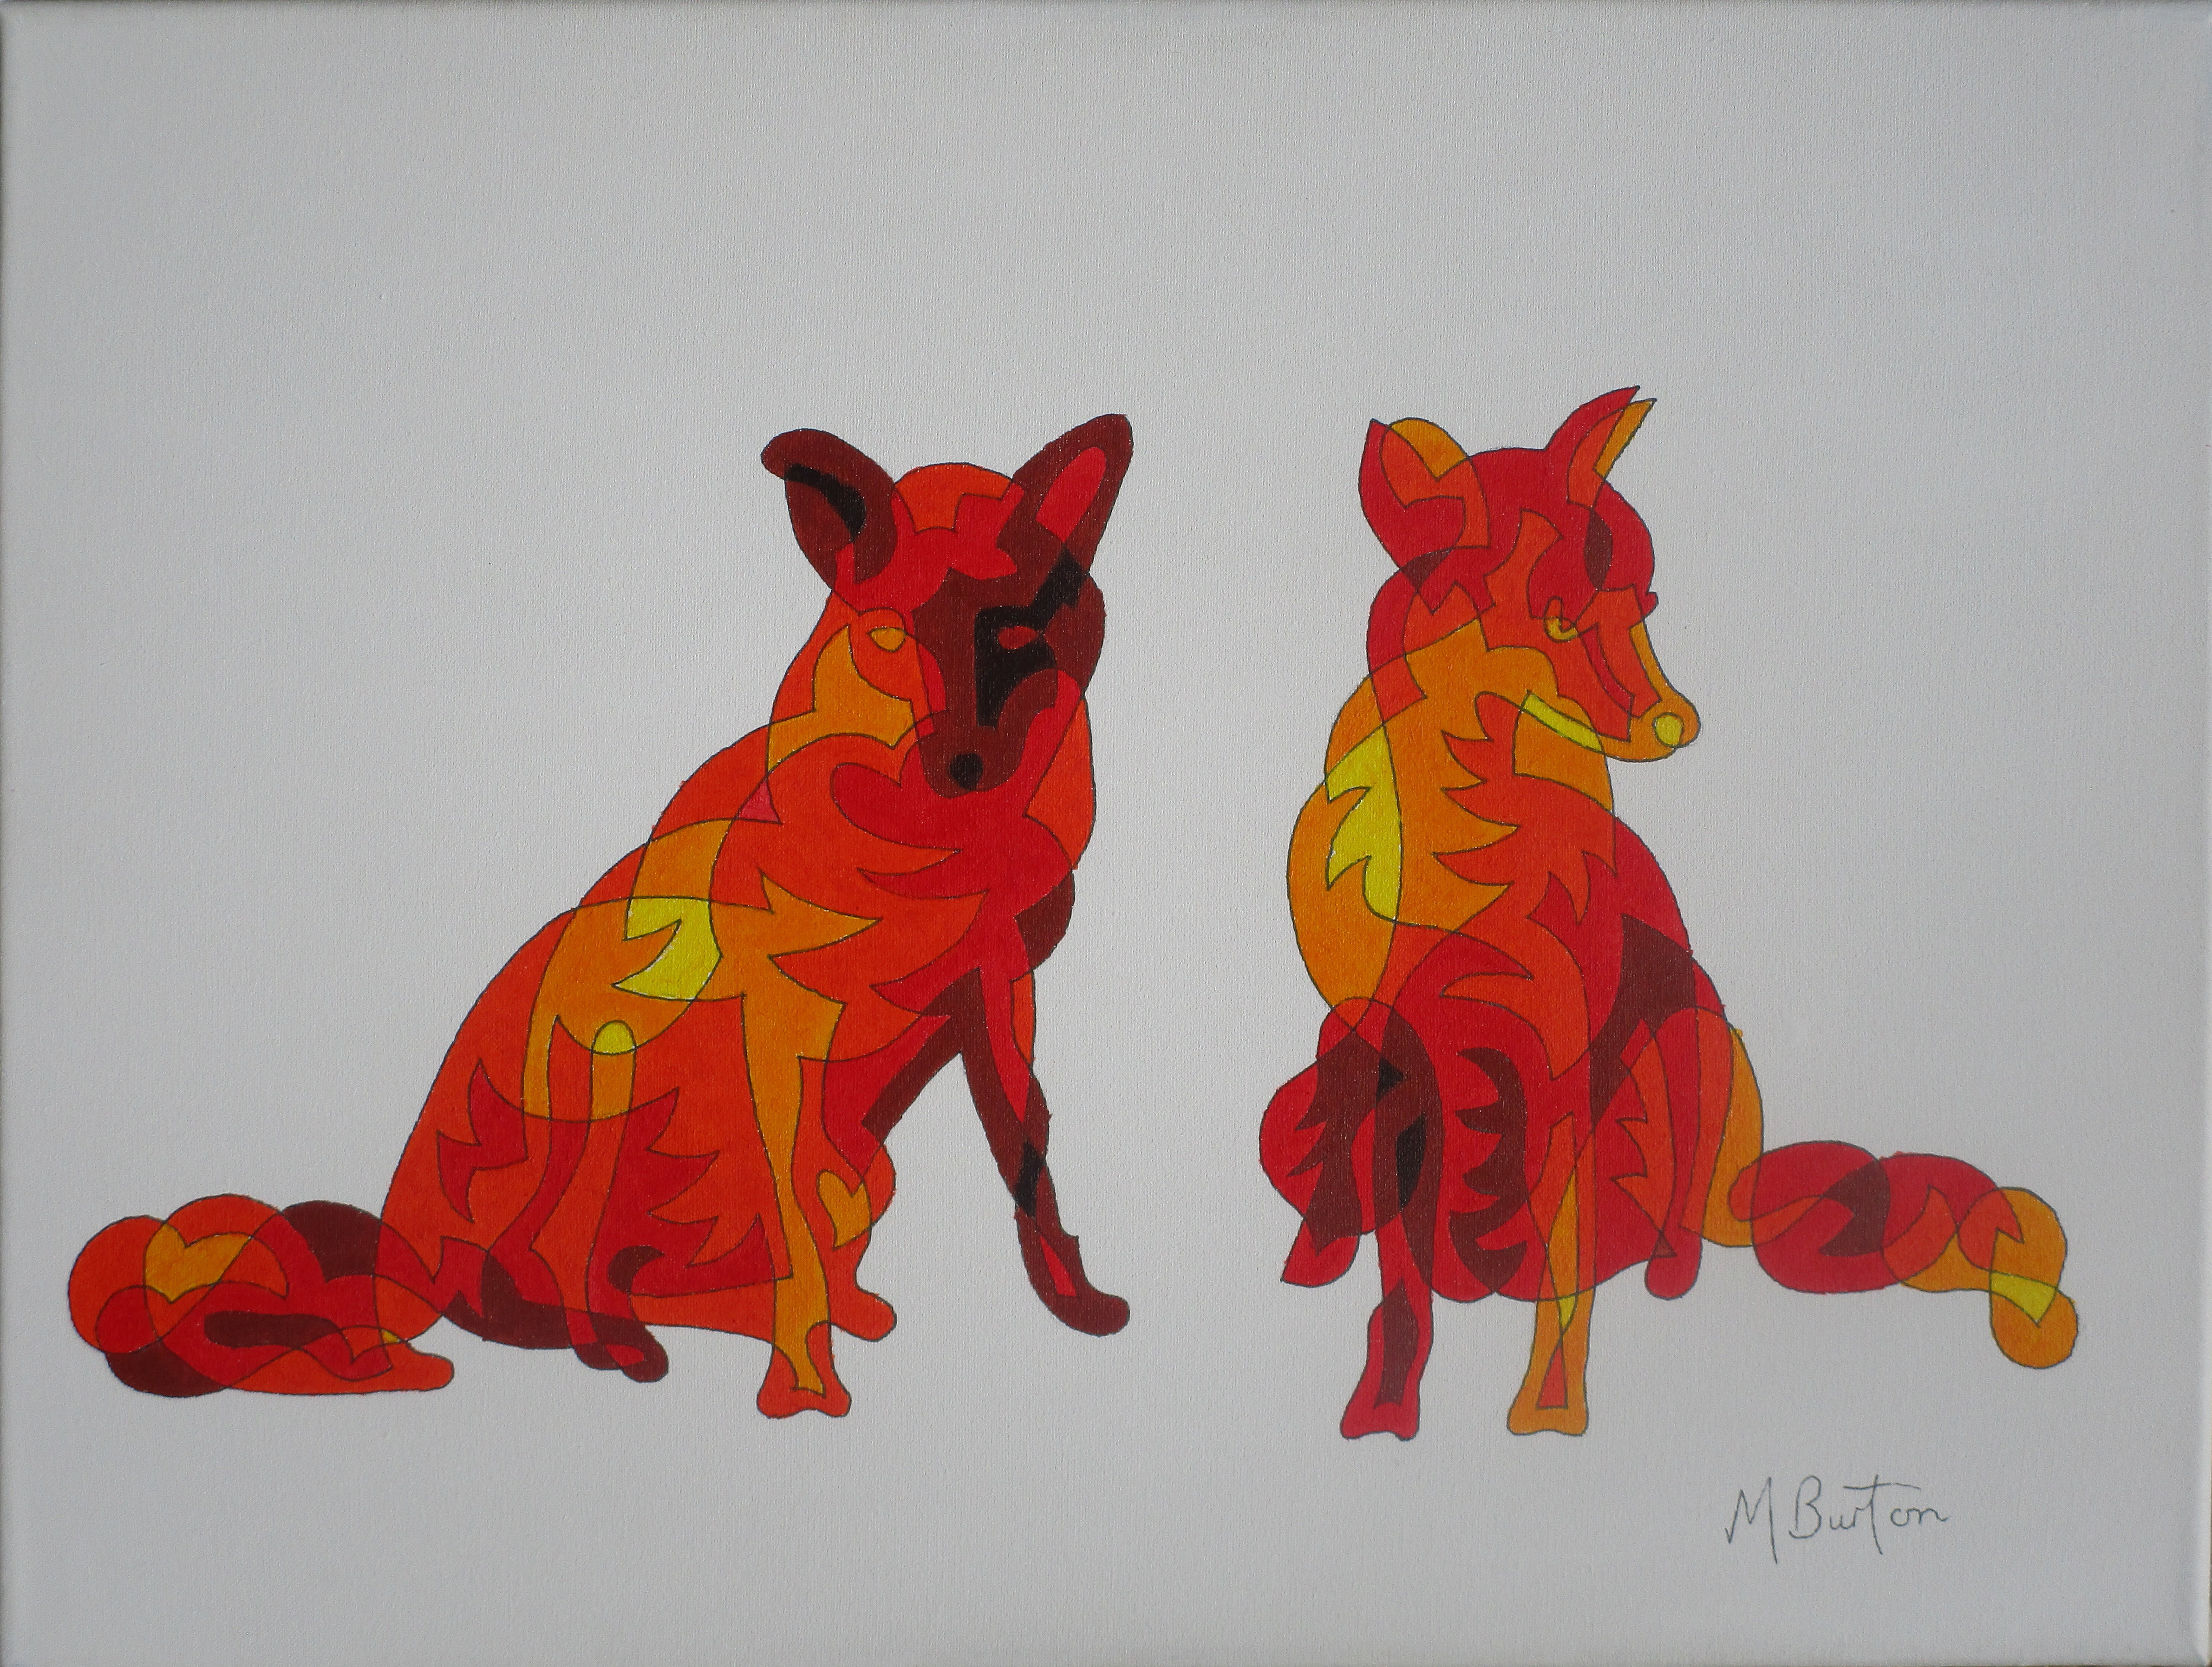
Not too different to the painting which I did of a couple doing similar things a couple of years ago.

IMG_4534 Best - Copy

My single continuous line painting of two foxes sunbathing a couple of years ago.   Mick Burton, continuous line artist, Leeds, Yorkshire.

The first time I saw foxes in Gledhow Valley was in the late 1970’s, when I lived near the middle of the valley and brought the dog to this end of the woods, above the Well House, and spotted a pair of cubs playing.

To see more animals go to the Friends of Gledhow Valley Woods website    http://www.fgvw.co.uk      .

Colour Sequence Application to Continuous Line Drawings by Mick Burton – demonstration continued.

img_5140 - copy

Clyde the Elephant, single continuous line with colour sequence by Mick Burton.

This is the continuation post covering my demonstration and workshop at Harrogate and Nidderdale Art Club on 6 December 2018.

Here is a reminder of my marker pen attempt at a continuous line elephant.
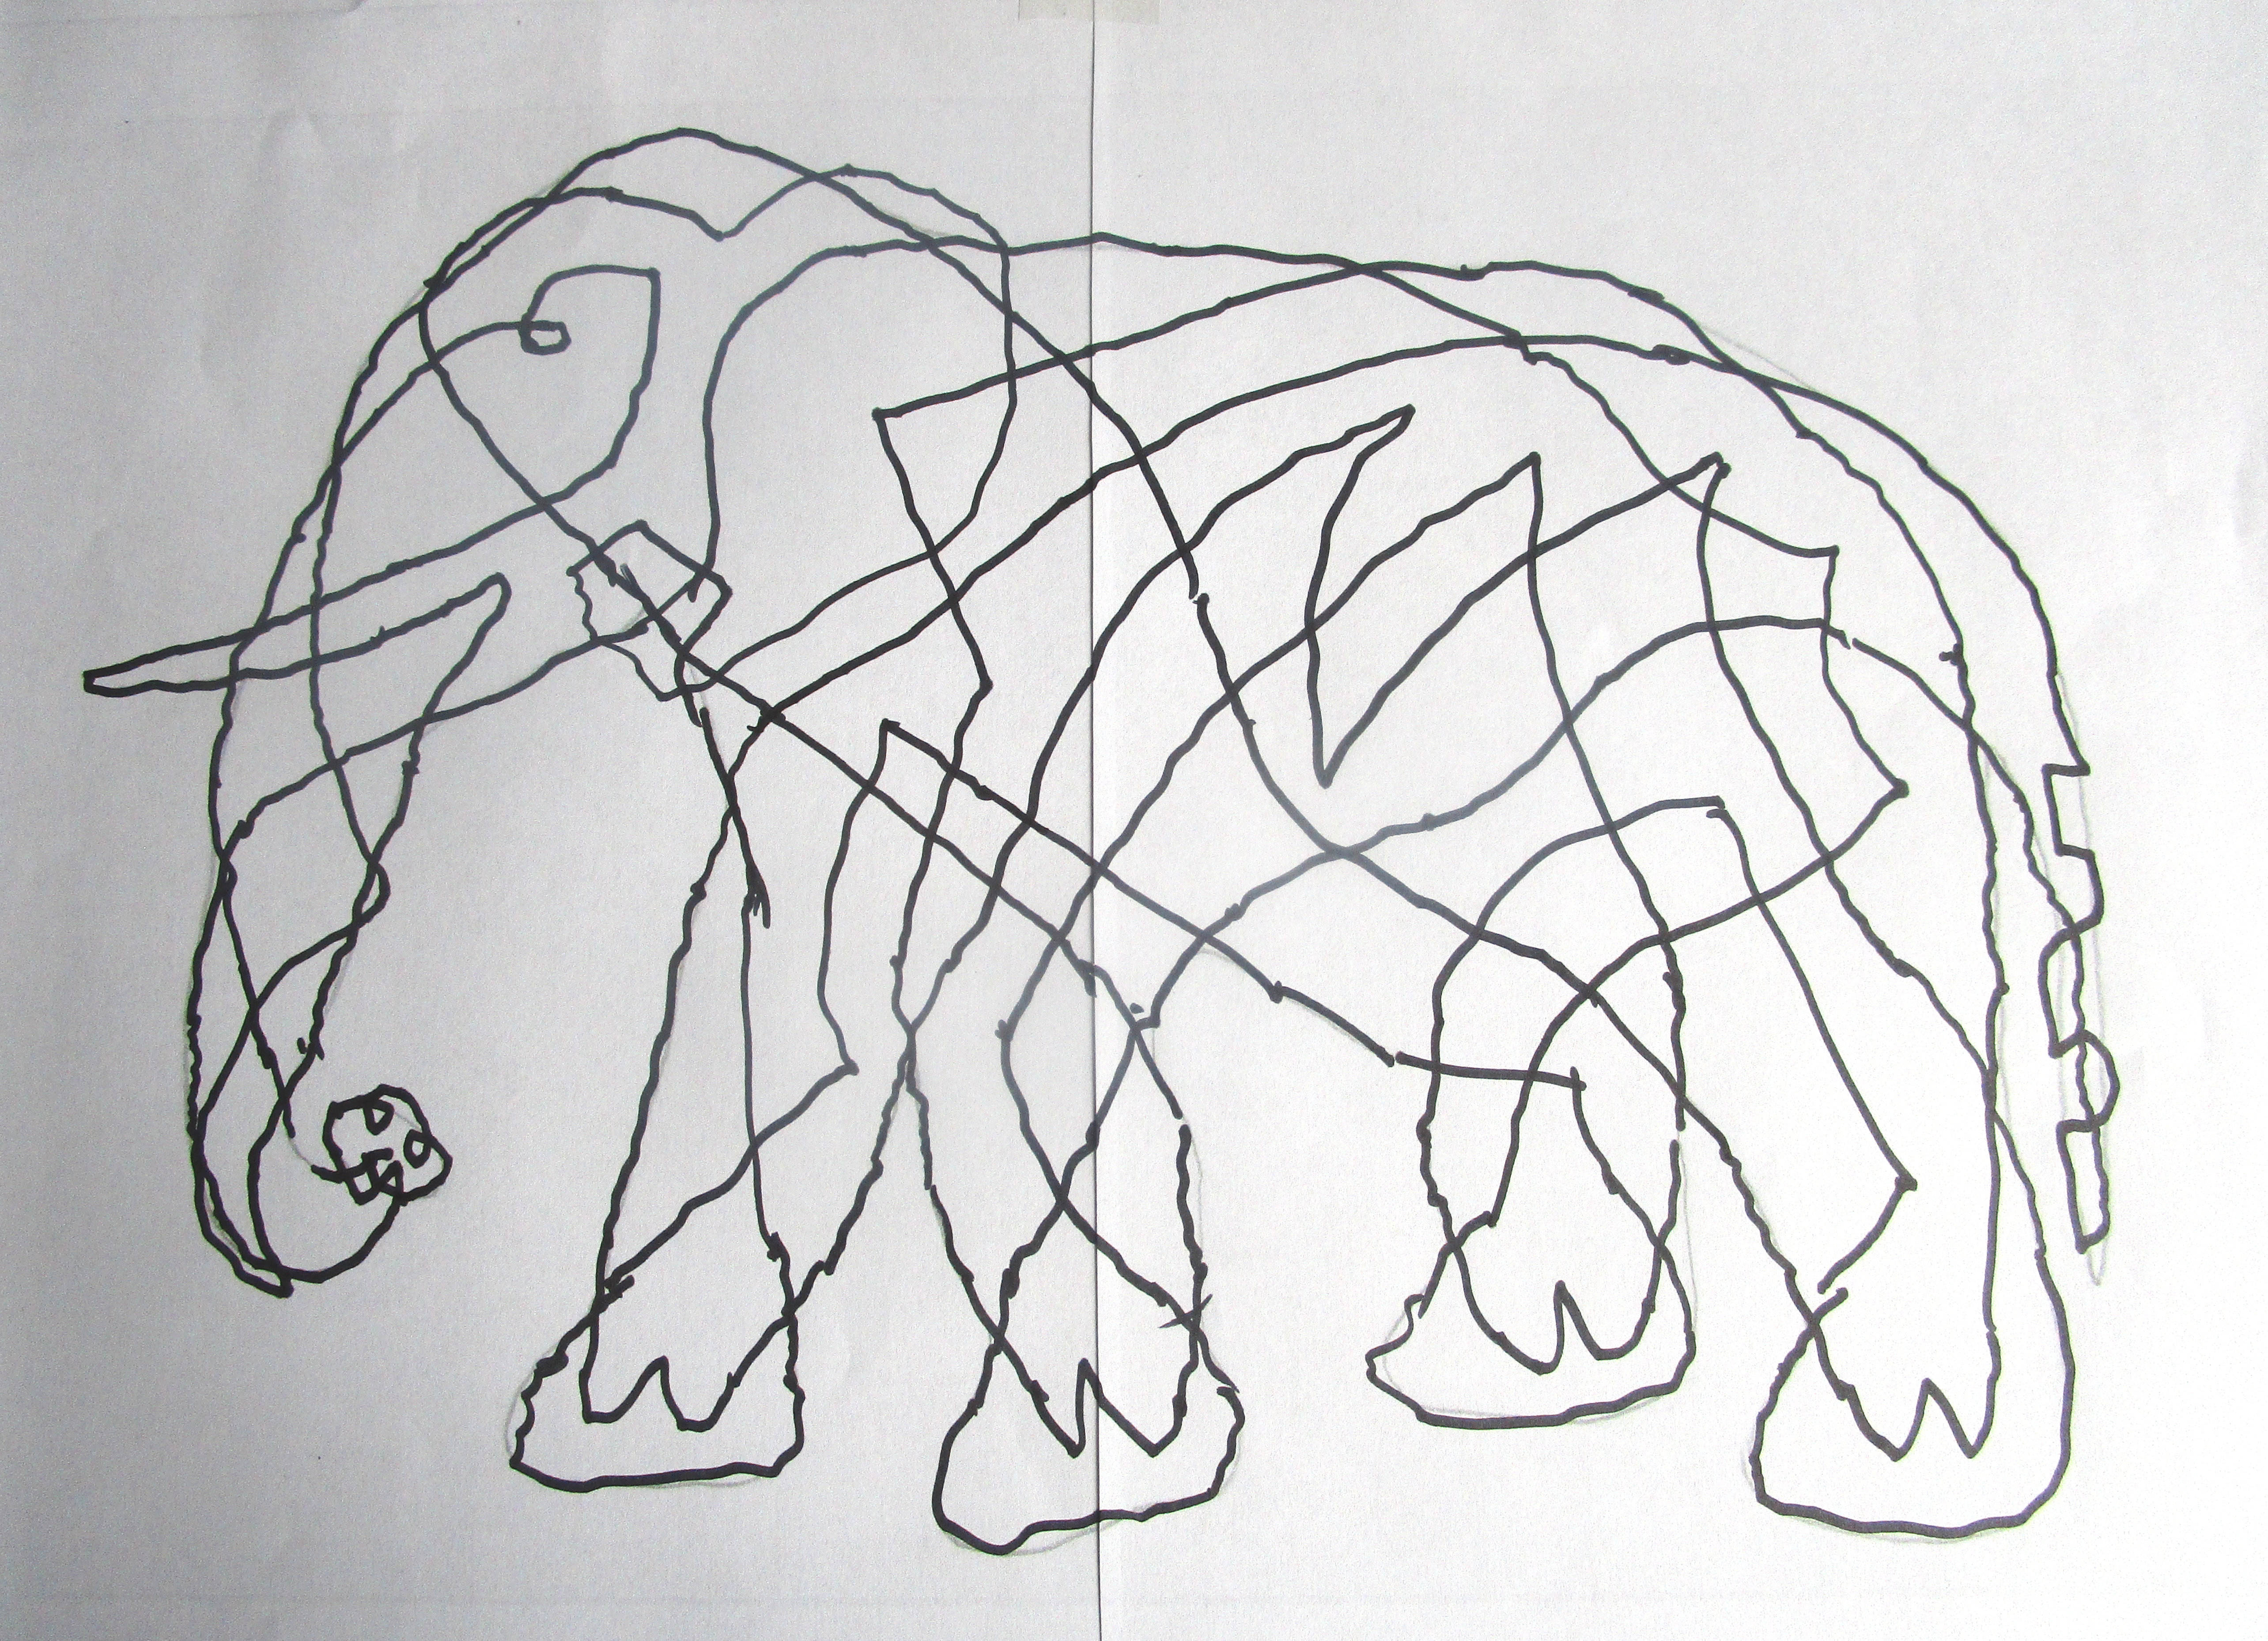
IMG_4950

Demonstration of a Single Continuous Line Elephant, initial drawing, at Harrogate and Nidderdale Art Club by Mick Burton, on 6 December 2018.

At home later I followed the line/s around and found that there was more than one line and I needed to do one or two diversions to correct that.  As the pattern at the front of the neck has a sort of square which I needed to get rid of I used that region to also turn the drawing into a single line throughout.  With a bit of general smoothing of arcs all round I arrived at the following revised elephant.
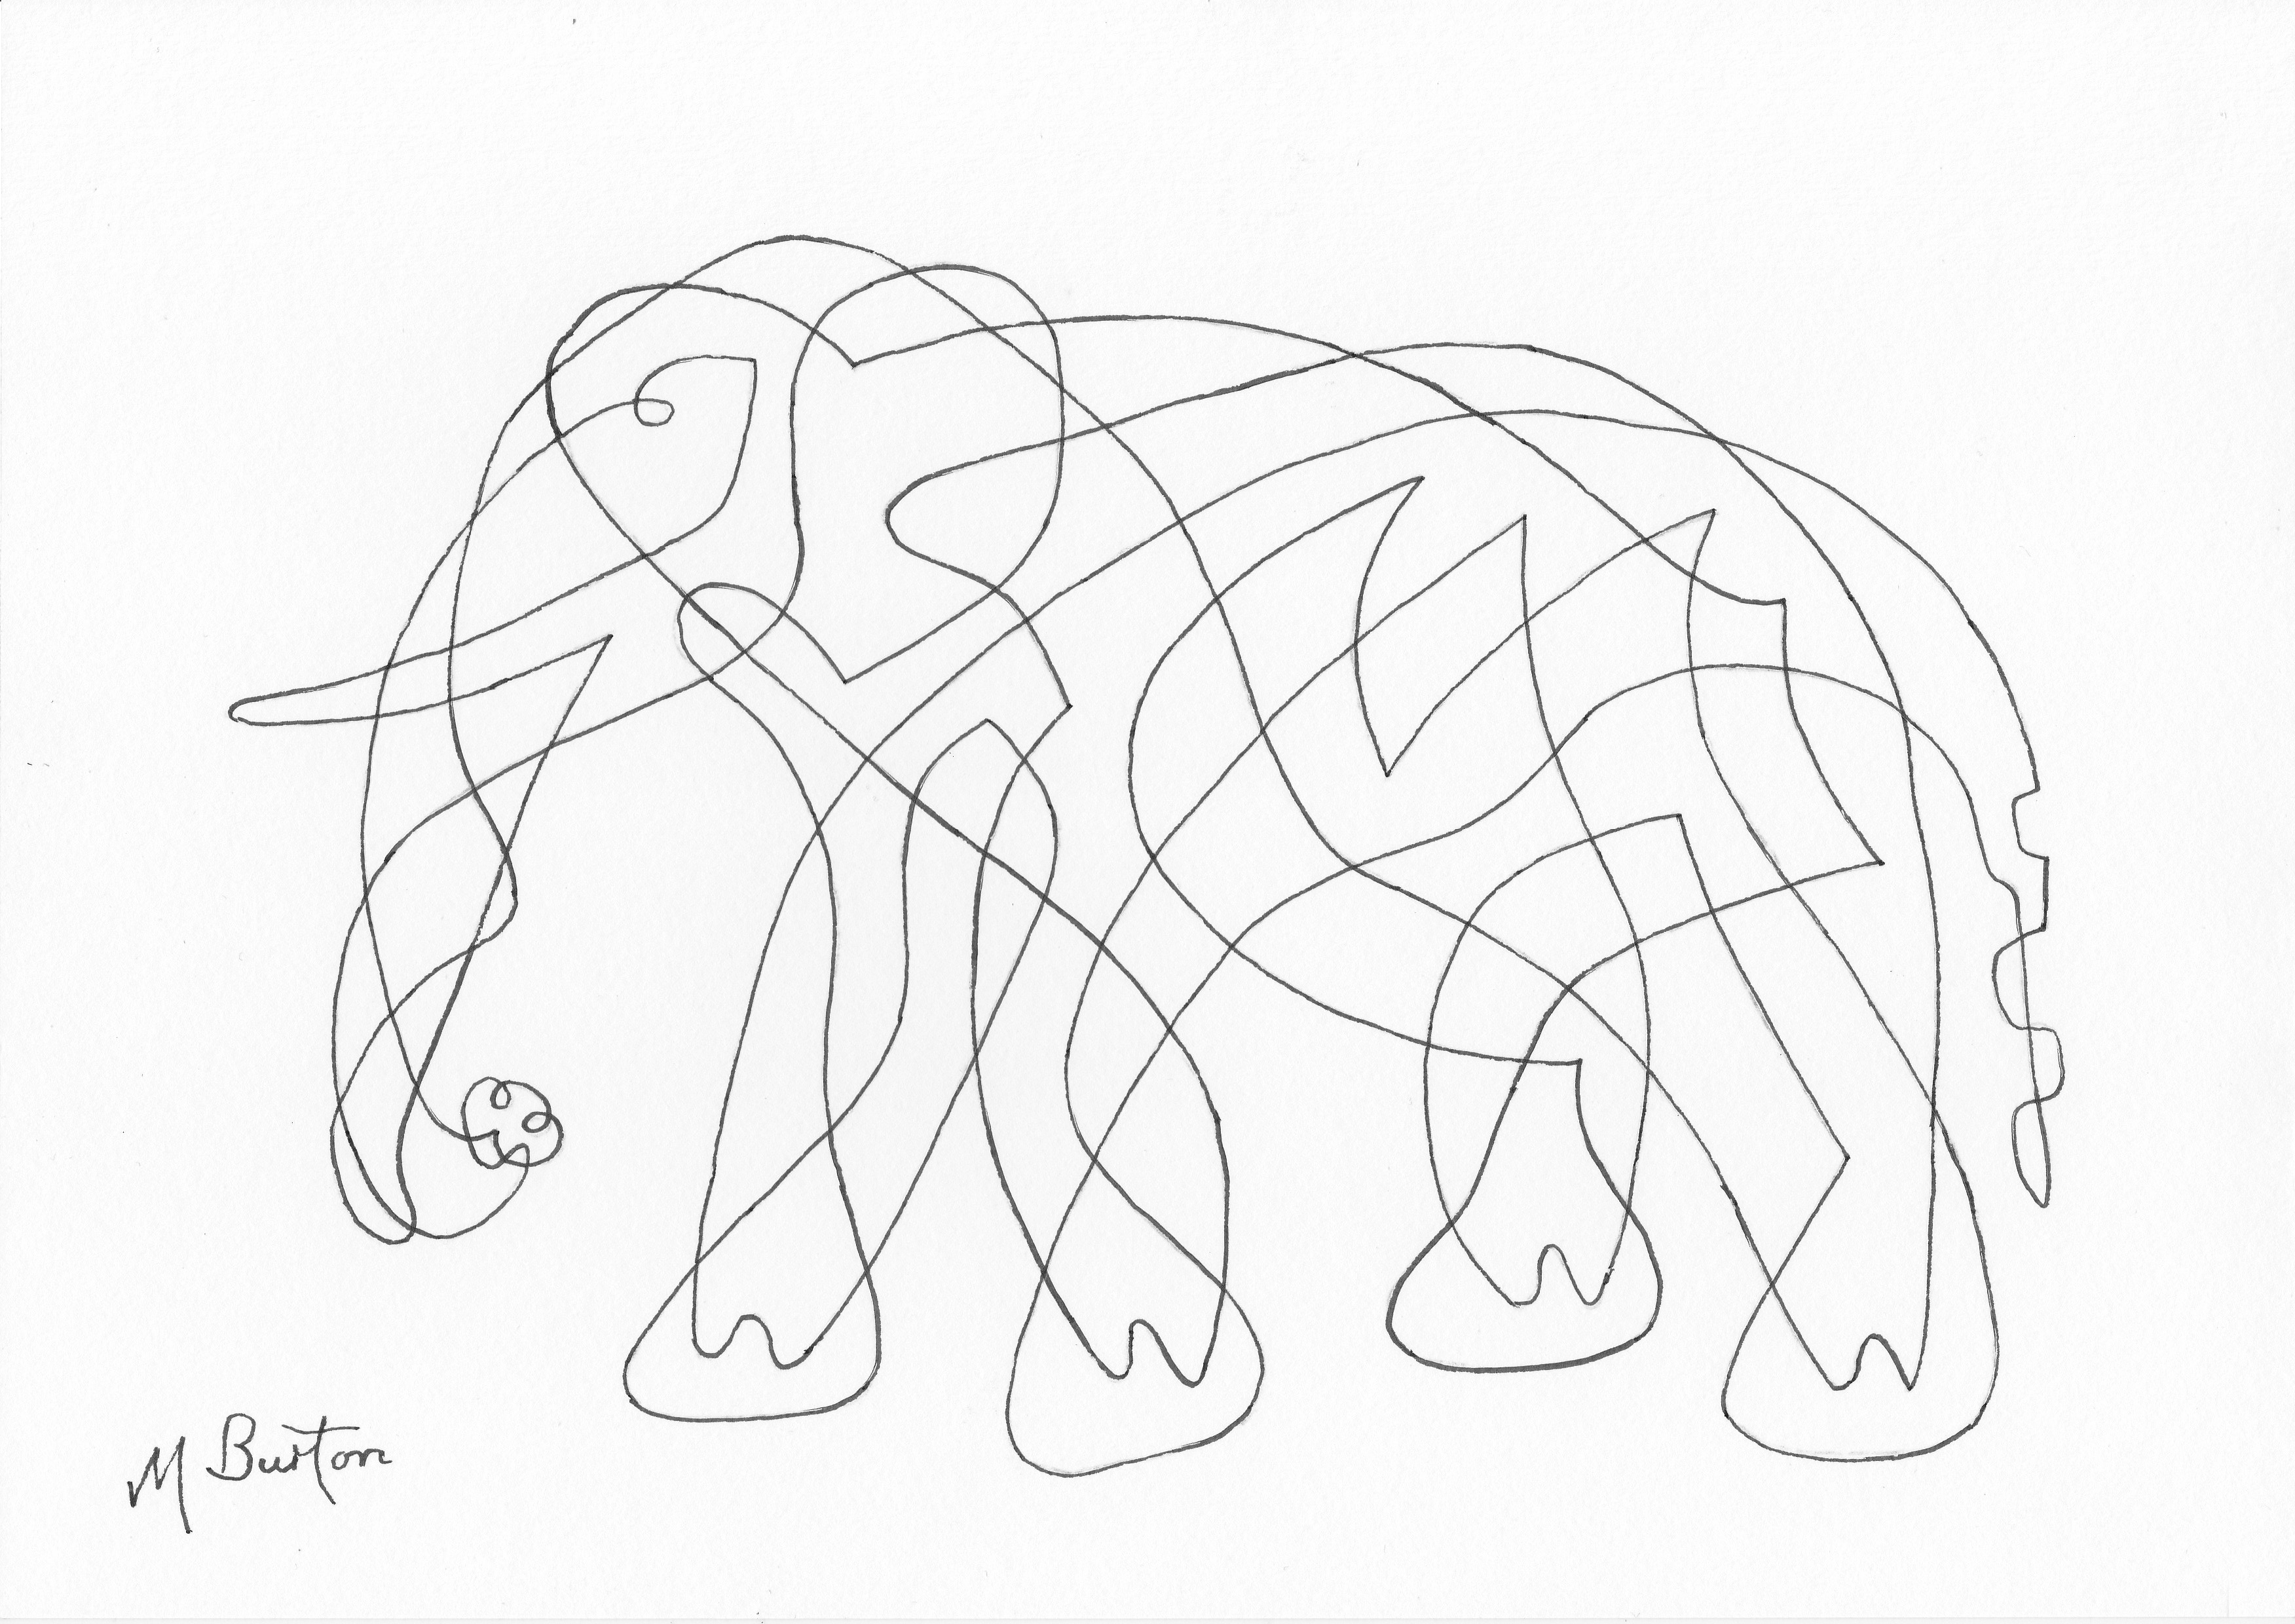
img_20190108_0002

Revised single continuous line elephant.    Mick Burton, Leeds Artist.

The next stage was to apply my Colour Sequence to the lines, which I completed in the last few days.  The result is shown at the top of this post.

To explain the process I use, and how it works, I will briefly go through the illustrations which I used later on in the Demonstration at Harrogate and Nidderdale Art Club.

We start by drawing a winding line in an anticlockwise direction.
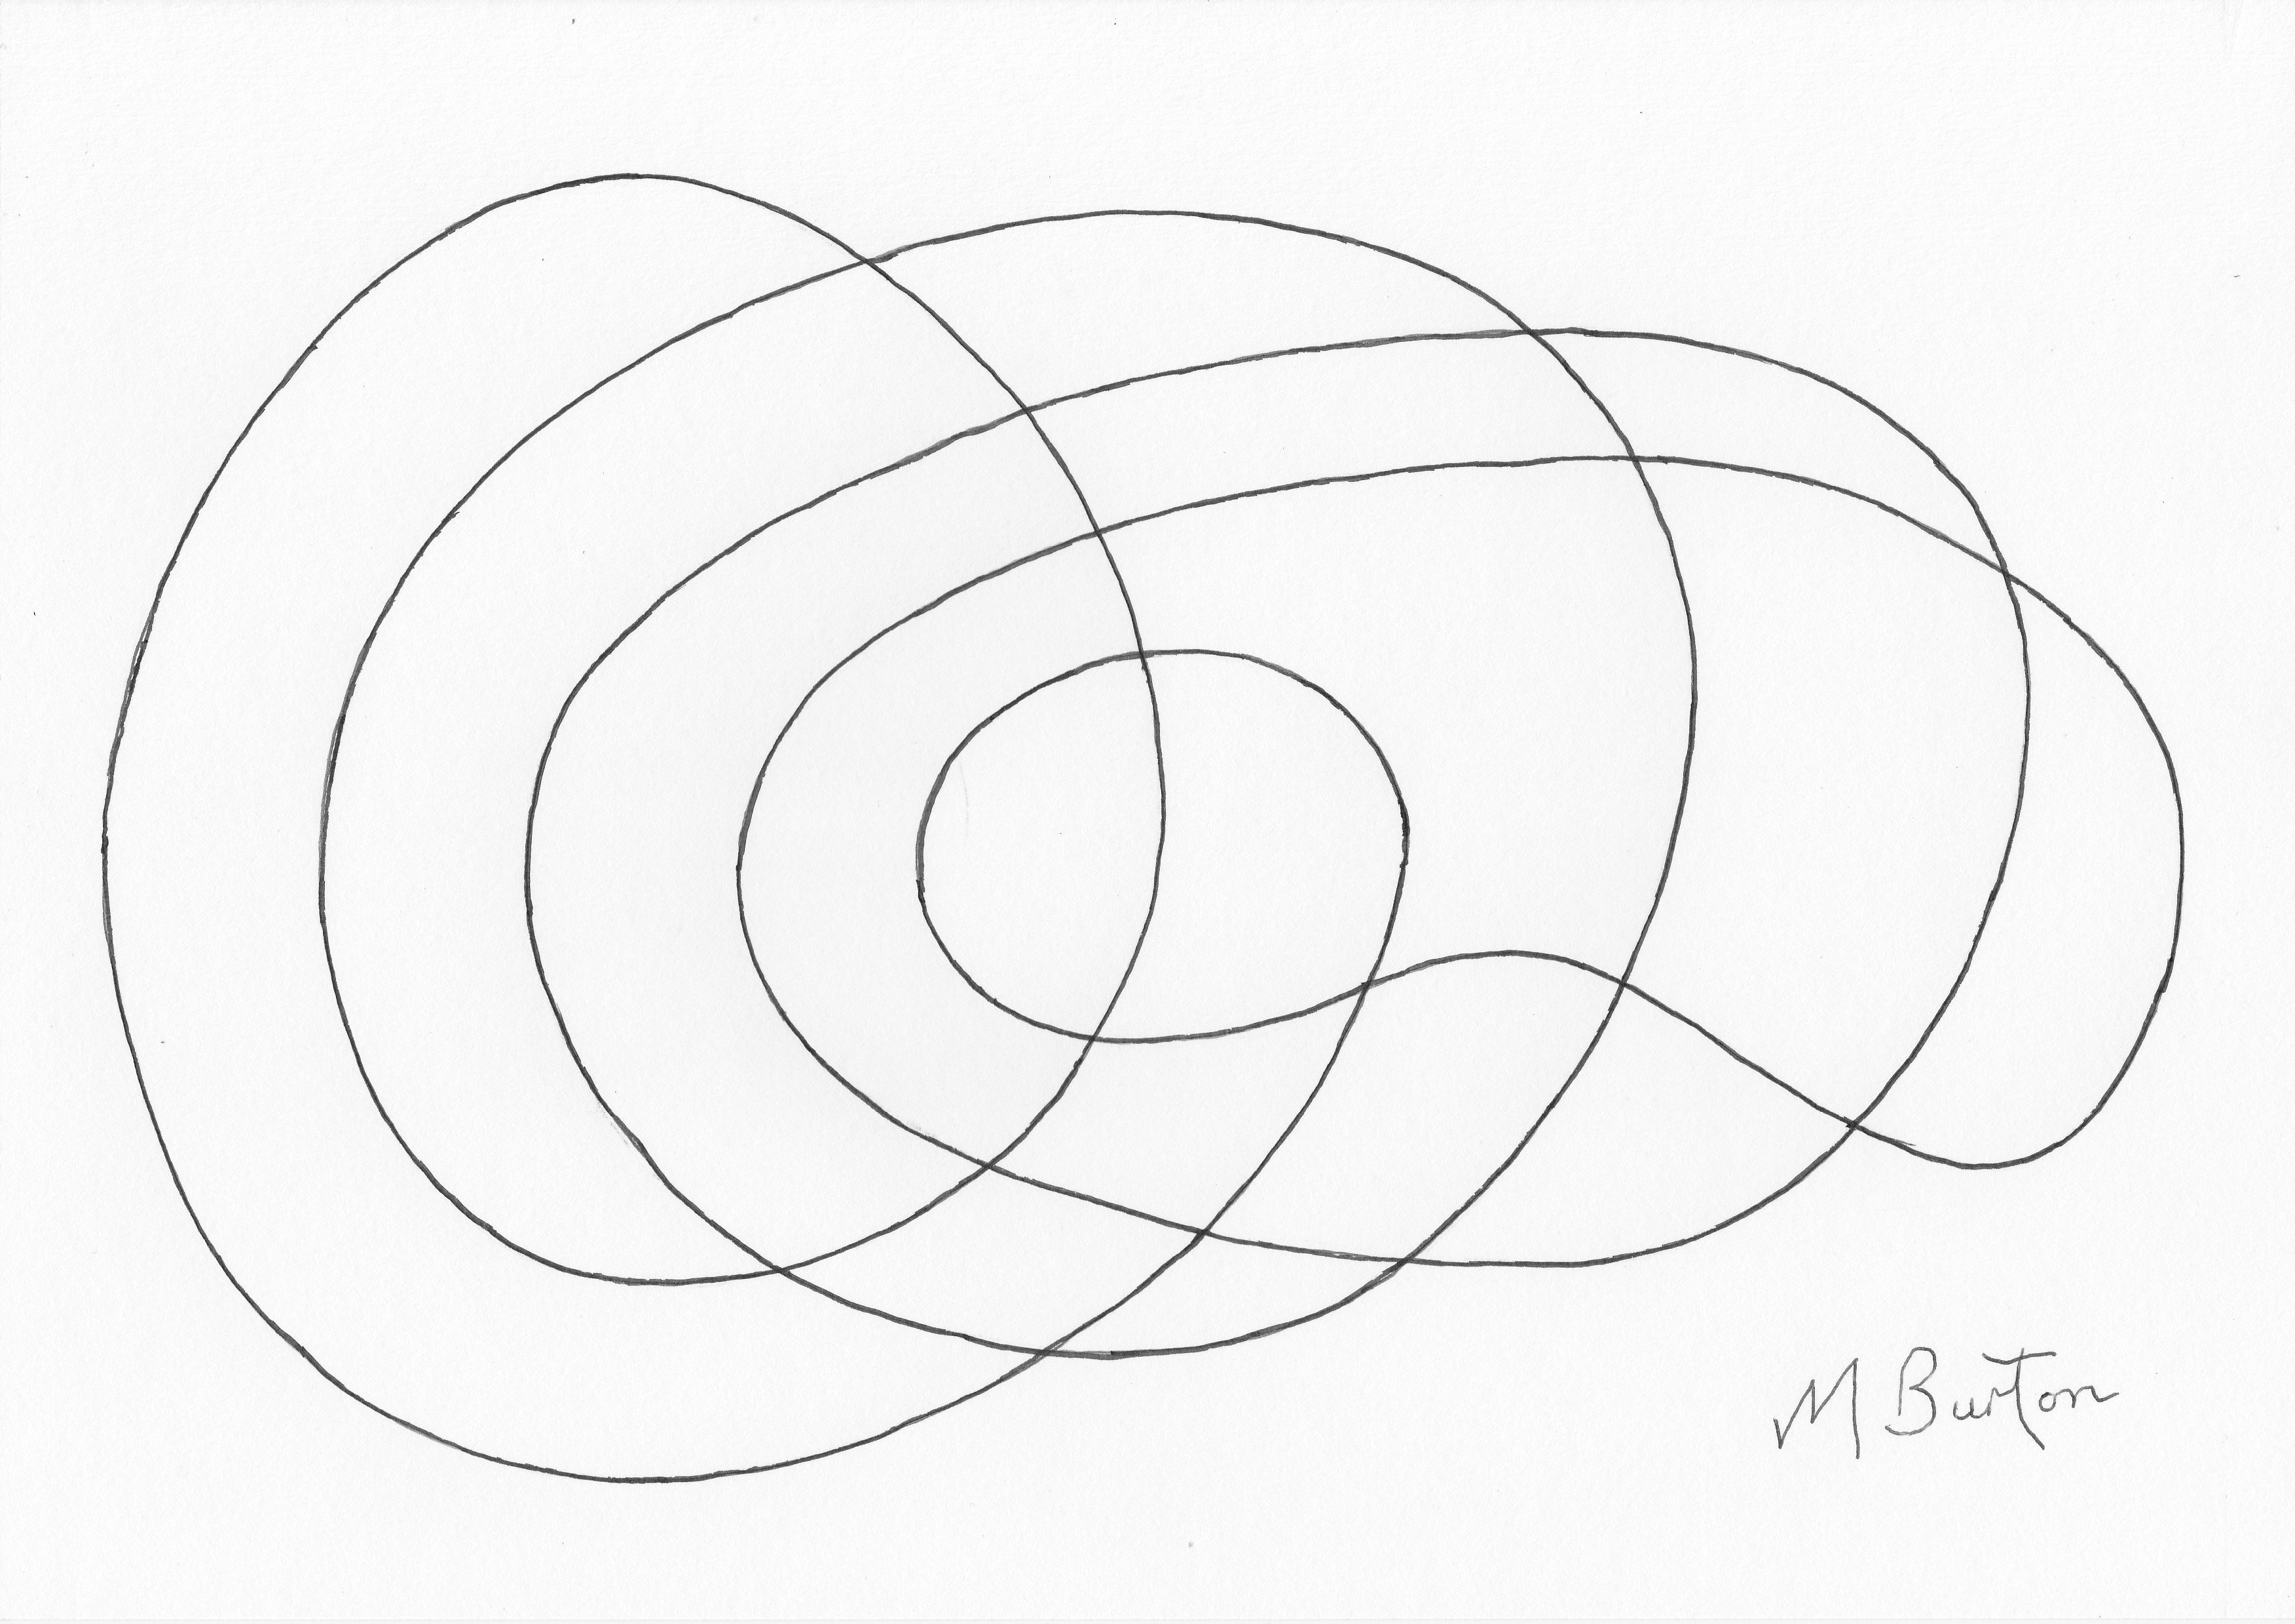
anticlock 1 line

Stage 1. Single line drawn anticlockwise.   Mick Burton explains colour sequence.

Then, starting on an outside section of line, overdraw in red alternate sections of line.  This results in three different continuous line sections bounded by a red line.

anticlock 2 alt overdraw

Stage 2. Overdraw in red missing alternate sections.   Mick Burton explains colour sequence.

We can now number all the areas to indicate where the colours in the sequence go.  Call the outside 0 and number through the sections to 5 in the middle.  You will see that each channel between red lines has alternately numbered areas.
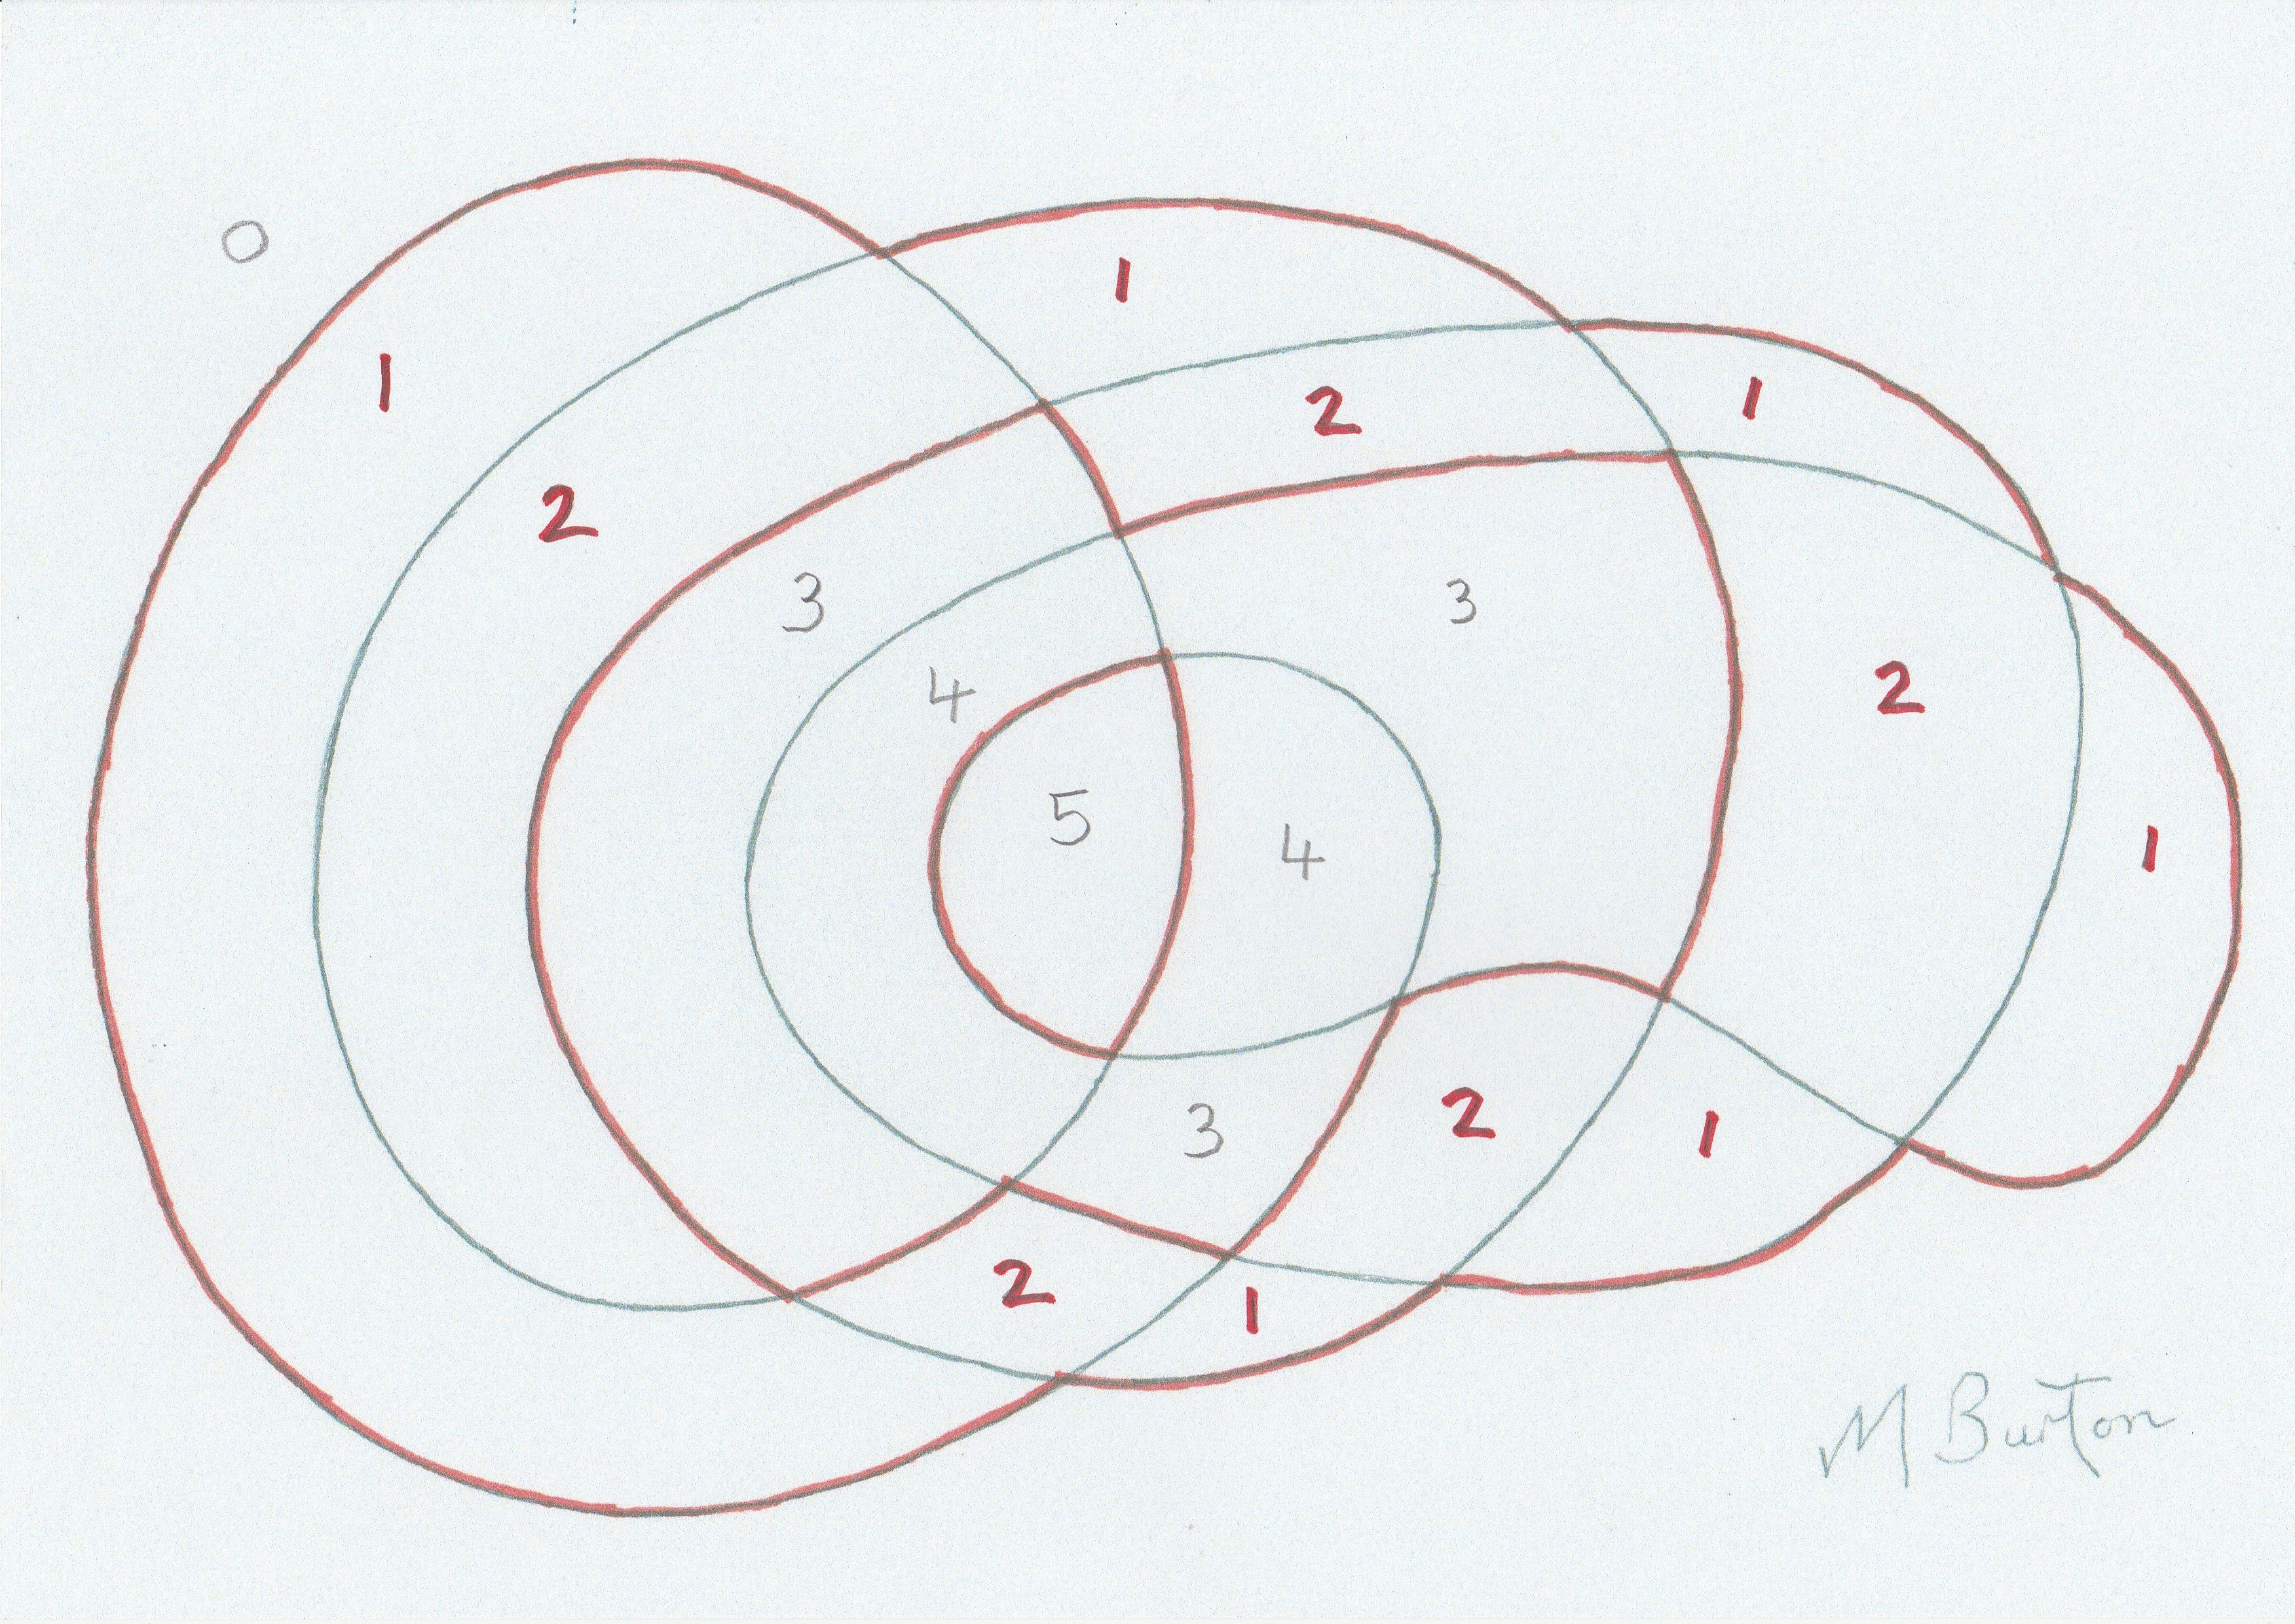
anticlock 3 number alloc

Stage 3. Number the areas in sequence from the outside (being 0) to the middle (being 5). Mick Burton explains colour sequence.

I have already decided on a sequence of colours to use, running from light tones to darker and from yellow to red.  First apply yellow and gold alternately throughout the outer corridor.
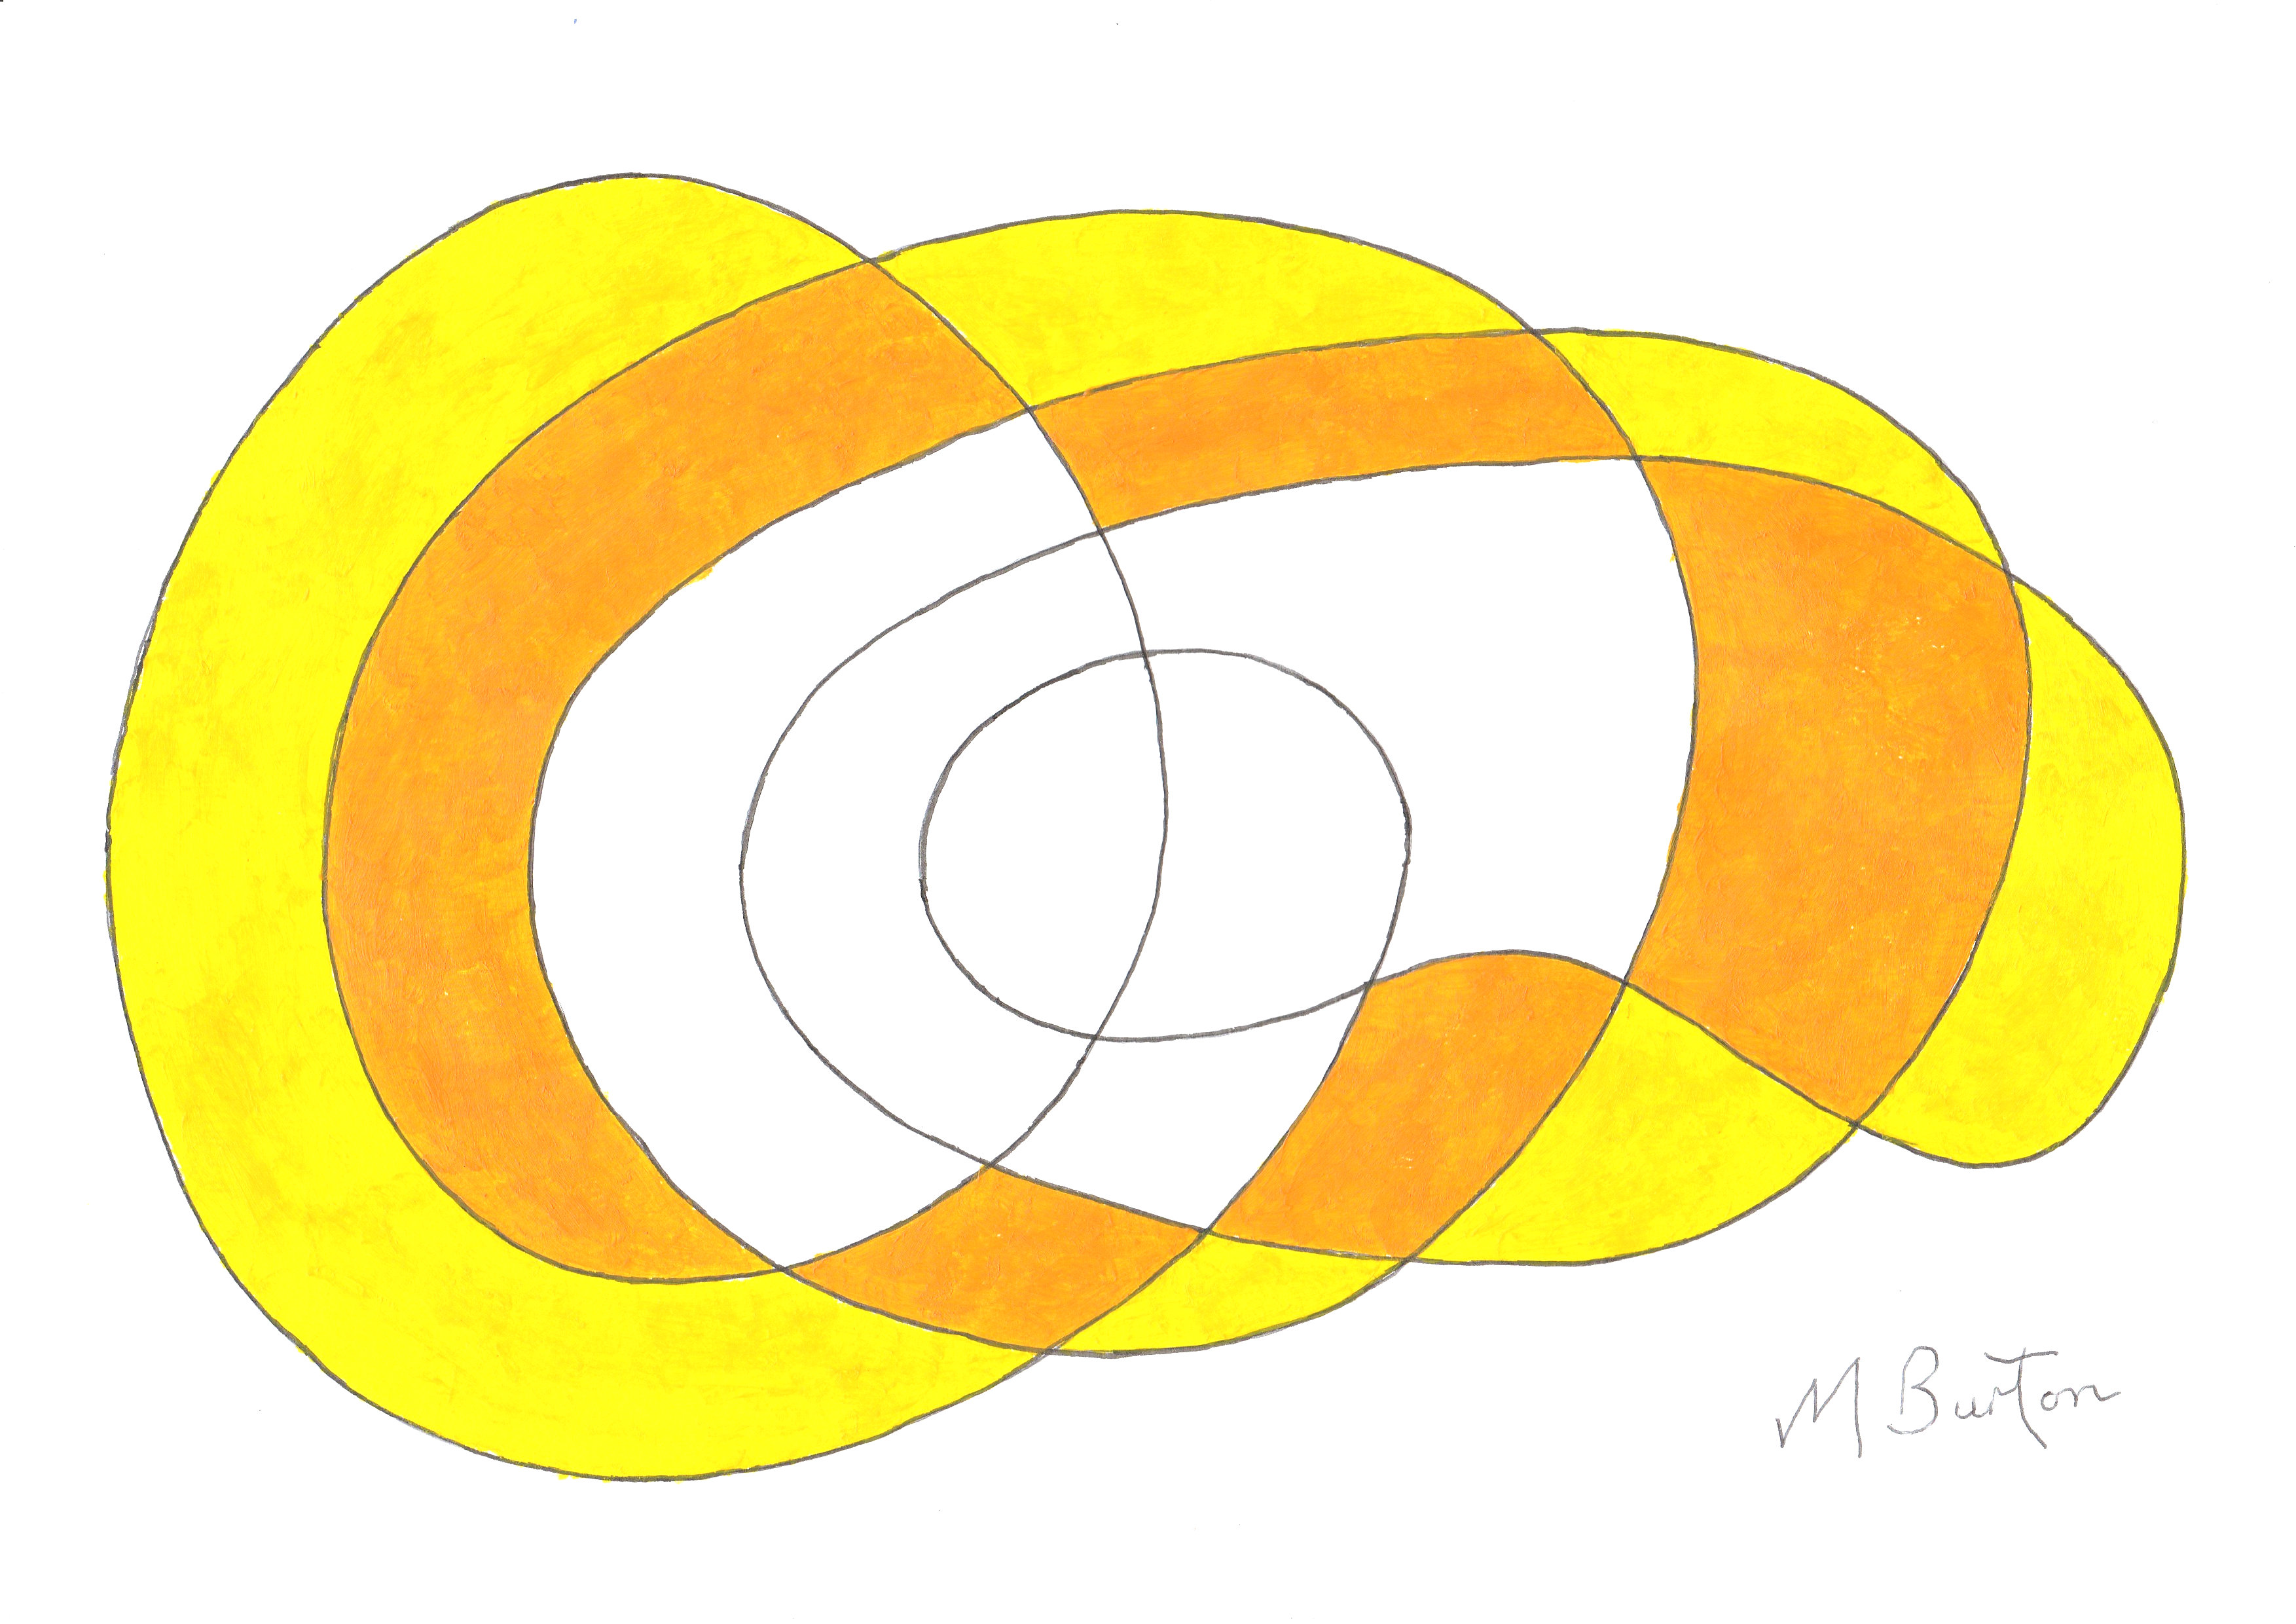
anticlock 4 first alt colours - copy

Stage 4. Paint alternate colours within the outer corridor. Mick Burton explains Colour Sequence.

Paint in the next two colours from the sequence – orange (which looks reddish here) and red – alternately in the inner corridor.  You can see how the colours are lining up in natural sequence of tone and colour.
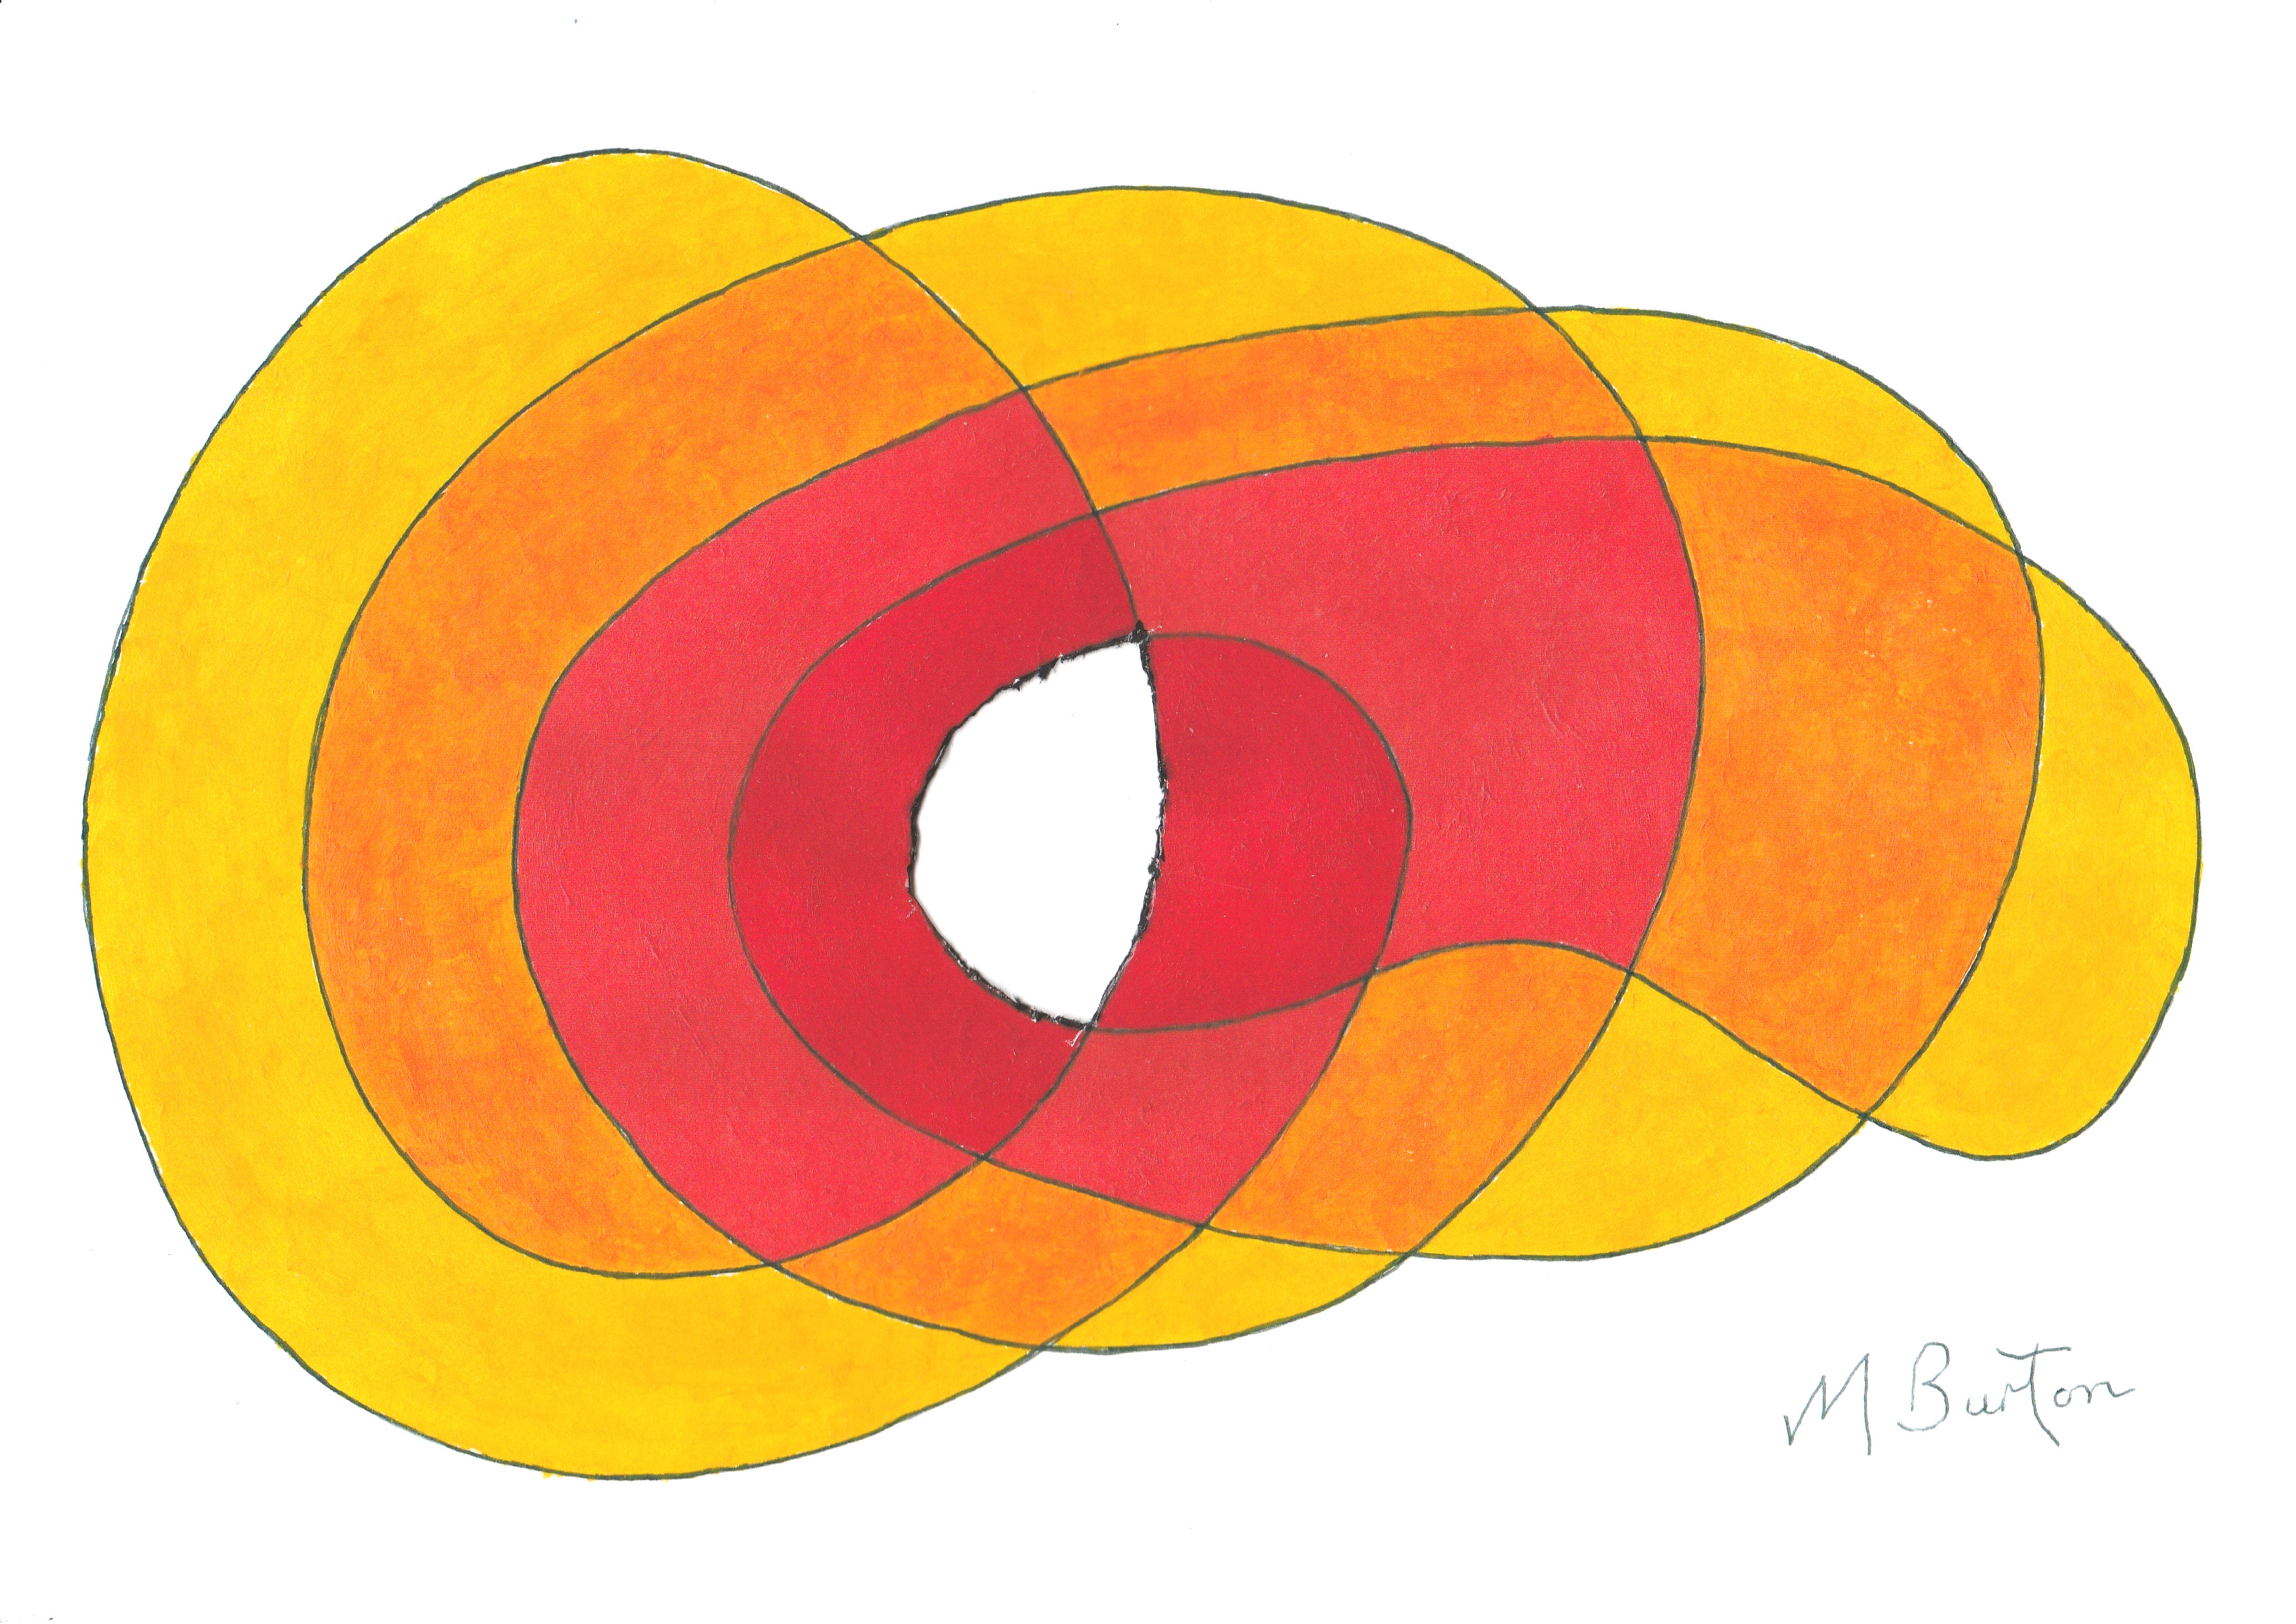
anticlock 5 second alt colours - copy

Stage 5. Paint second set of alternate colours (orange, which looks reddish here, and red) in the next corridor.   Mick Burton explains colour sequence.

Lastly, for our anticlockwise line we paint the central area (which has its own red line surrounding it).  The result is a simple set of sequences running from the outside to the middle.

anticlock 6 full colours

Stage 6. The last colour in the sequence (dark red) is added in the centre. Mick Burton explains colour sequence.

As you will have realised, each loop going over earlier parts of the drawing adds a level, like overlapping shadows or leaves on a tree looking darker as they overlap.  The direction of darker tones of colour in the sequence reflects this.

In more complex drawings, however, the sequences of colours can change direction.  To show this we need to have a different single continuous line.

Start drawing your line with two loops from the lower left in an anticlockwise direction as before.  When you reach the upper left change to doing three loops in a clockwise direction and then go back to the start by a line running underneath.
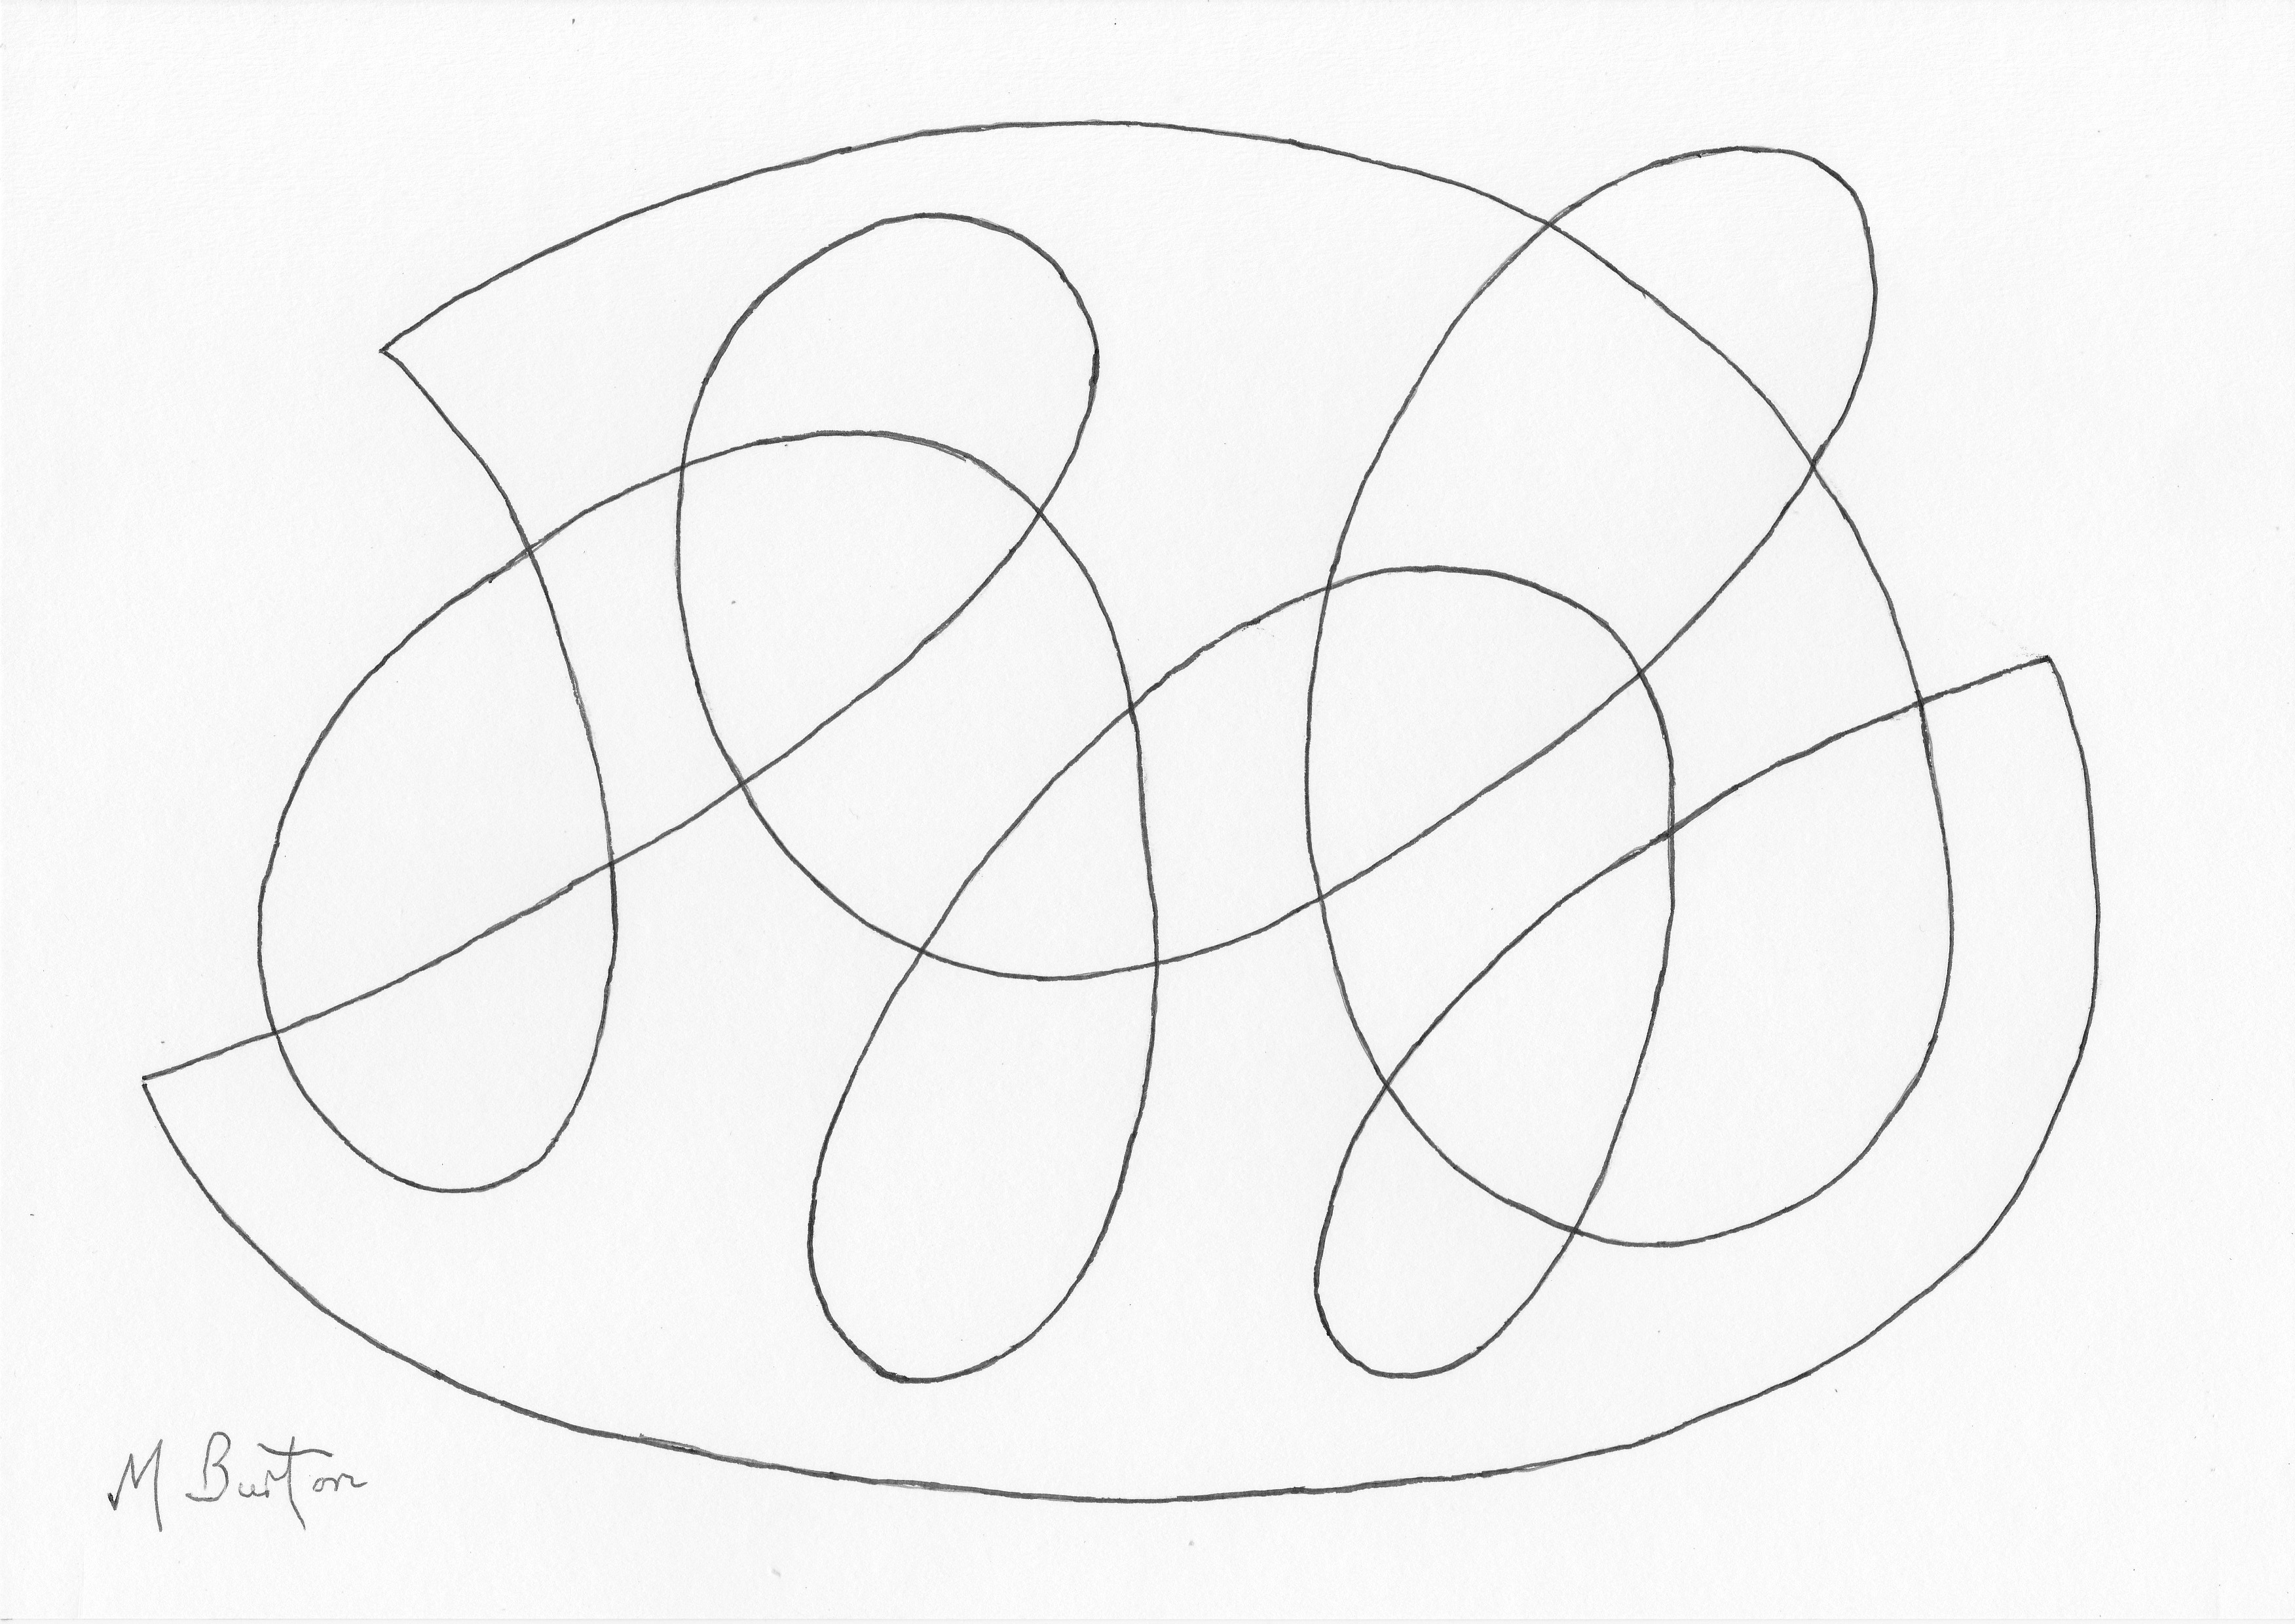
clock 1 line

Stage 7. Start drawing your line from the lower left in an anticlockwise direction doing loops and when you reach the higher left change to clockwise loops running back to the right. Then finish clockwise running underneath to the start. Mick Burton explains colour sequence.

Here is confirmation of the directions of the line, anticlockwise and clockwise, and how they change and run back over earlier lines.  We now have a more complex drawing for colouring.

clock 2 directions of line

Stage 8. Here is the completed single line with the directions shown – red for anticlockwise and blue for clockwise. Mick Burton explains colour sequence.

By applying alternate overdraw in red we split the drawing into corridors which look a bit more complicated than the simple anticlockwise drawing we did earlier.

clock 3 alt overdraw

Stage 9. Alternate overdraw in red splits the new drawing up into corridors for colouring. Mick Burton explains colour sequence.

When we number the areas, starting at 0 on the outside as before, we have plus numbers at the top of the drawing but minus numbers appear in the lower corridor.  When we follow the natural sequence of numbers downwards from 2 through 1 and 0 we hit -1 and -2.

clock 4 number alloc

Stage 10. Numbering from 0 on the outside as before we get minus numbers as well as plus. Mick Burton explains colour sequence.

After I had been doing my colour sequence for a few years I found out that mathematicians call this mix of anti and clock directions Winding Number Theory.  When you continue with loops in an anticlockwise direction you are adding levels of overlap and when you change to clockwise you start reducing levels.

We can now apply alternate colours yellow and red to the upper channel.

clock 5 first alt colours

Stage 11. First set of alternate colours in the upper channel on the complex drawing. Mick Burton explains colour sequence.

Then we can complete the positive colour direction.
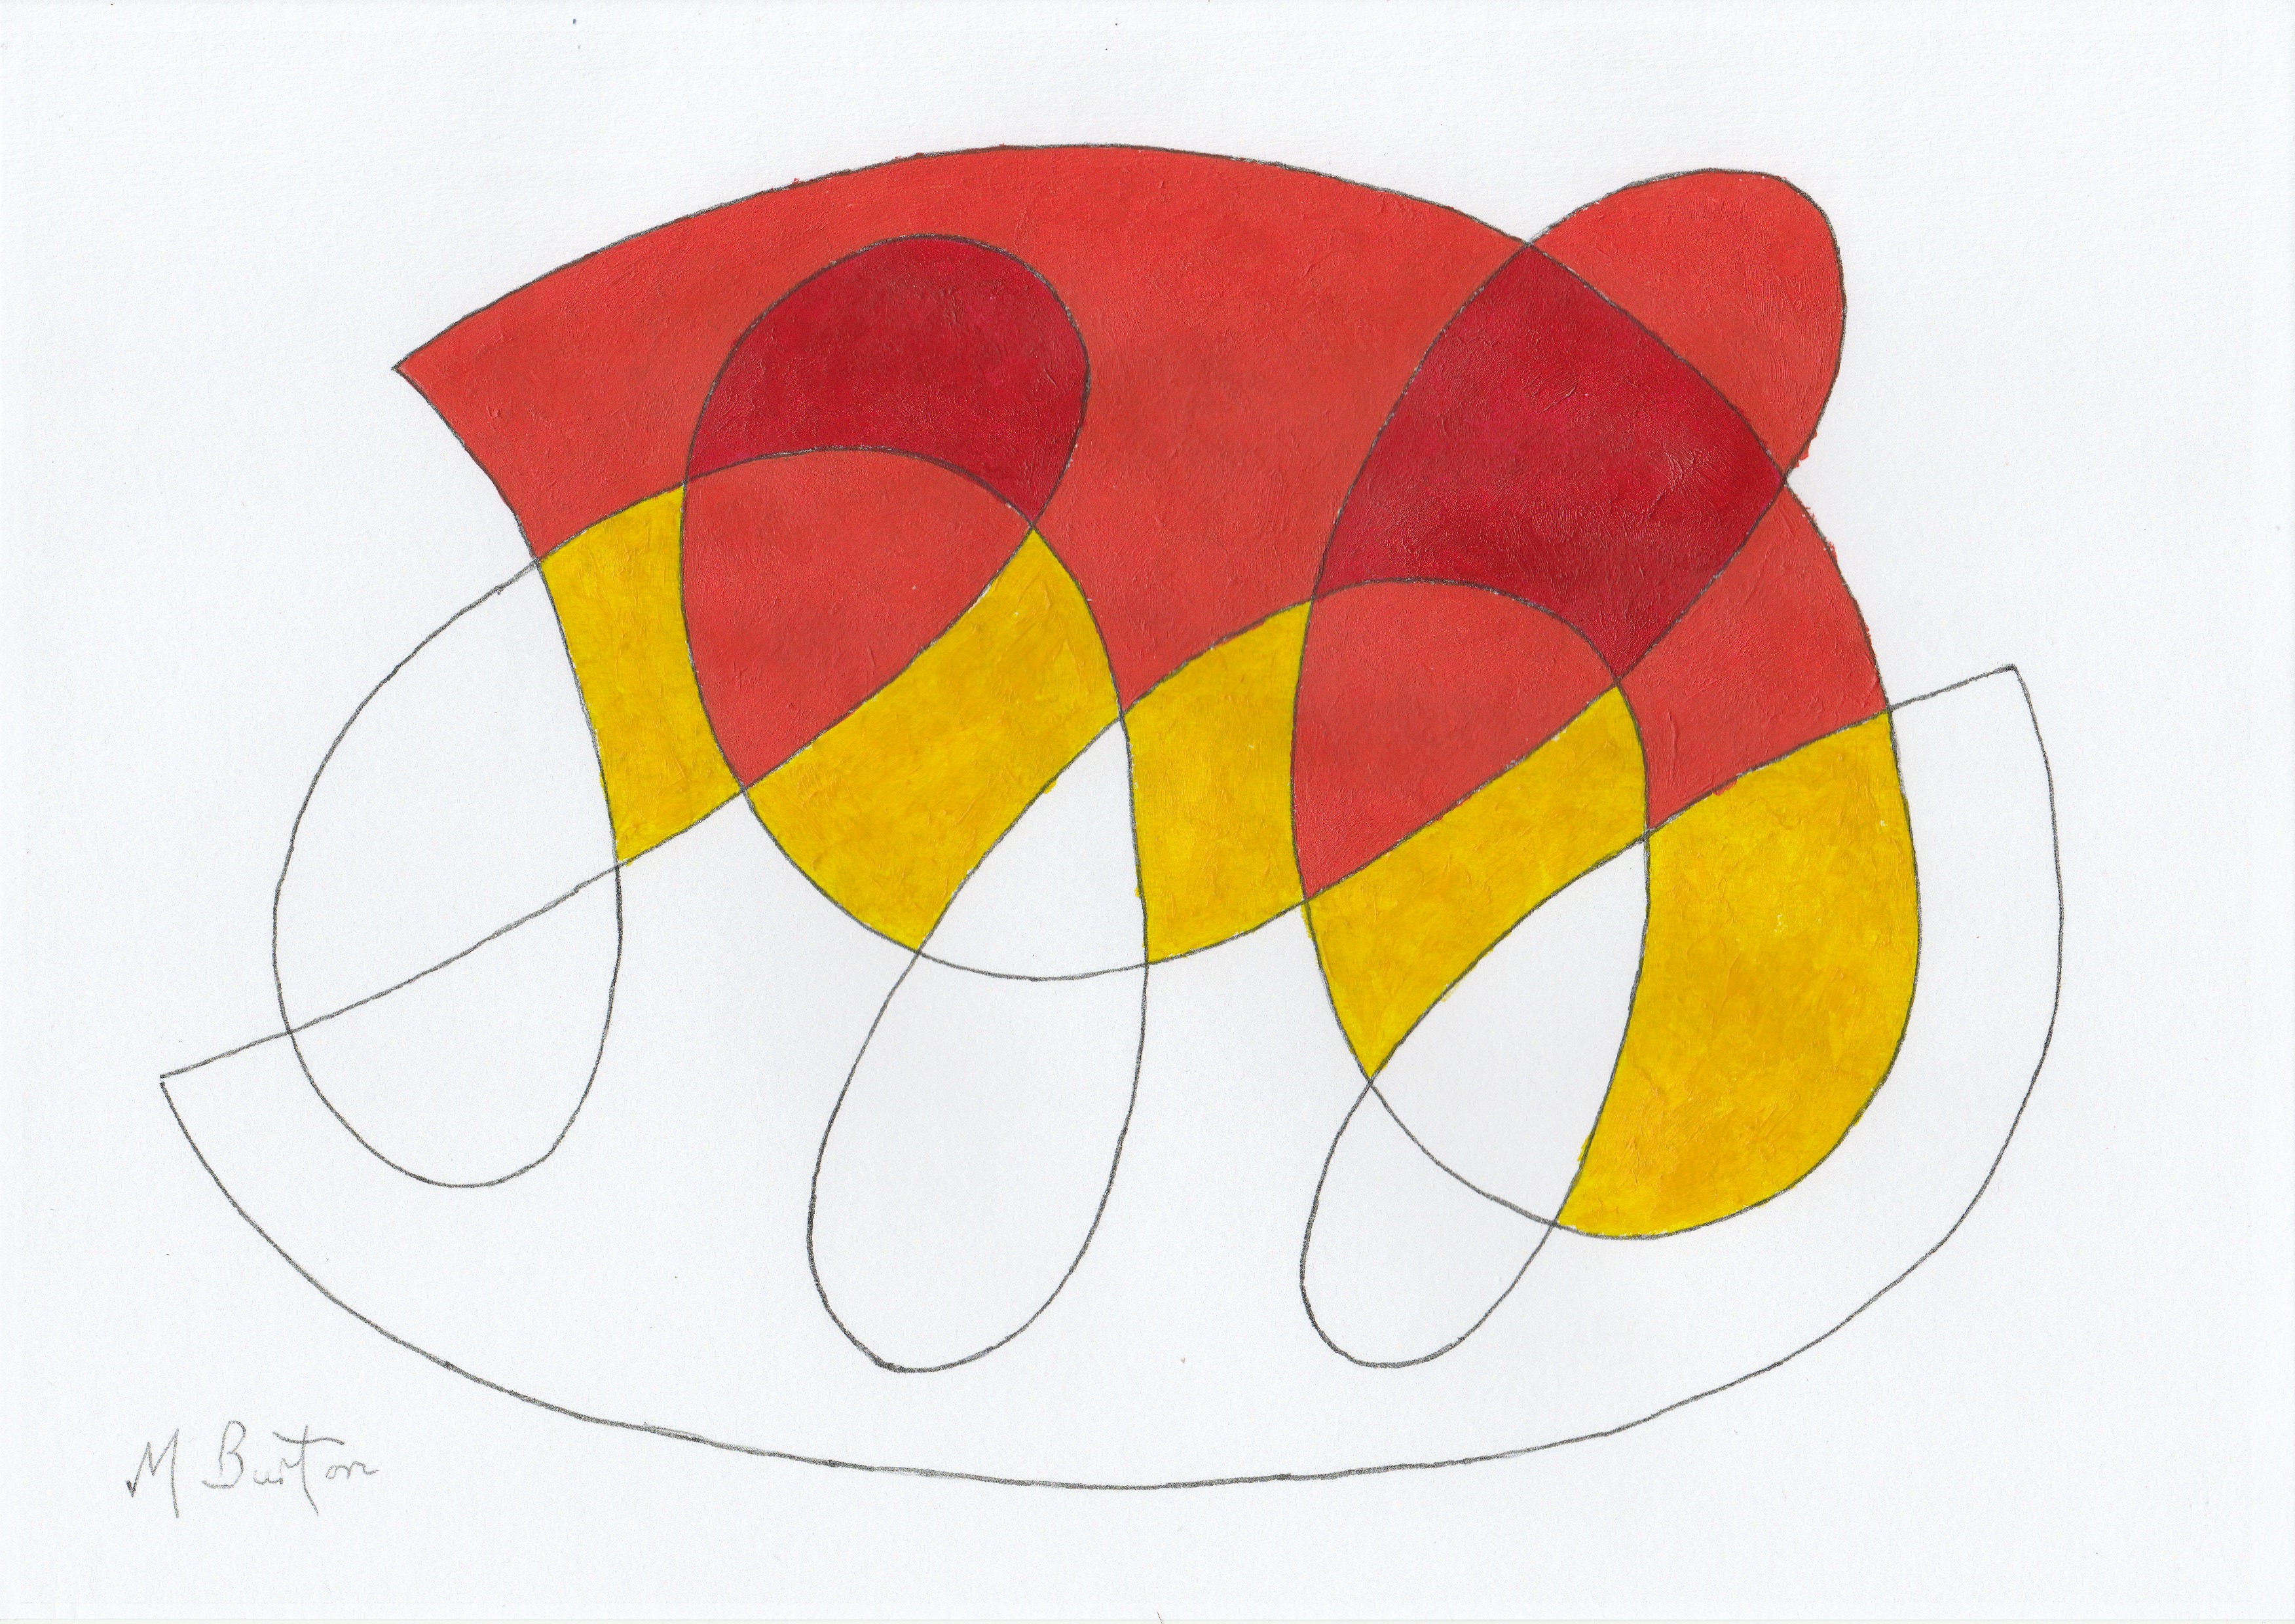
clock 6 last upward colour

Stage 12.  Completing the plus direction colours by adding dark red.   Mick Burton, continuous line artist.

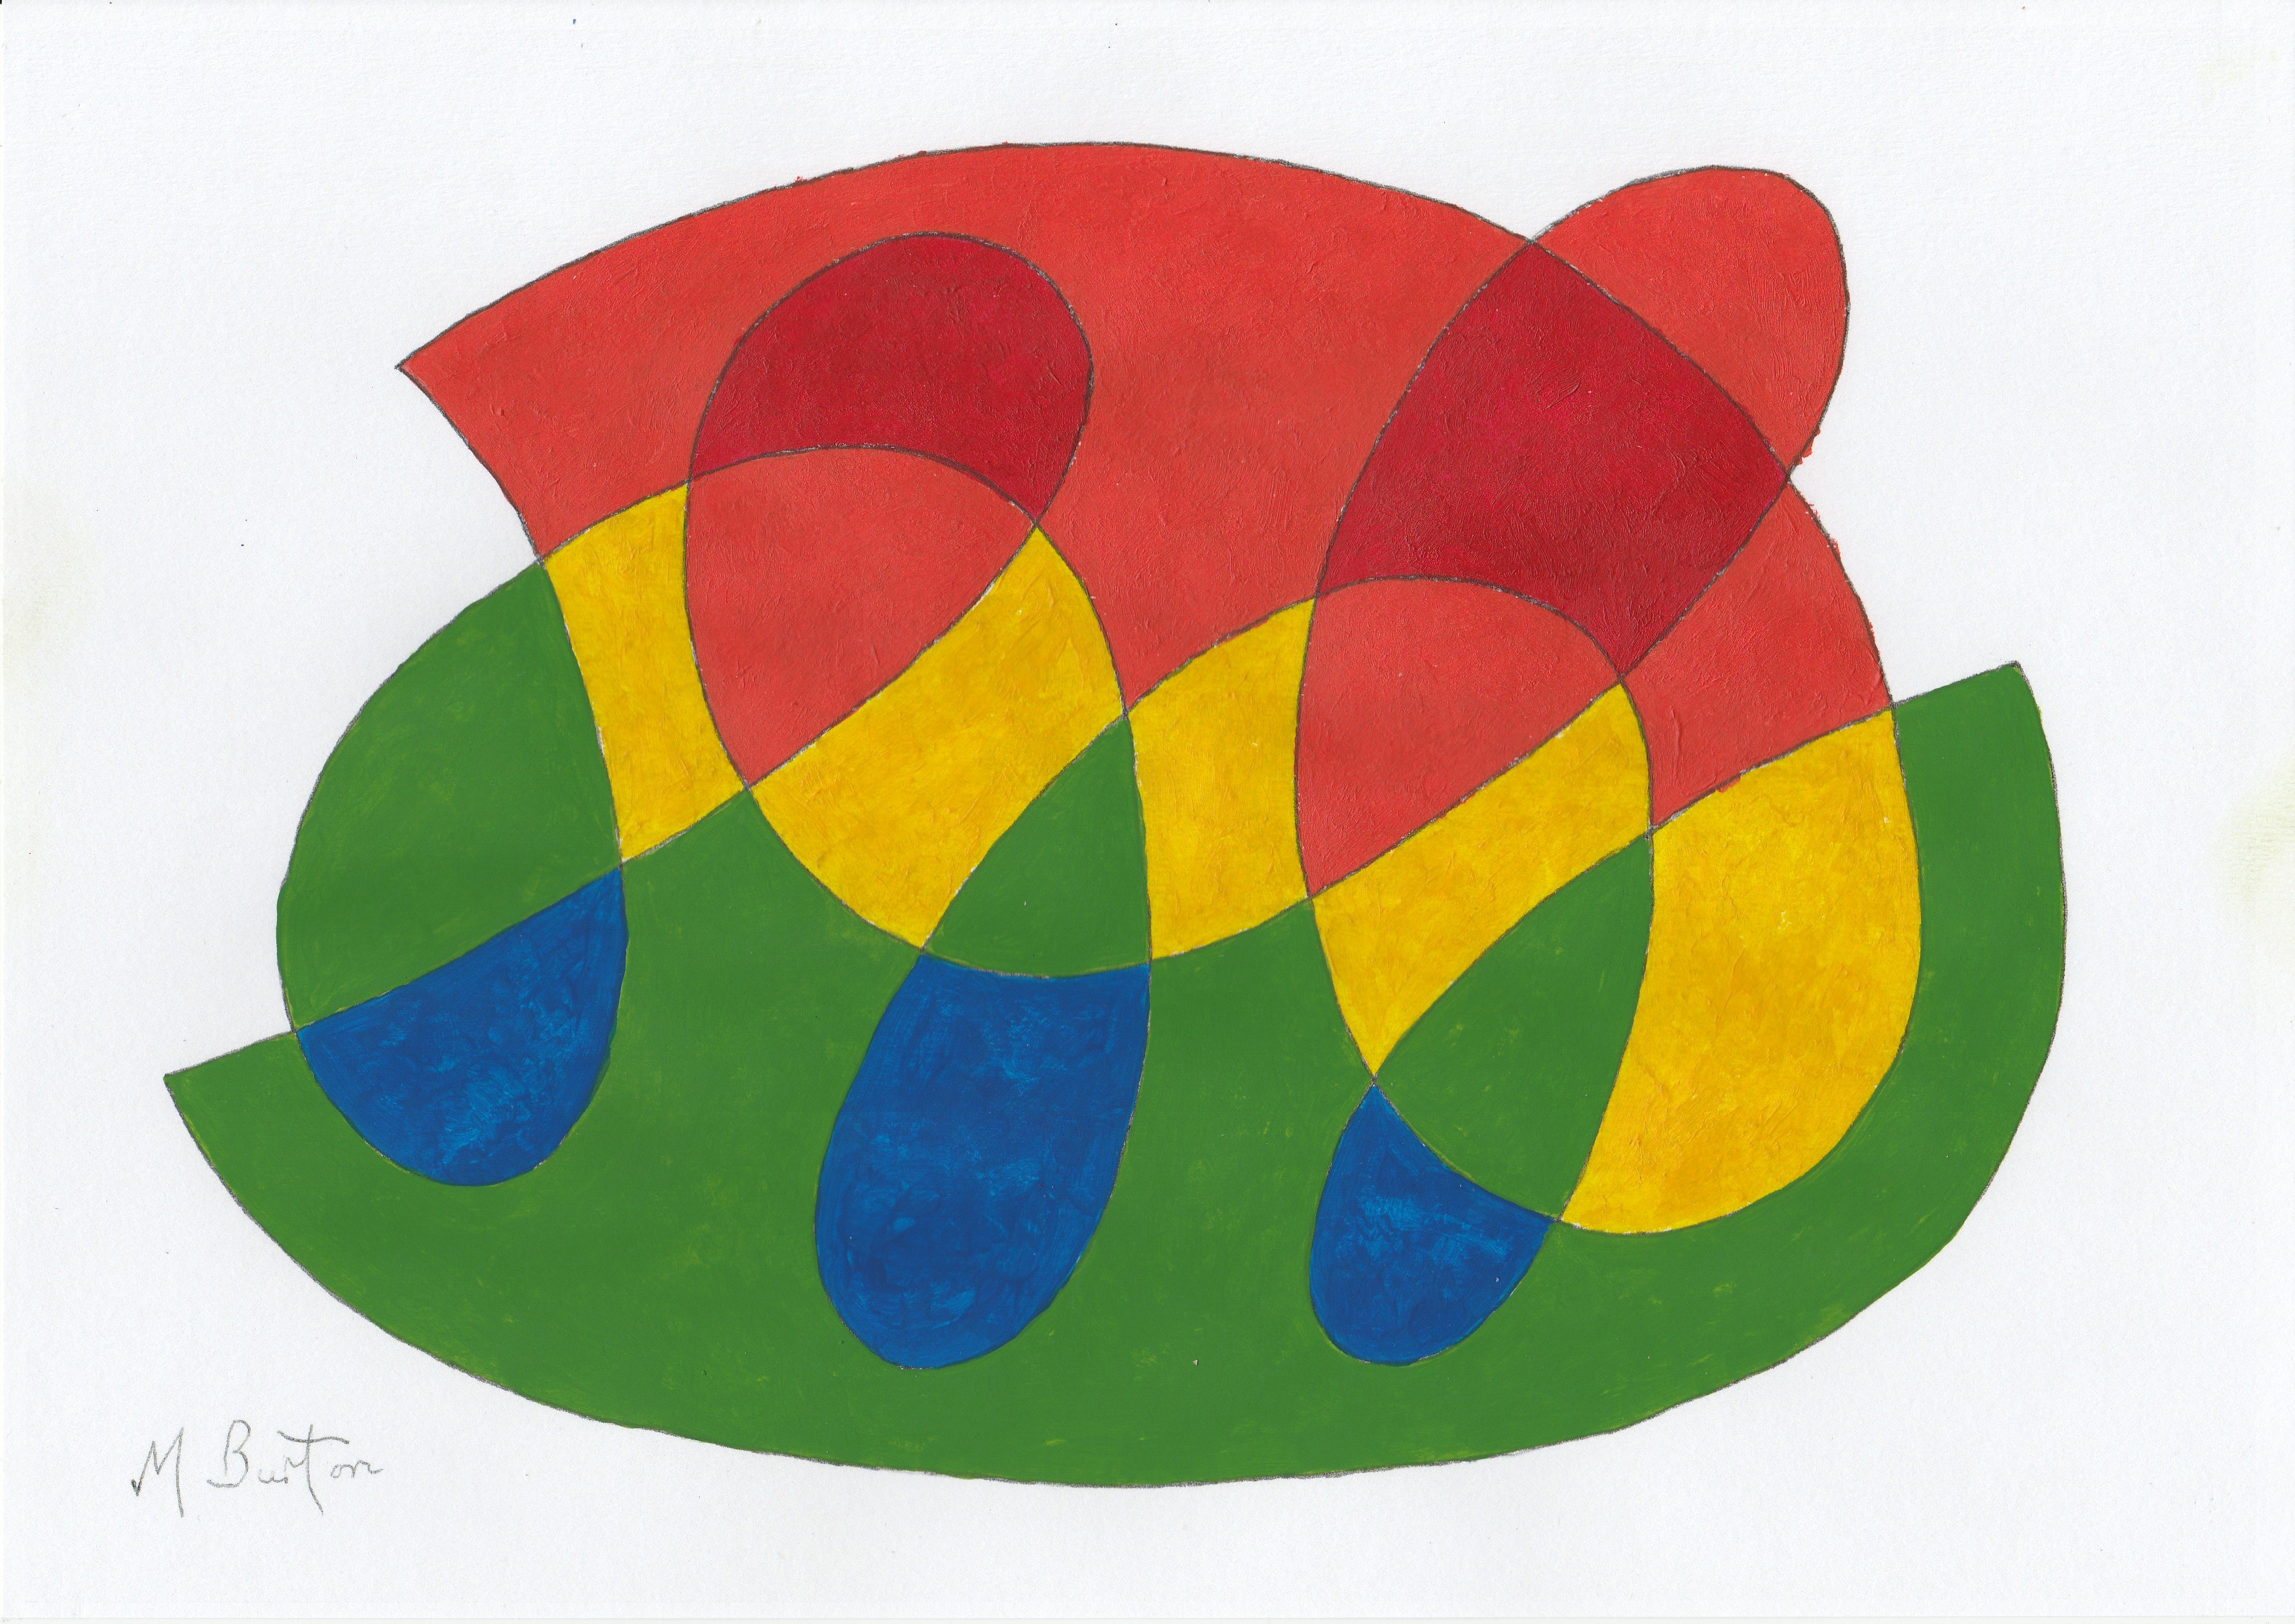
Now looking at the lower colours, in the clockwise section of the drawing we add the final two colours alternately.
clock 7 downward colours

Stage 13.  Complete colour sequence on single continuous line drawn in both anticlockwise and clockwise directions. Mick Burton, Leeds artist.

So that is the basis of how I do my colour sequence.  

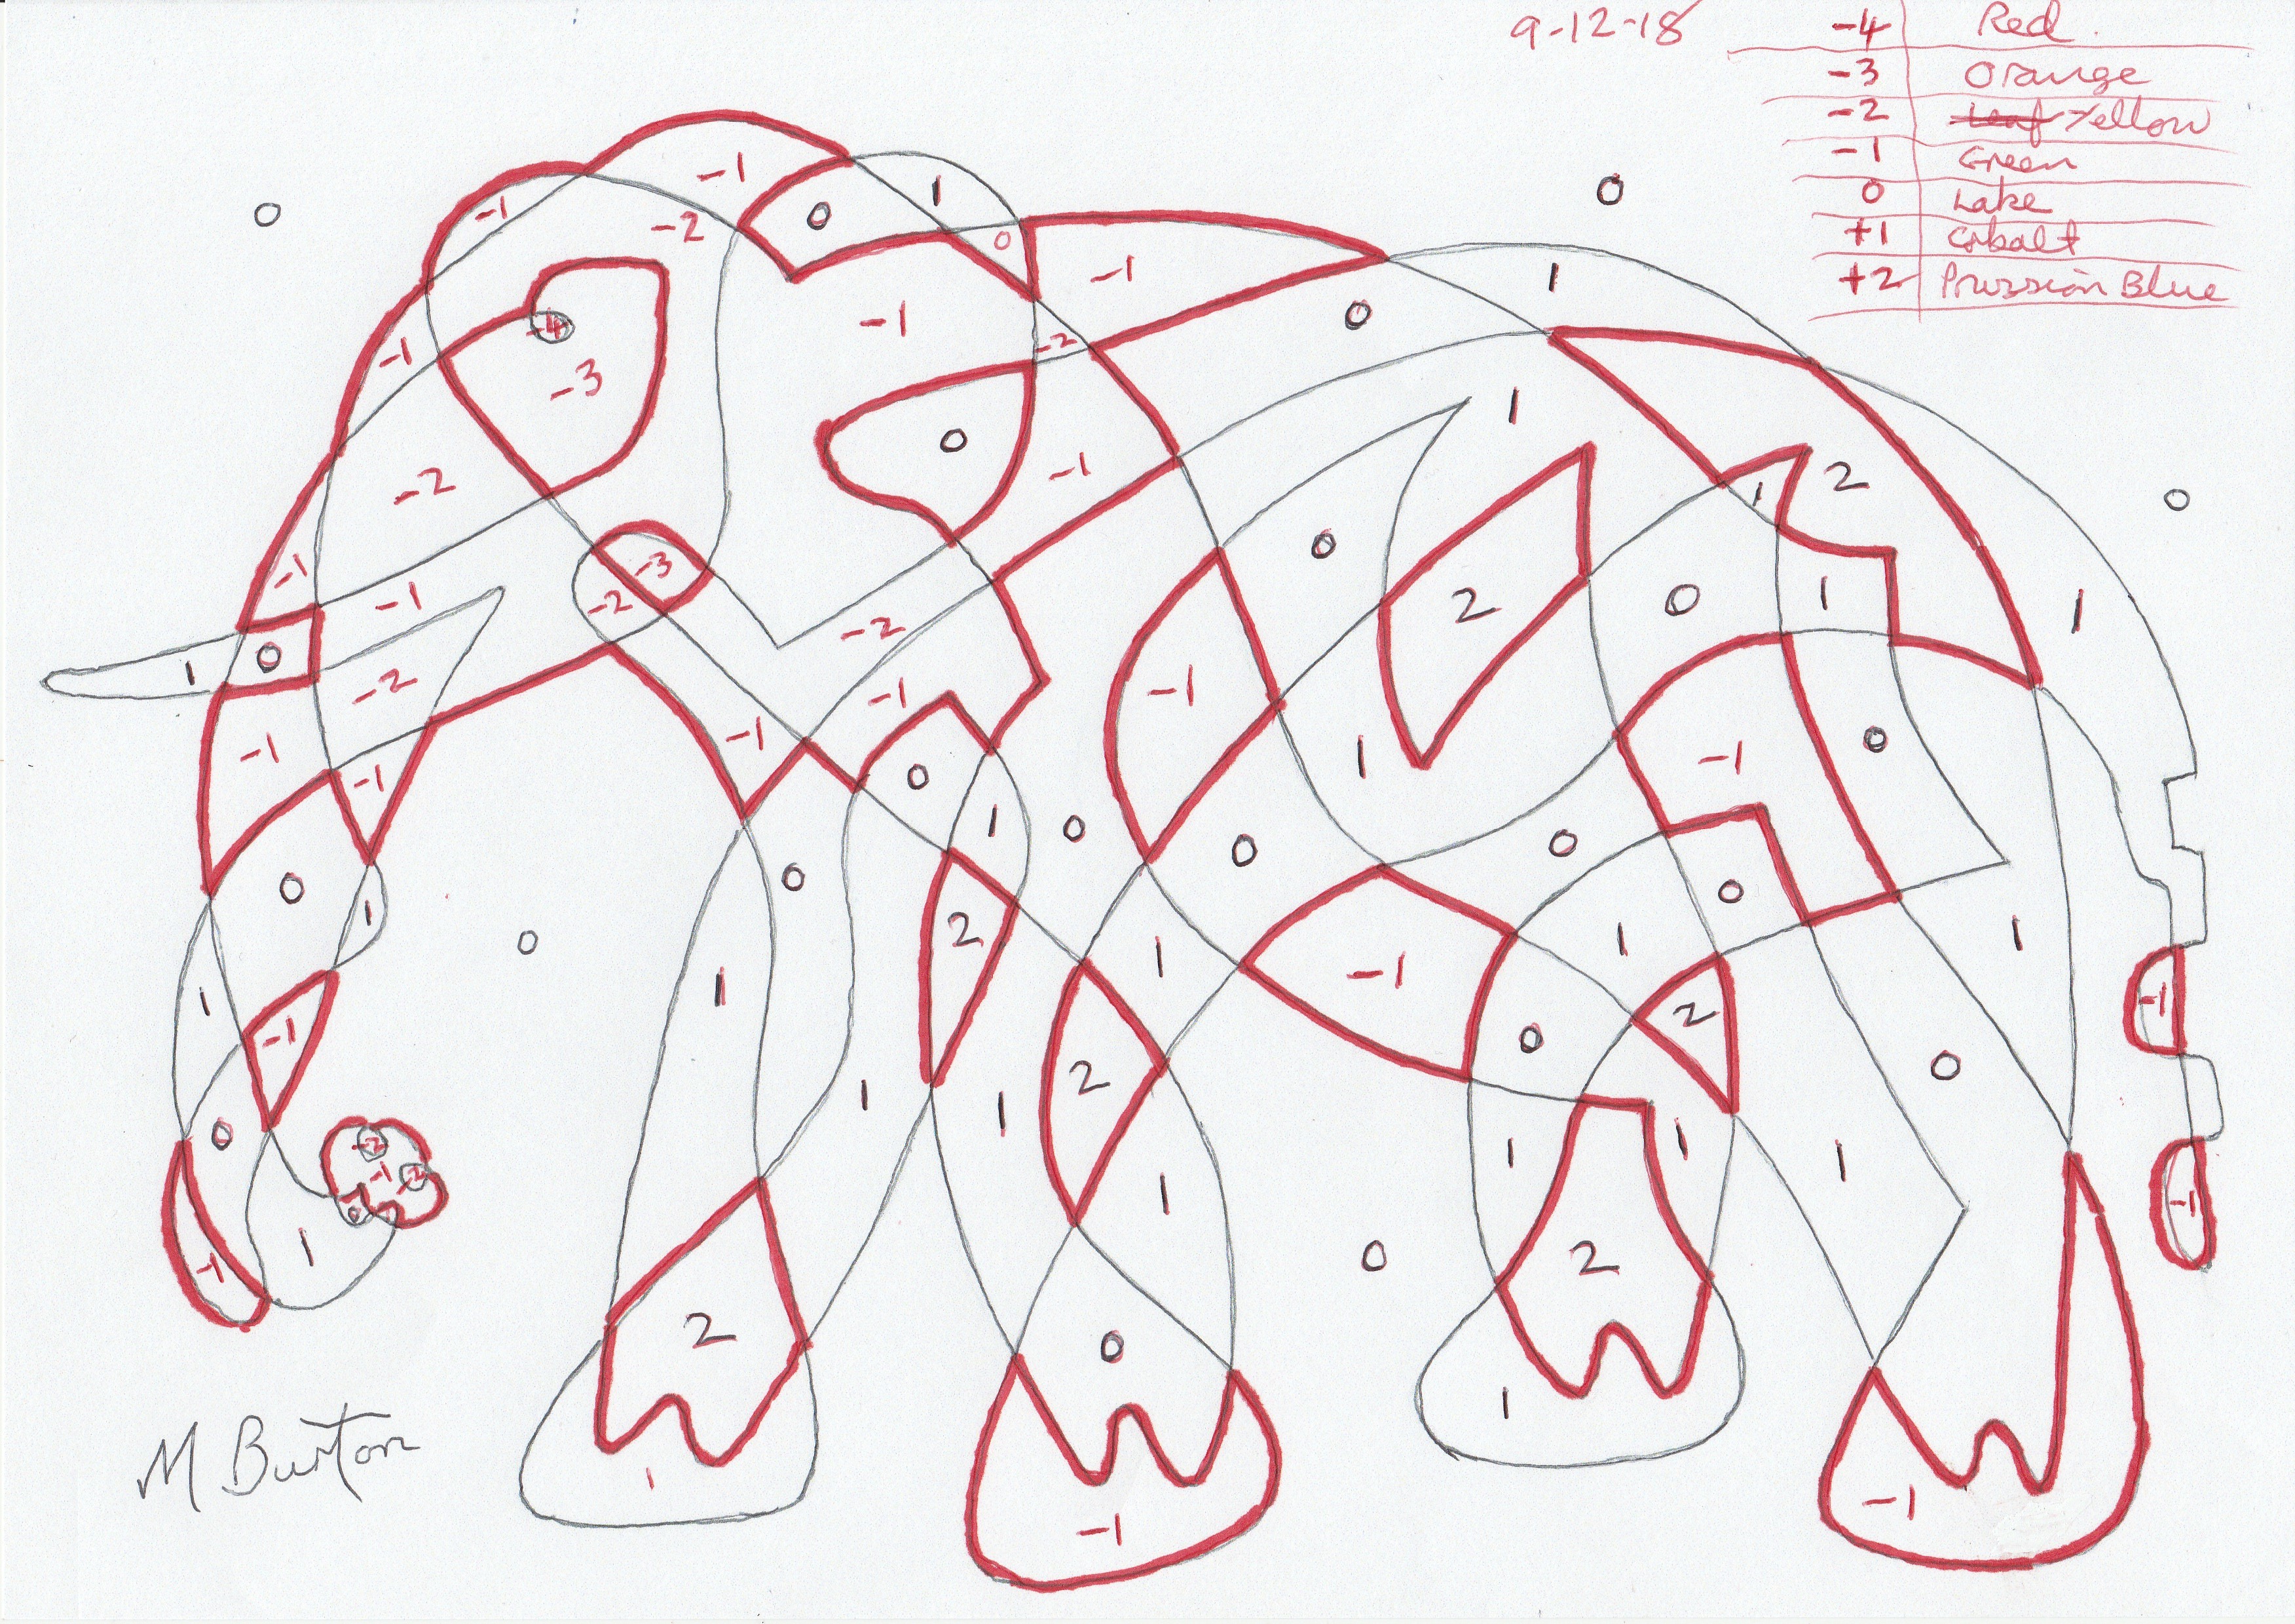
For my elephant, it is more complicated and I show below my sketch after doing the alternate overdraws to create the corridors of alternate colours and then numbered the colours throughout.
img_20190108_0001

Single continuous line elephant showing alternate overdrawn lines in red and colour numbering. The key to the colour sequence and numbering is shown. Mick Burton, continuous line artist.

I have shown the key to the colour sequence and numbering in the top right corner.  The colours can be employed in the opposite direction, of course, but with all my drawings the choice of which direction of sequence to adopt is not too difficult.  The darker colours fall lower down or on the main body of the animal and the more delicate red, orange and yellow mostly on the face. 

I only use red once, and that is on the eye.  This really reflects the greater detail on a face which extends the colour range.  Several of my colour sequence animals have the eye coloured by an end of range colour only used once in the drawing, eg. Iguana, Harriet the Hen and Olympic Lion.

The completed elephant, at the top of the post, has a story behind it.  I did the initial drawing in my demonstration to Harrogate and Nidderdale Art Club on 6 December 2018, which is the day my first grandson, Lucas, was born in Glasgow, son of Kate and Mark. 

I have decided to call the elephant Clyde after the famous Glasgow river.  Lucas can have a picture on his wall which is exactly as old as he is.