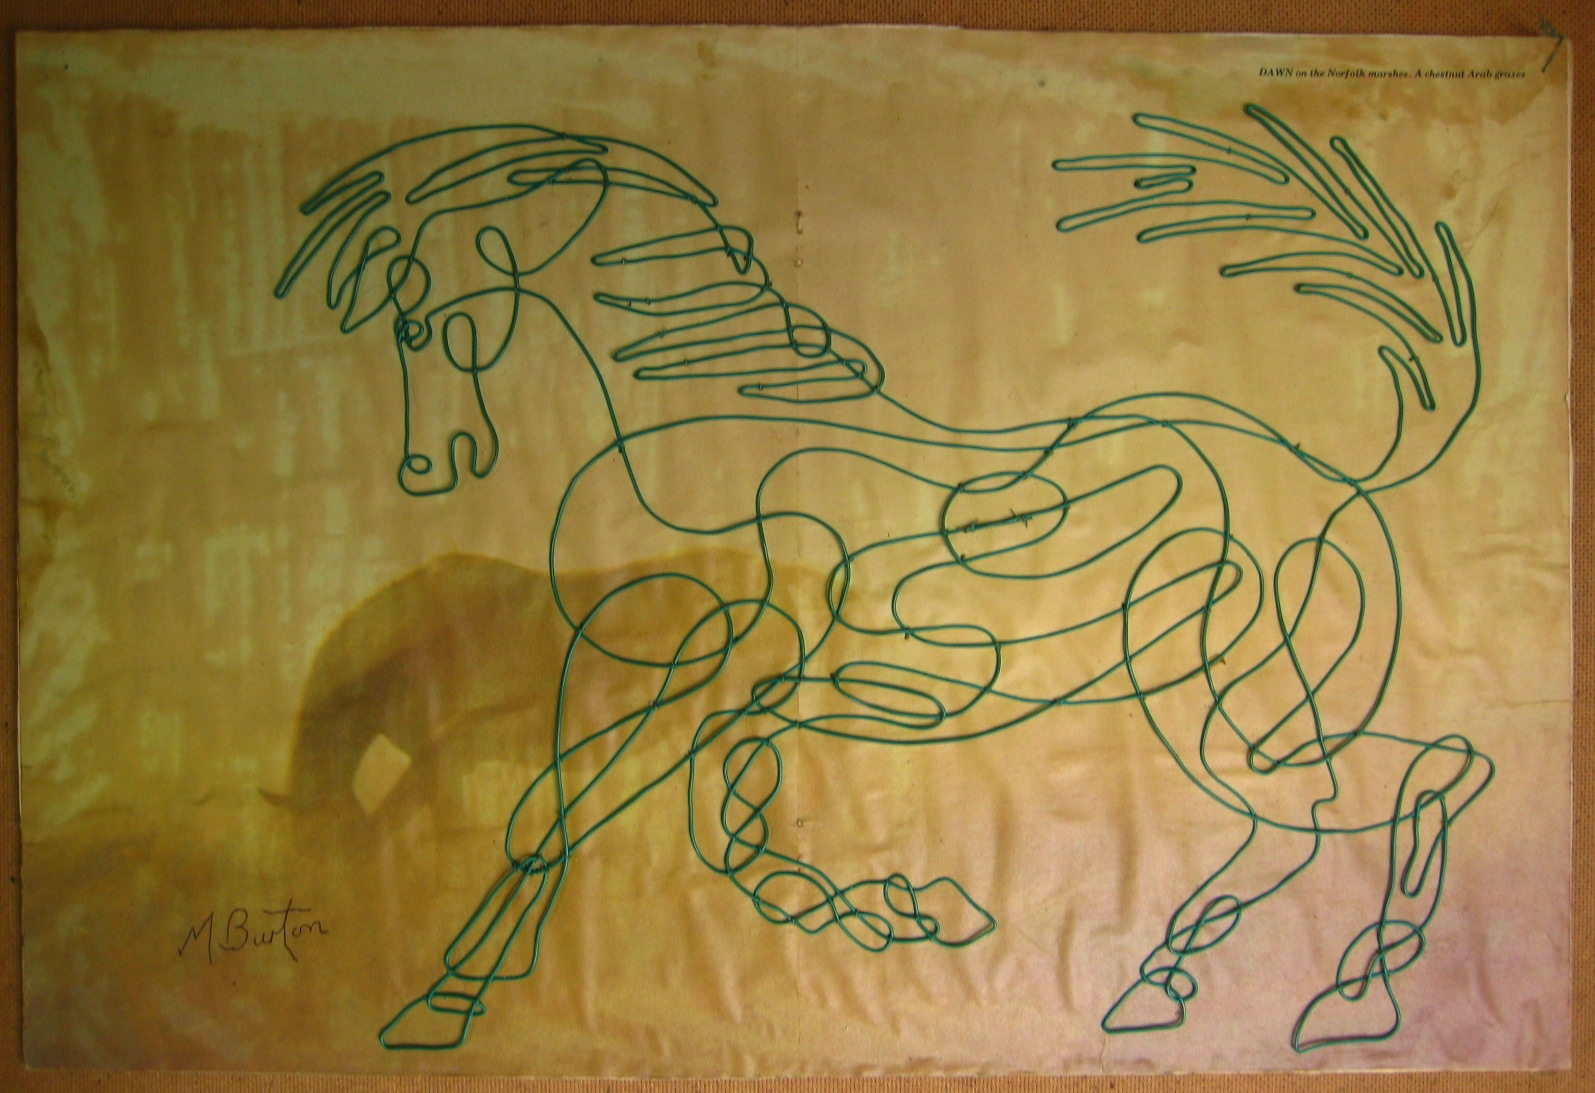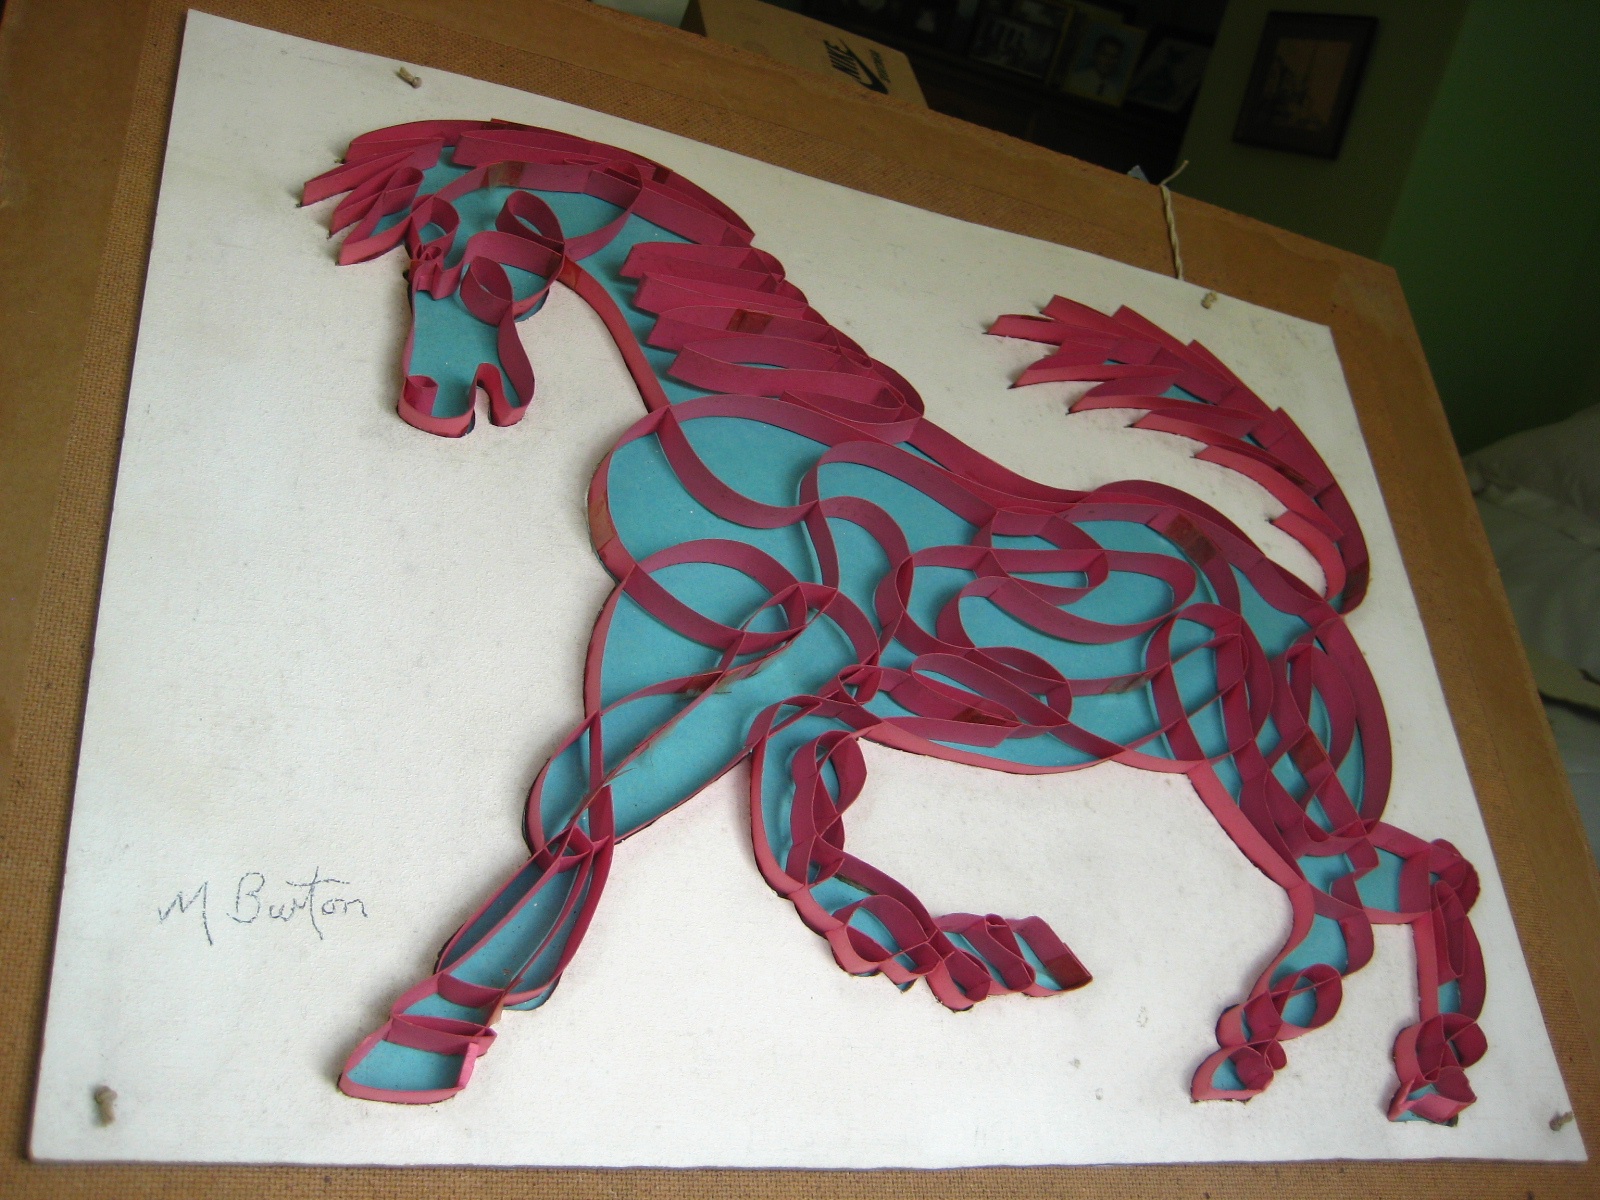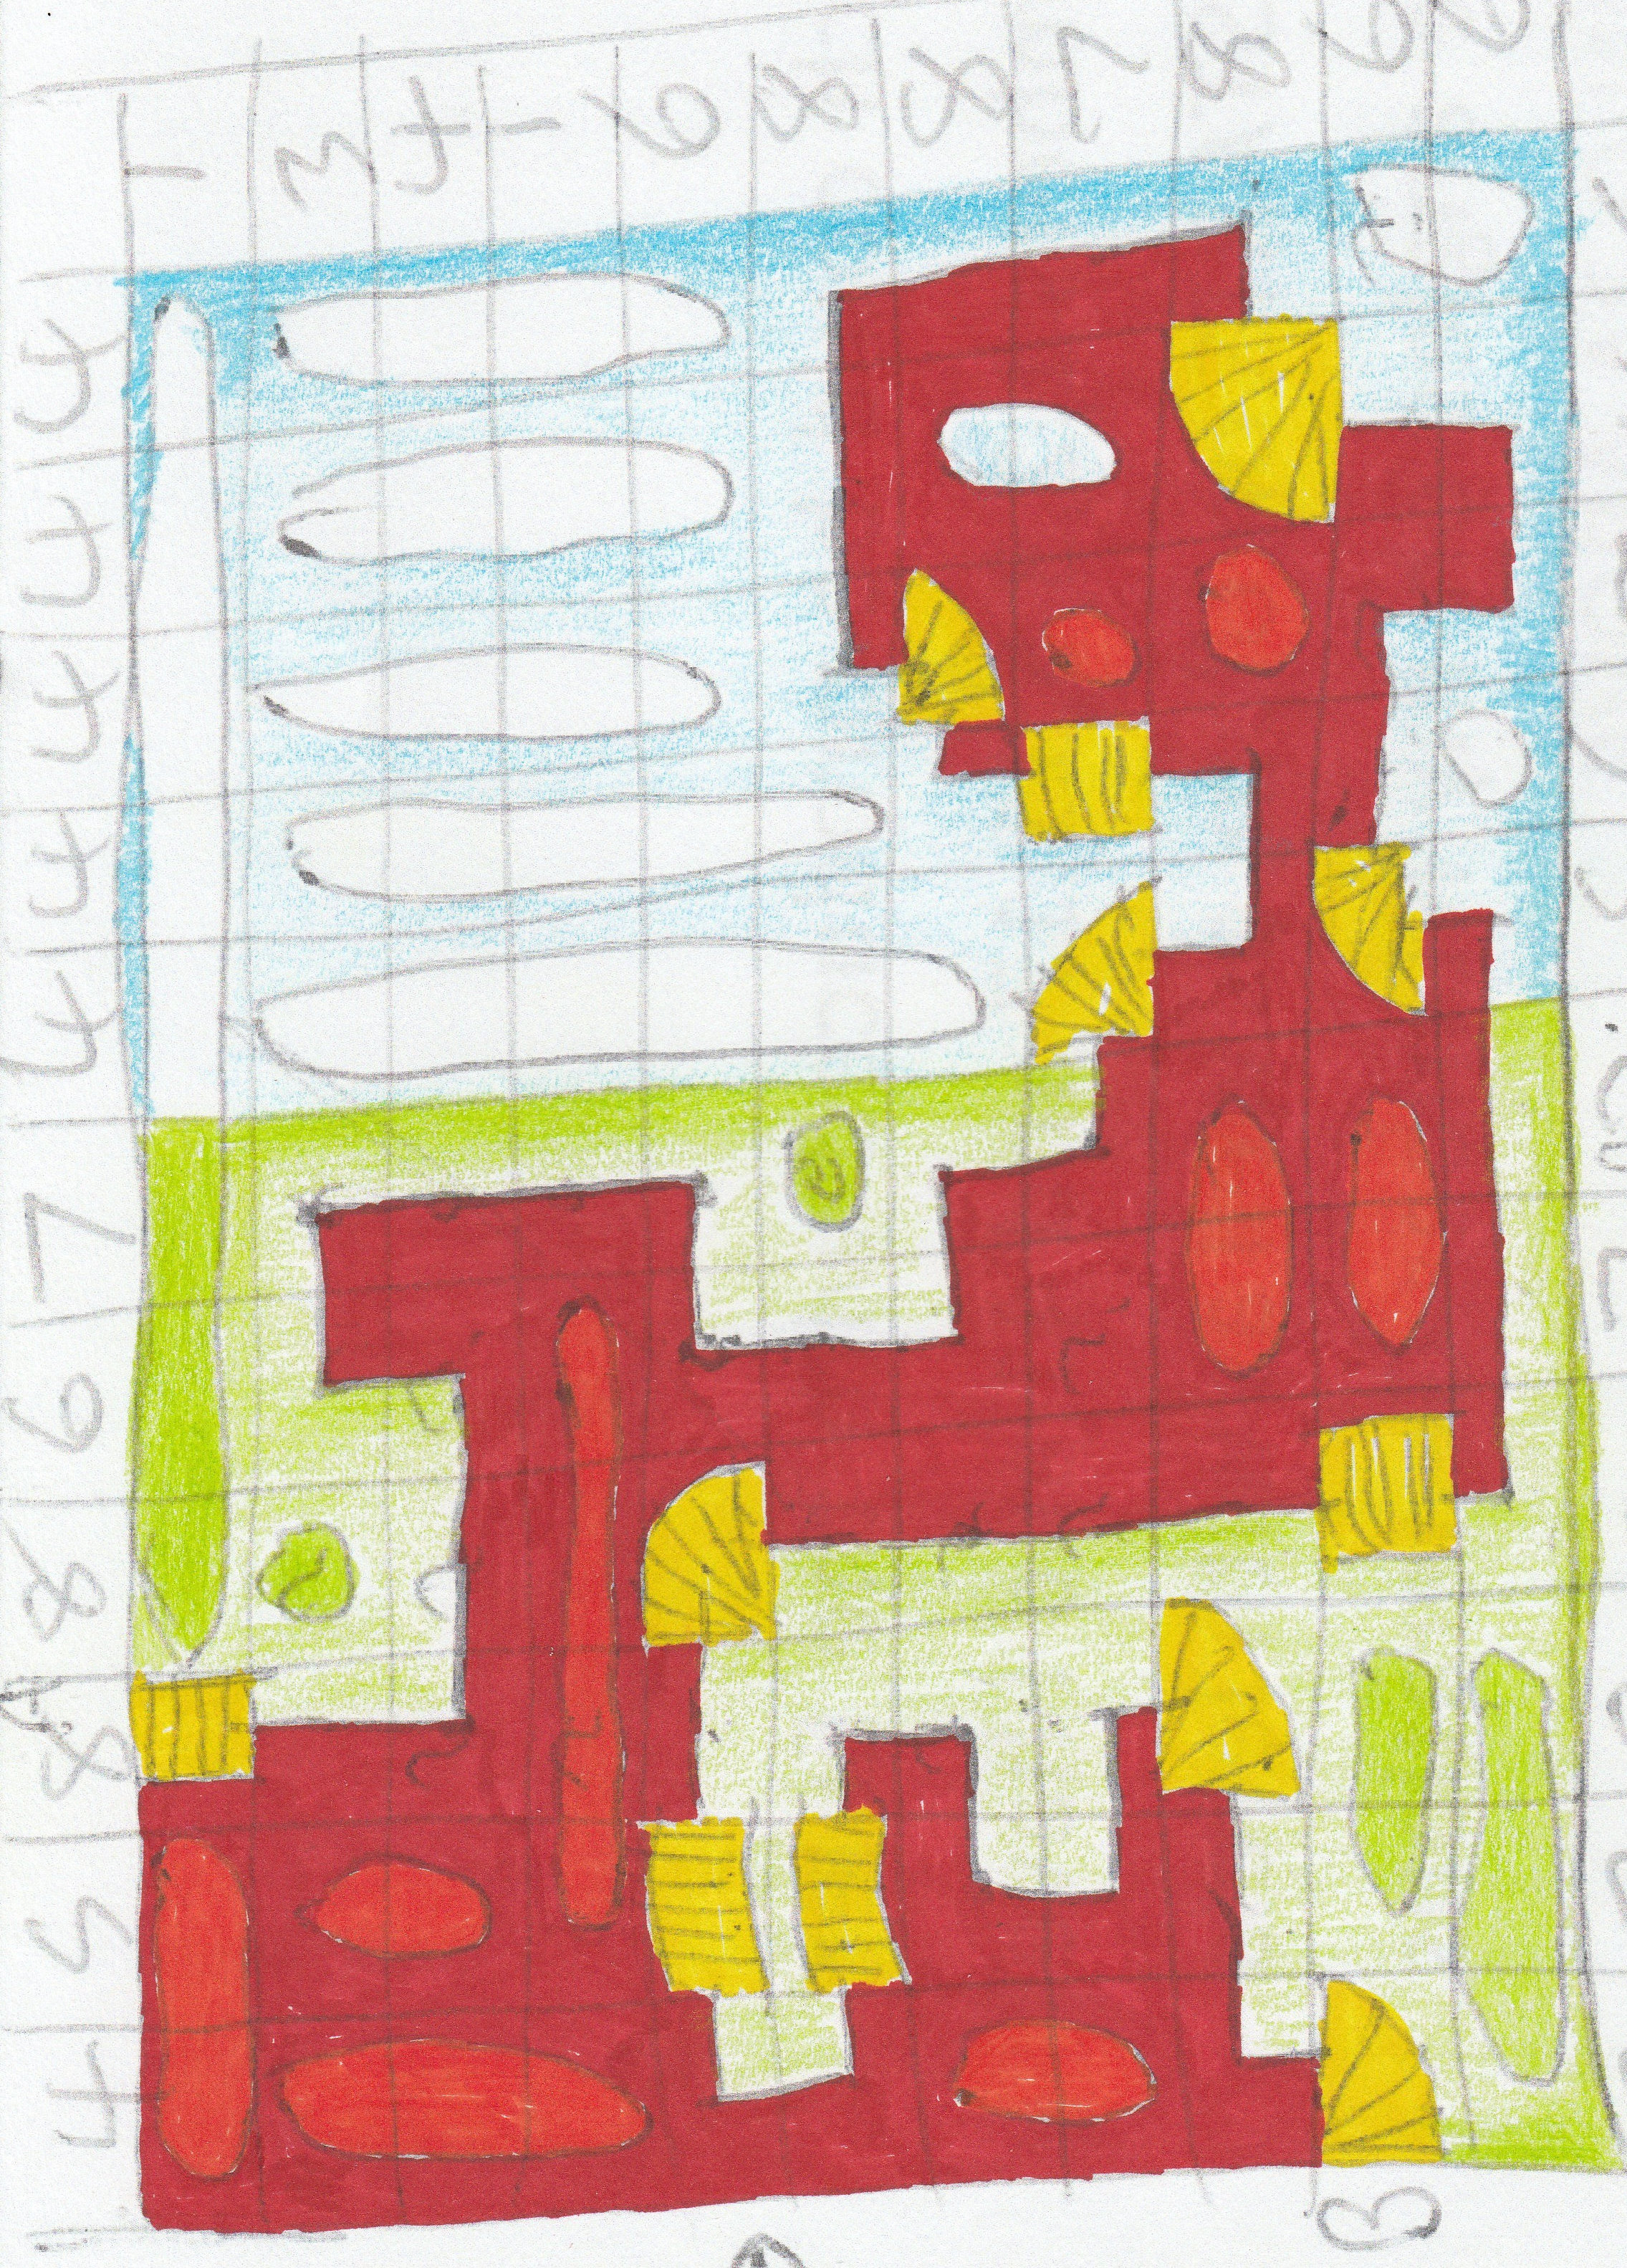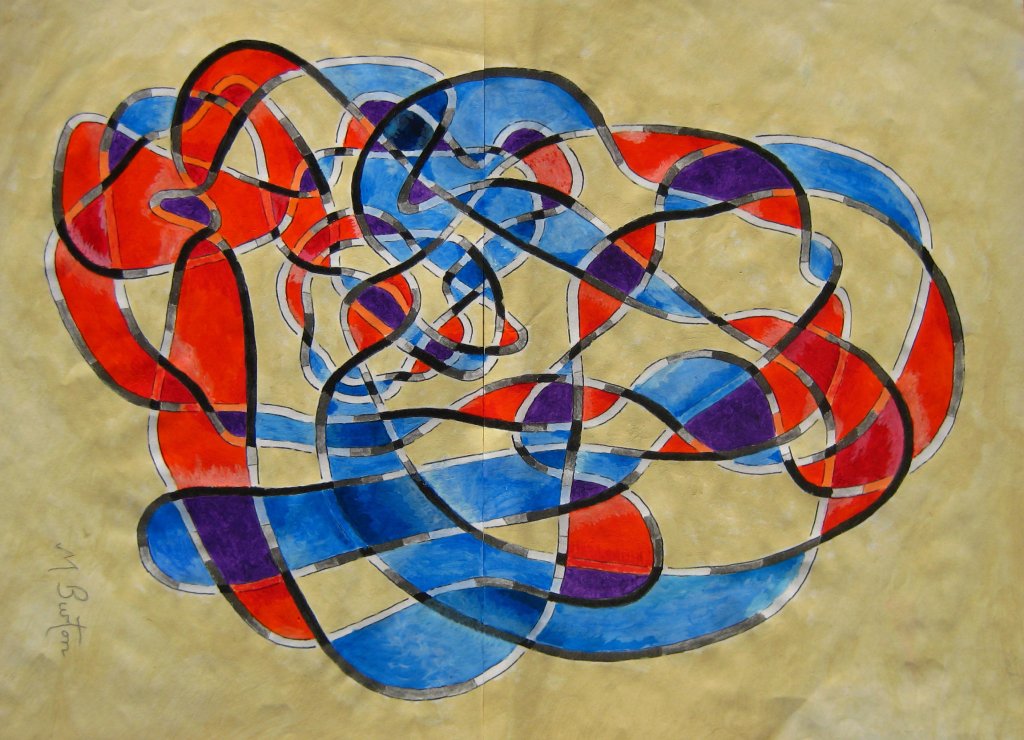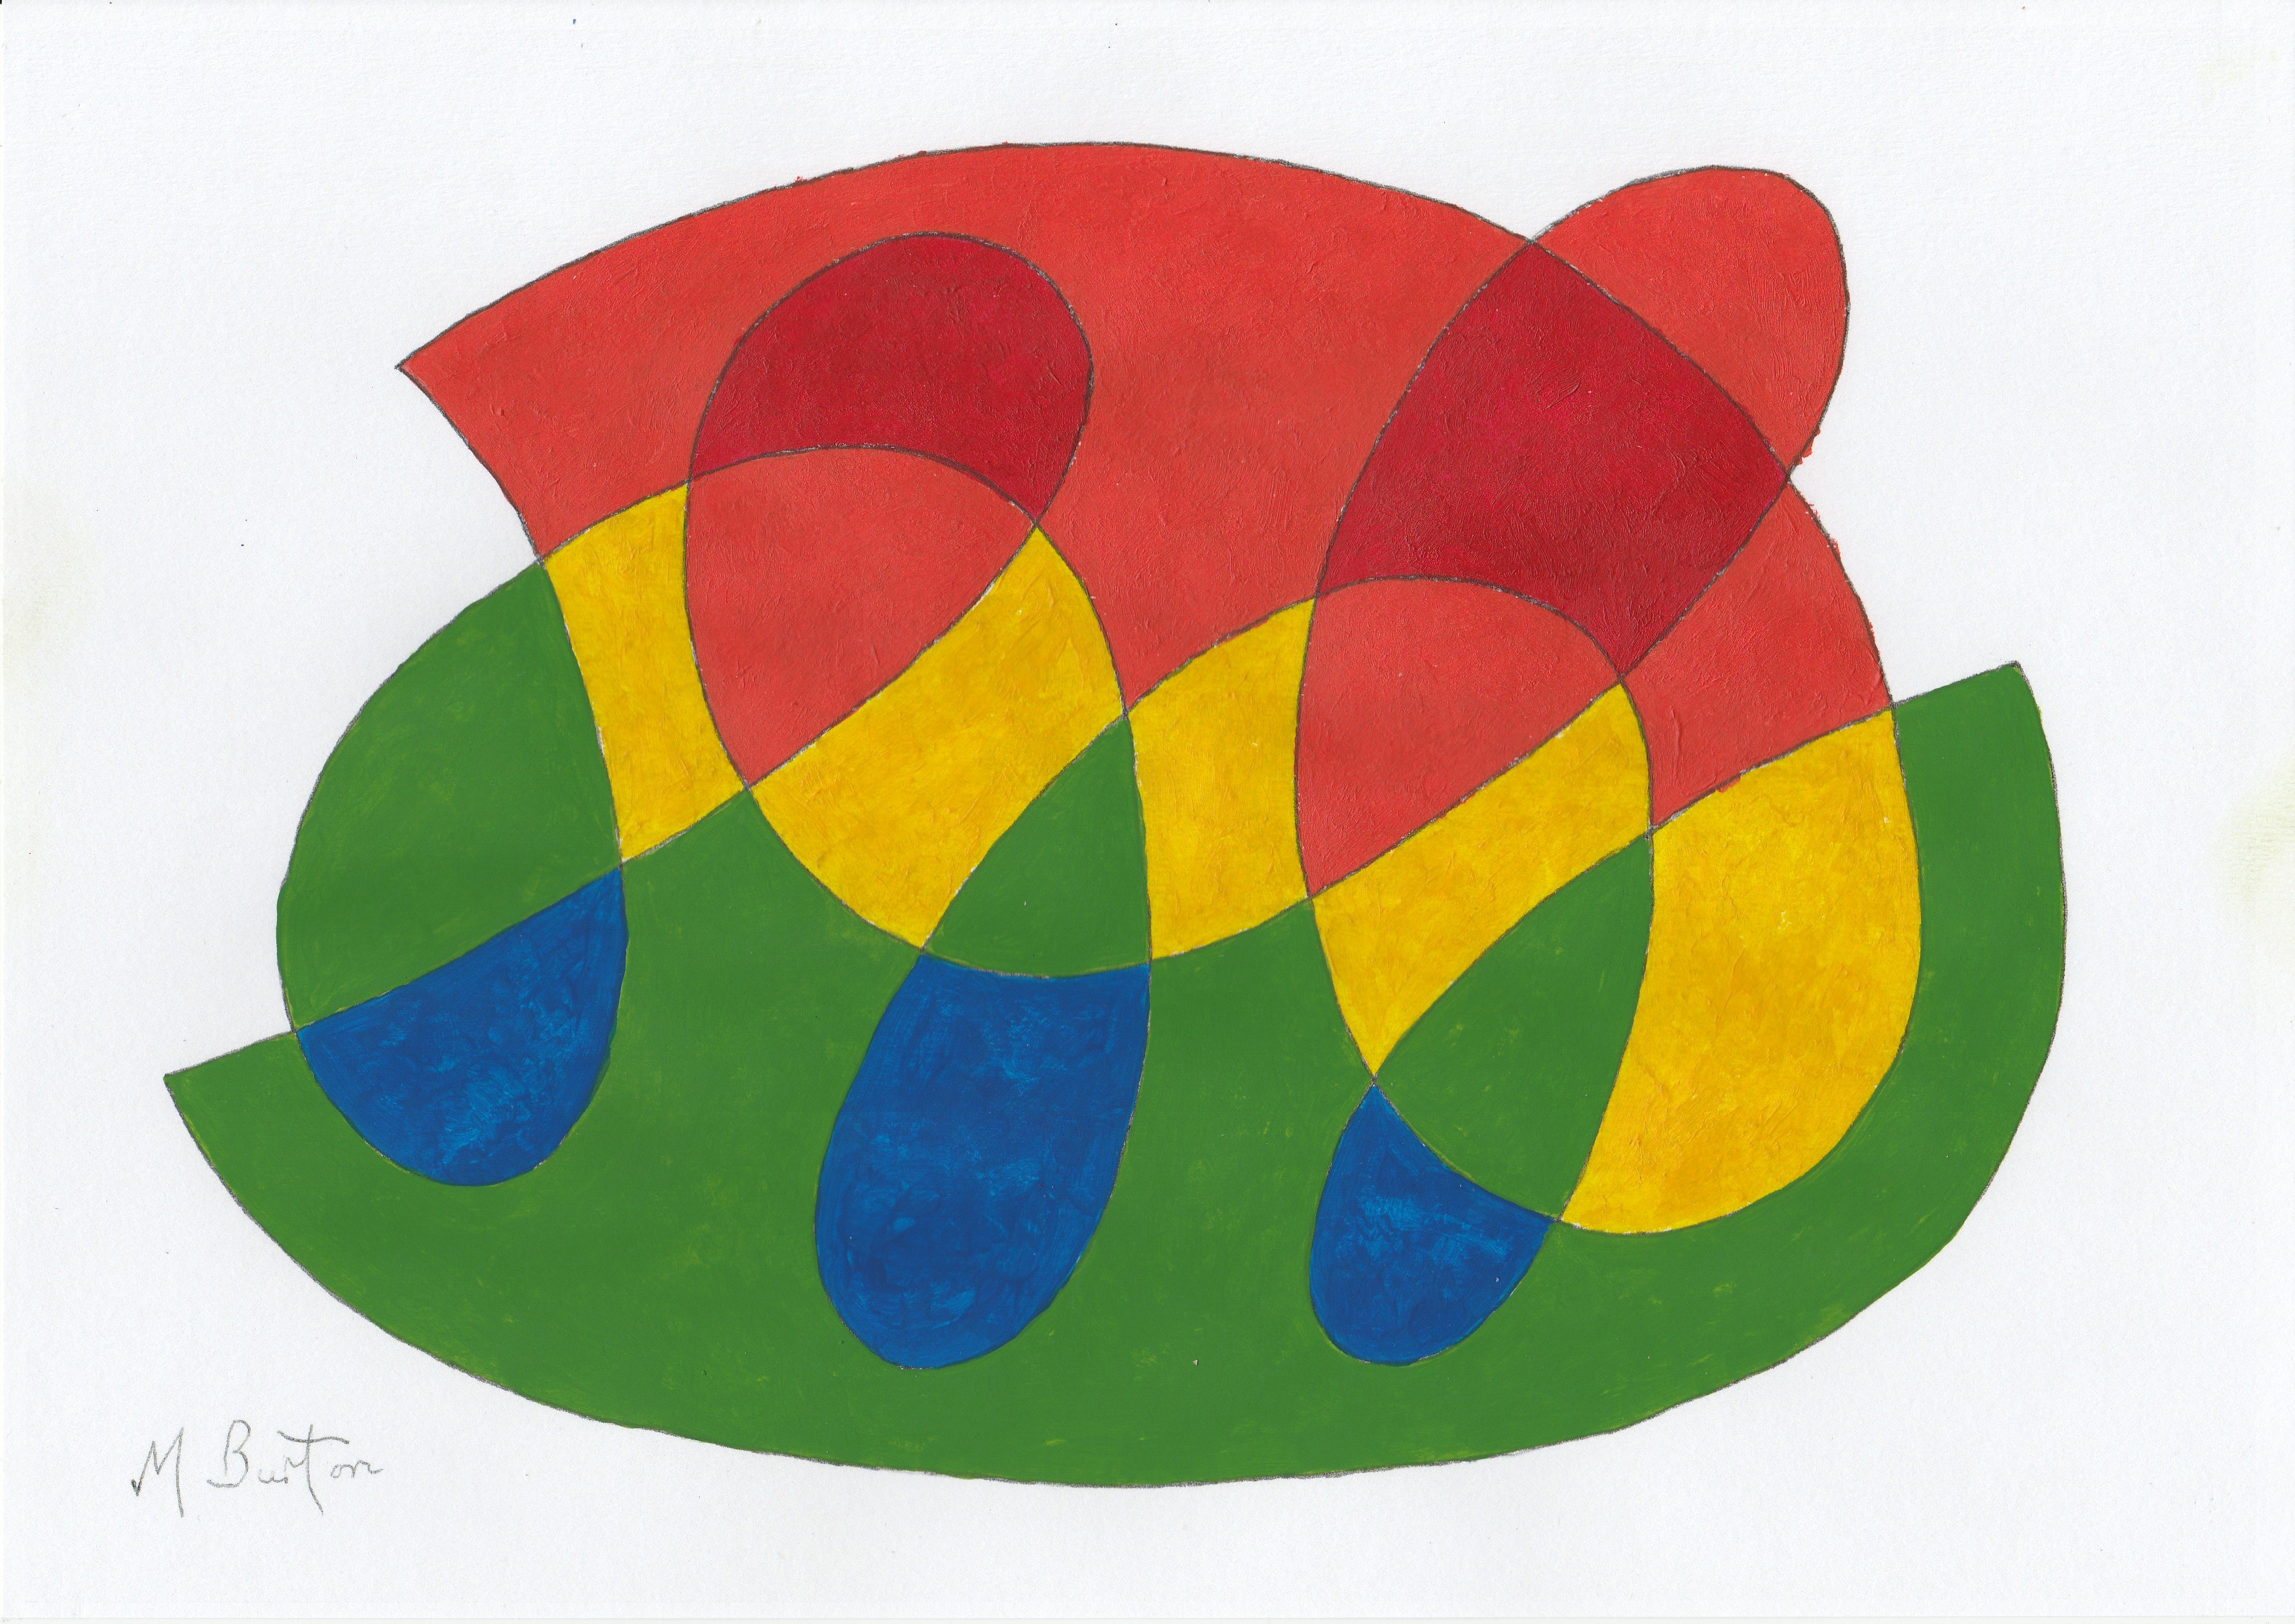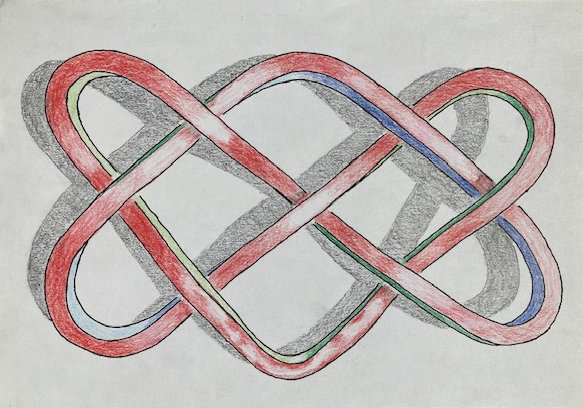
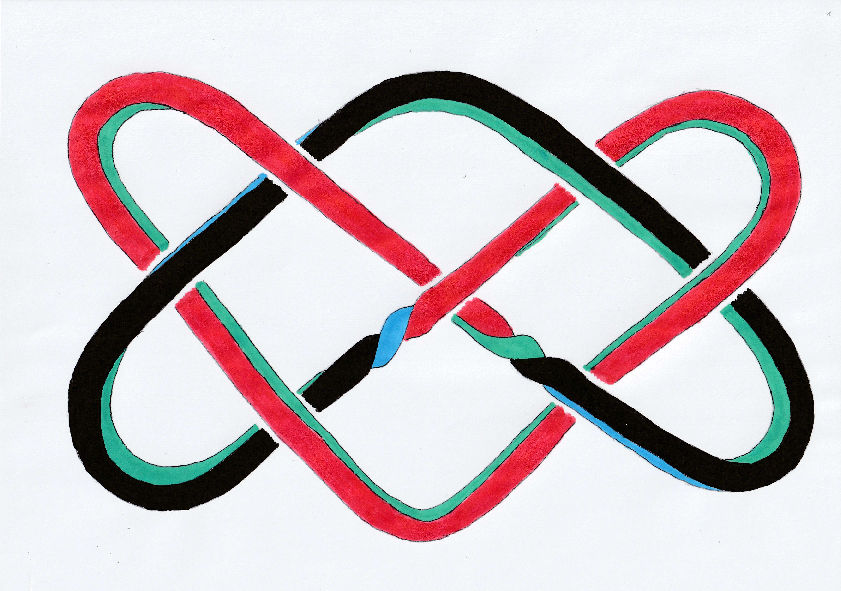
Drawing of Doug Eglen continuous metal sculpture with sides in four colours. Mick Burton, continuous line artist.
In my last post, on 3 June 2025, I said that I would like to draw Doug Eglen’s 3/8″ square forged metal sculpture.
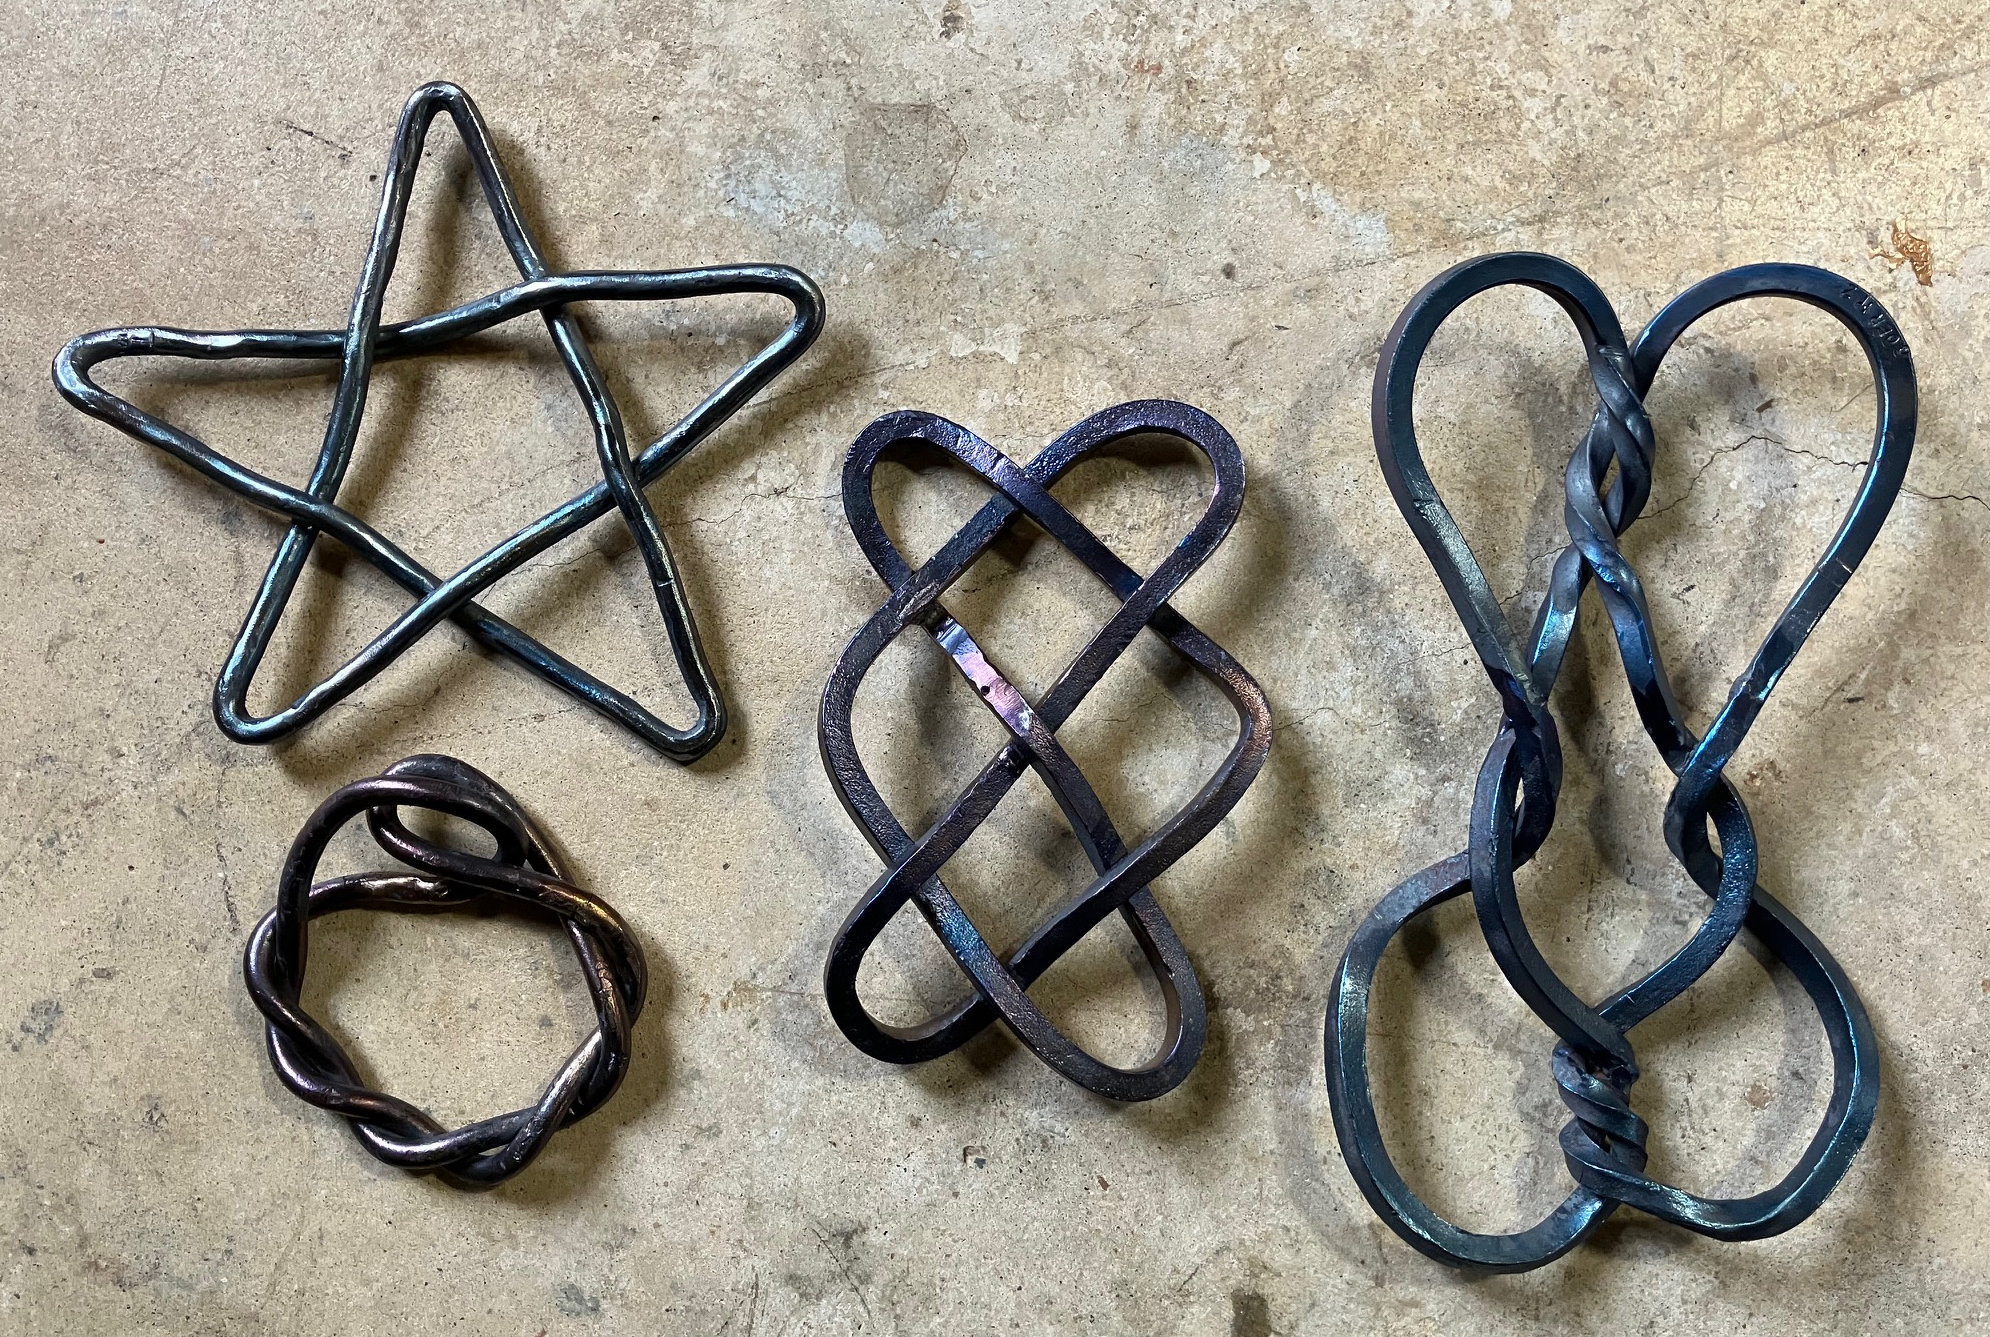
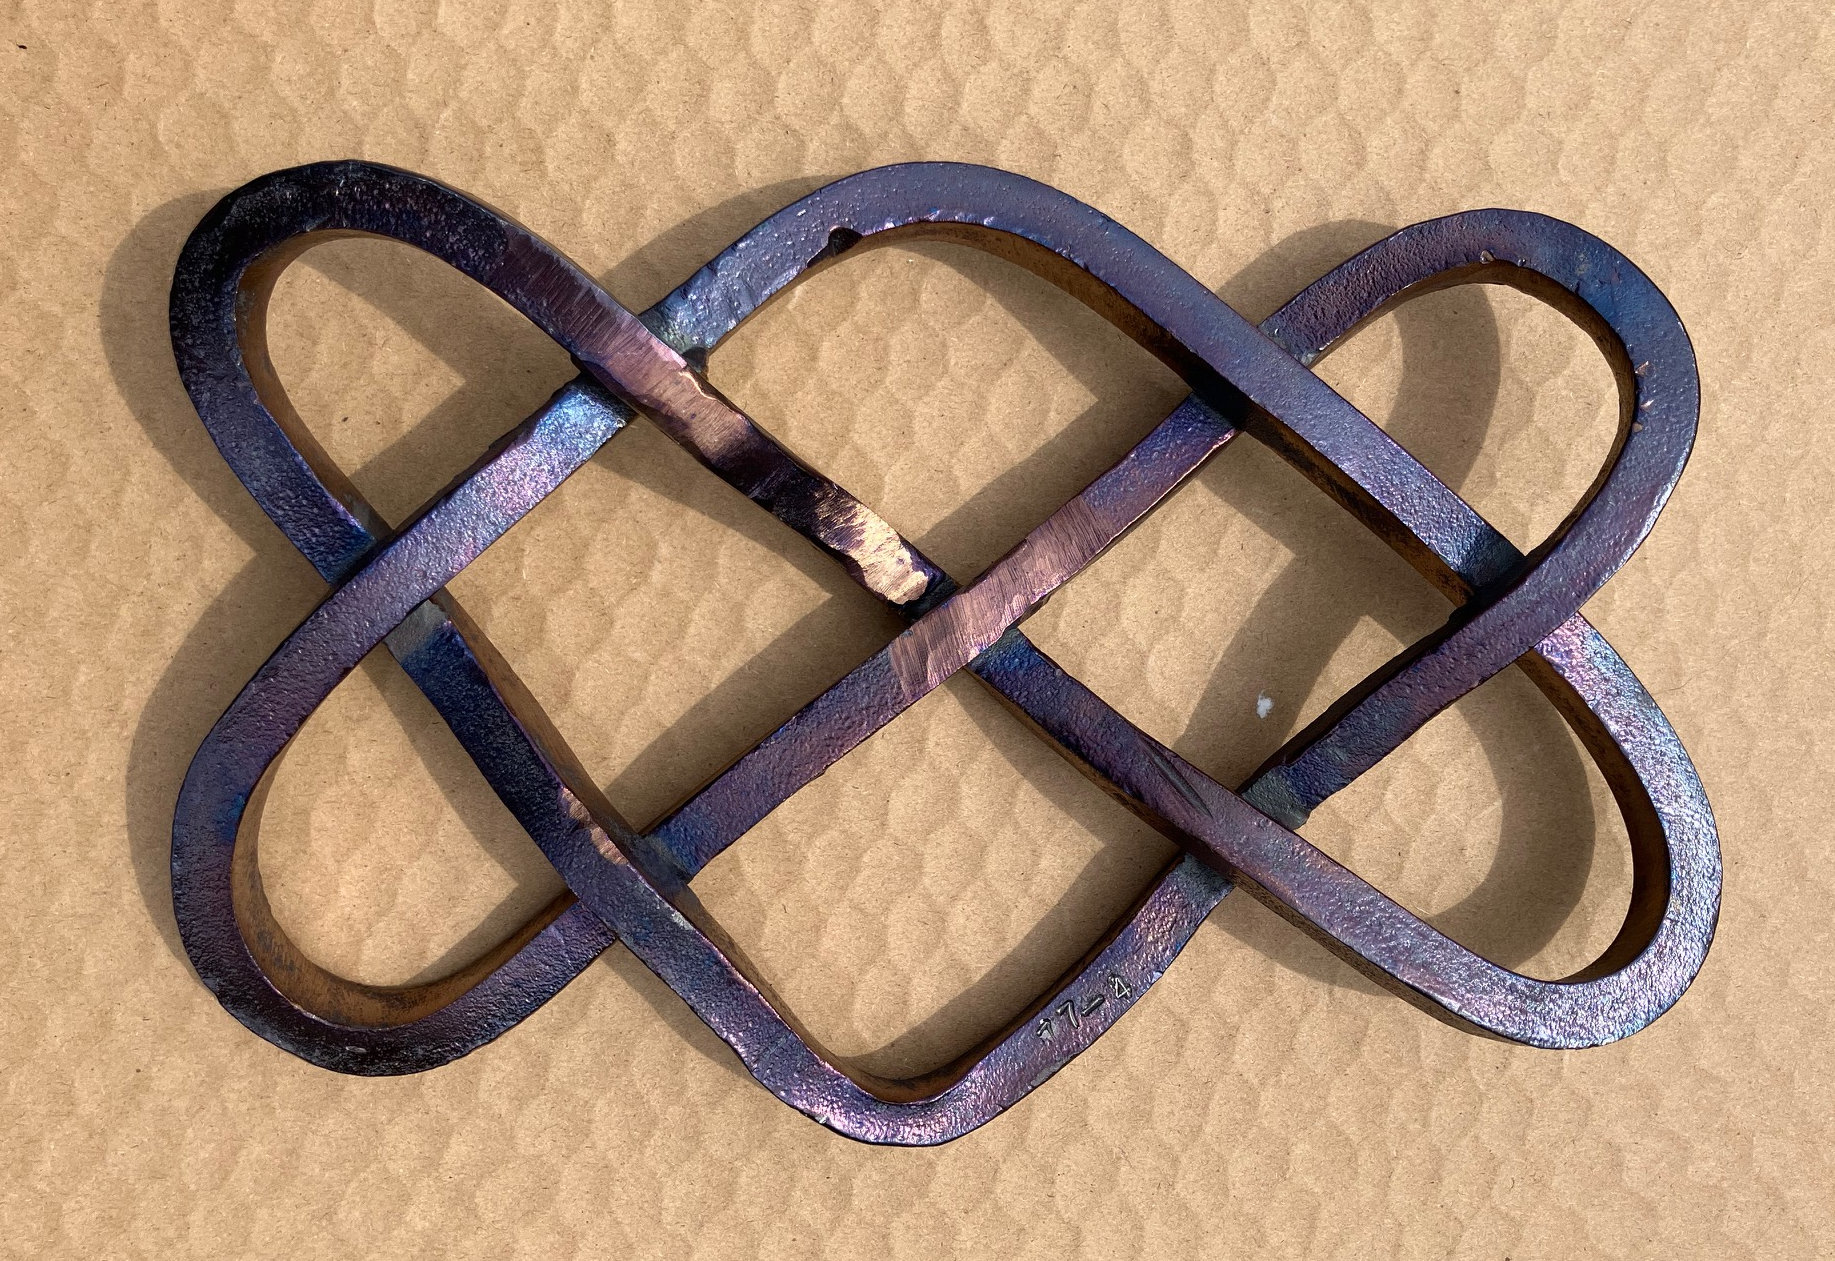
Continuous Lines in forged metal, by Doug Eglen.
Here it is, but I have used separate colours for each of the four sides. You can only see Red, Green and Blue because the metal remains flat overall and you cannot see the Black I allocated for the underside.
I have tried to reflect the 3D quality of the sculpture, with its Celtic over and under style, highlights and shadow.
When I first saw the structure, I wanted to understand what would happen if I applied twists to the sculpture. I thought that there should be one or more types of twist which would turn the culture from being four sided with four surfaces into four sided with one surface. I knew that the Mobius Strip has two sides before the half twist and one continuous surface afterwards and thought that the single surface should also be possible for Doug’s structure.
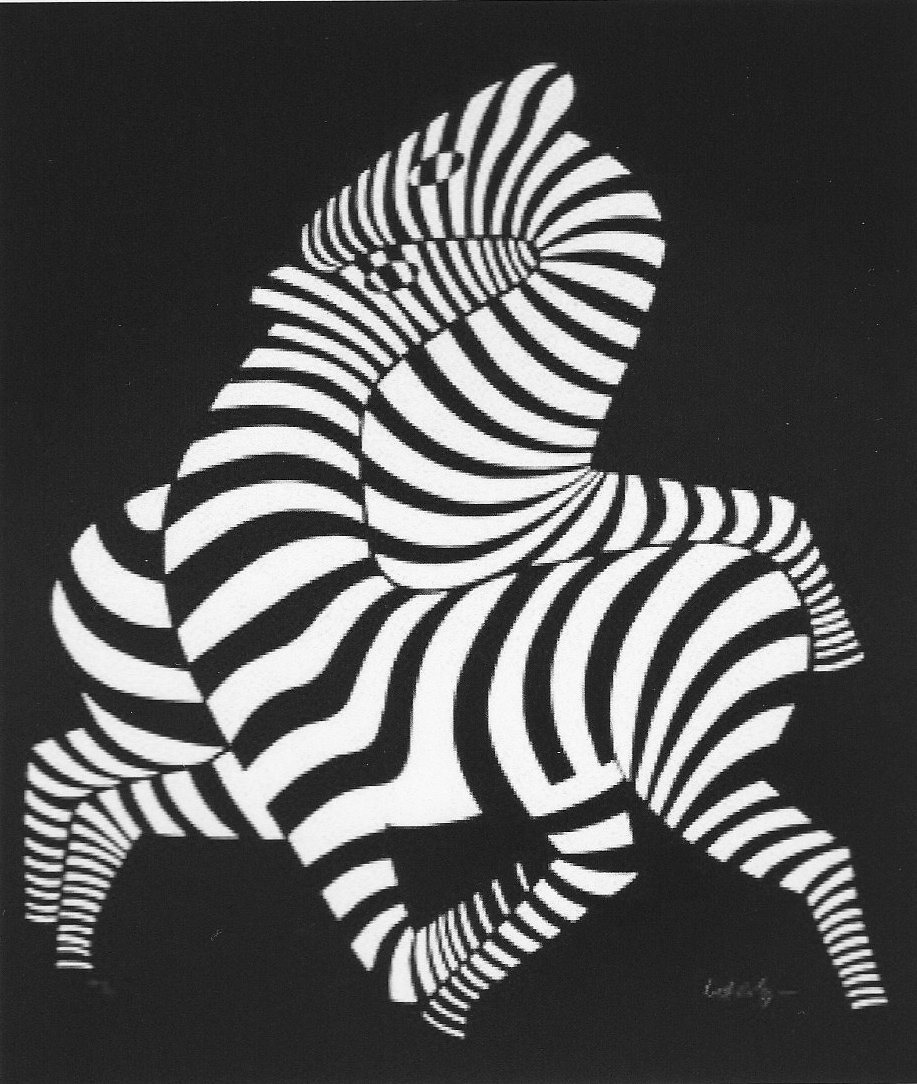
Another thing that I wanted do was to try and clarify my idea that his structure reflected the shapes of two Boomerangs. I wondered what twists I would need to do this.
The poker which I made at the age of 12 at school appeared to have a half twist but it is difficult to visualise how this changed the position of the sides.
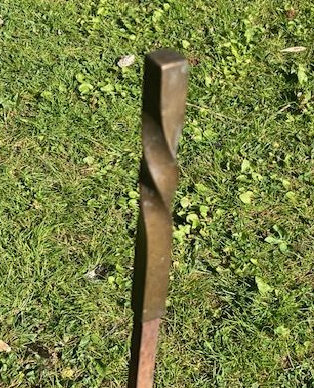
Brass handle with half twist on my poker, made at school when I was 12. Mick Burton, continuous line artist.
I had to use a pencil to draw along one surface to confirm that it changed the top side into the bottom side. This meant that I could use two half twists near the centre of a new drawing of the sculpture to produce two boomerangs which had individual colours.
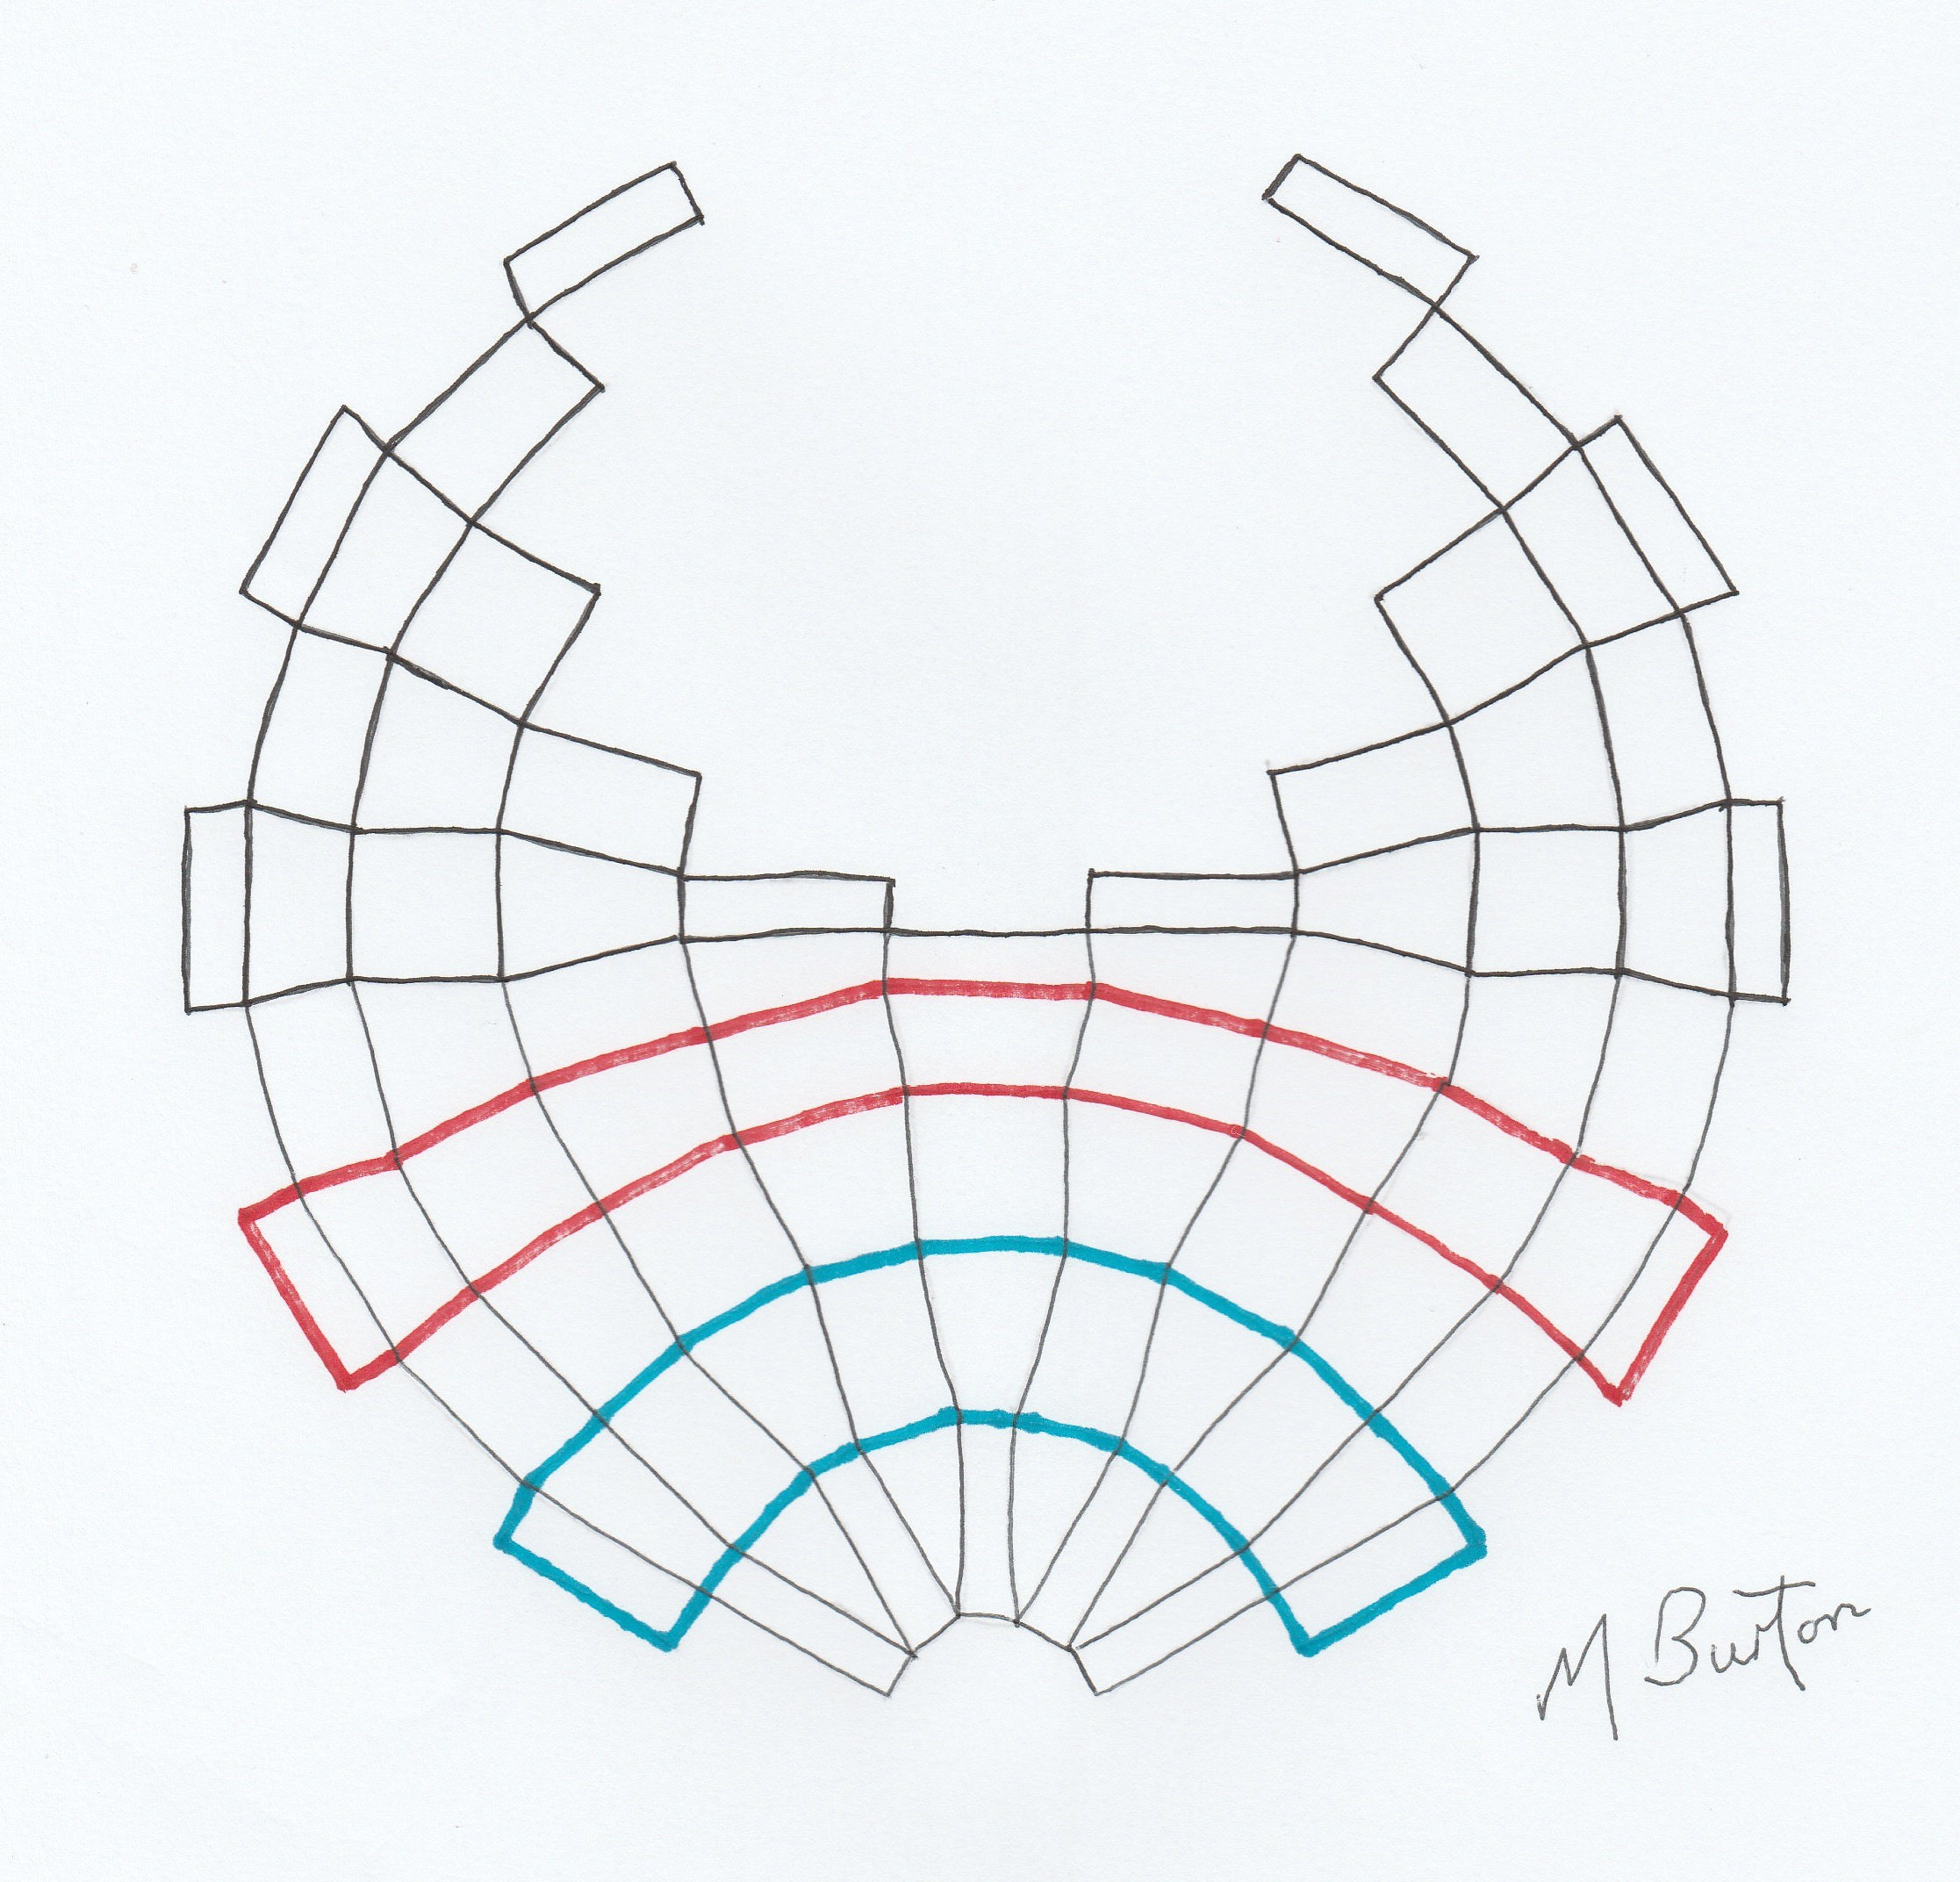
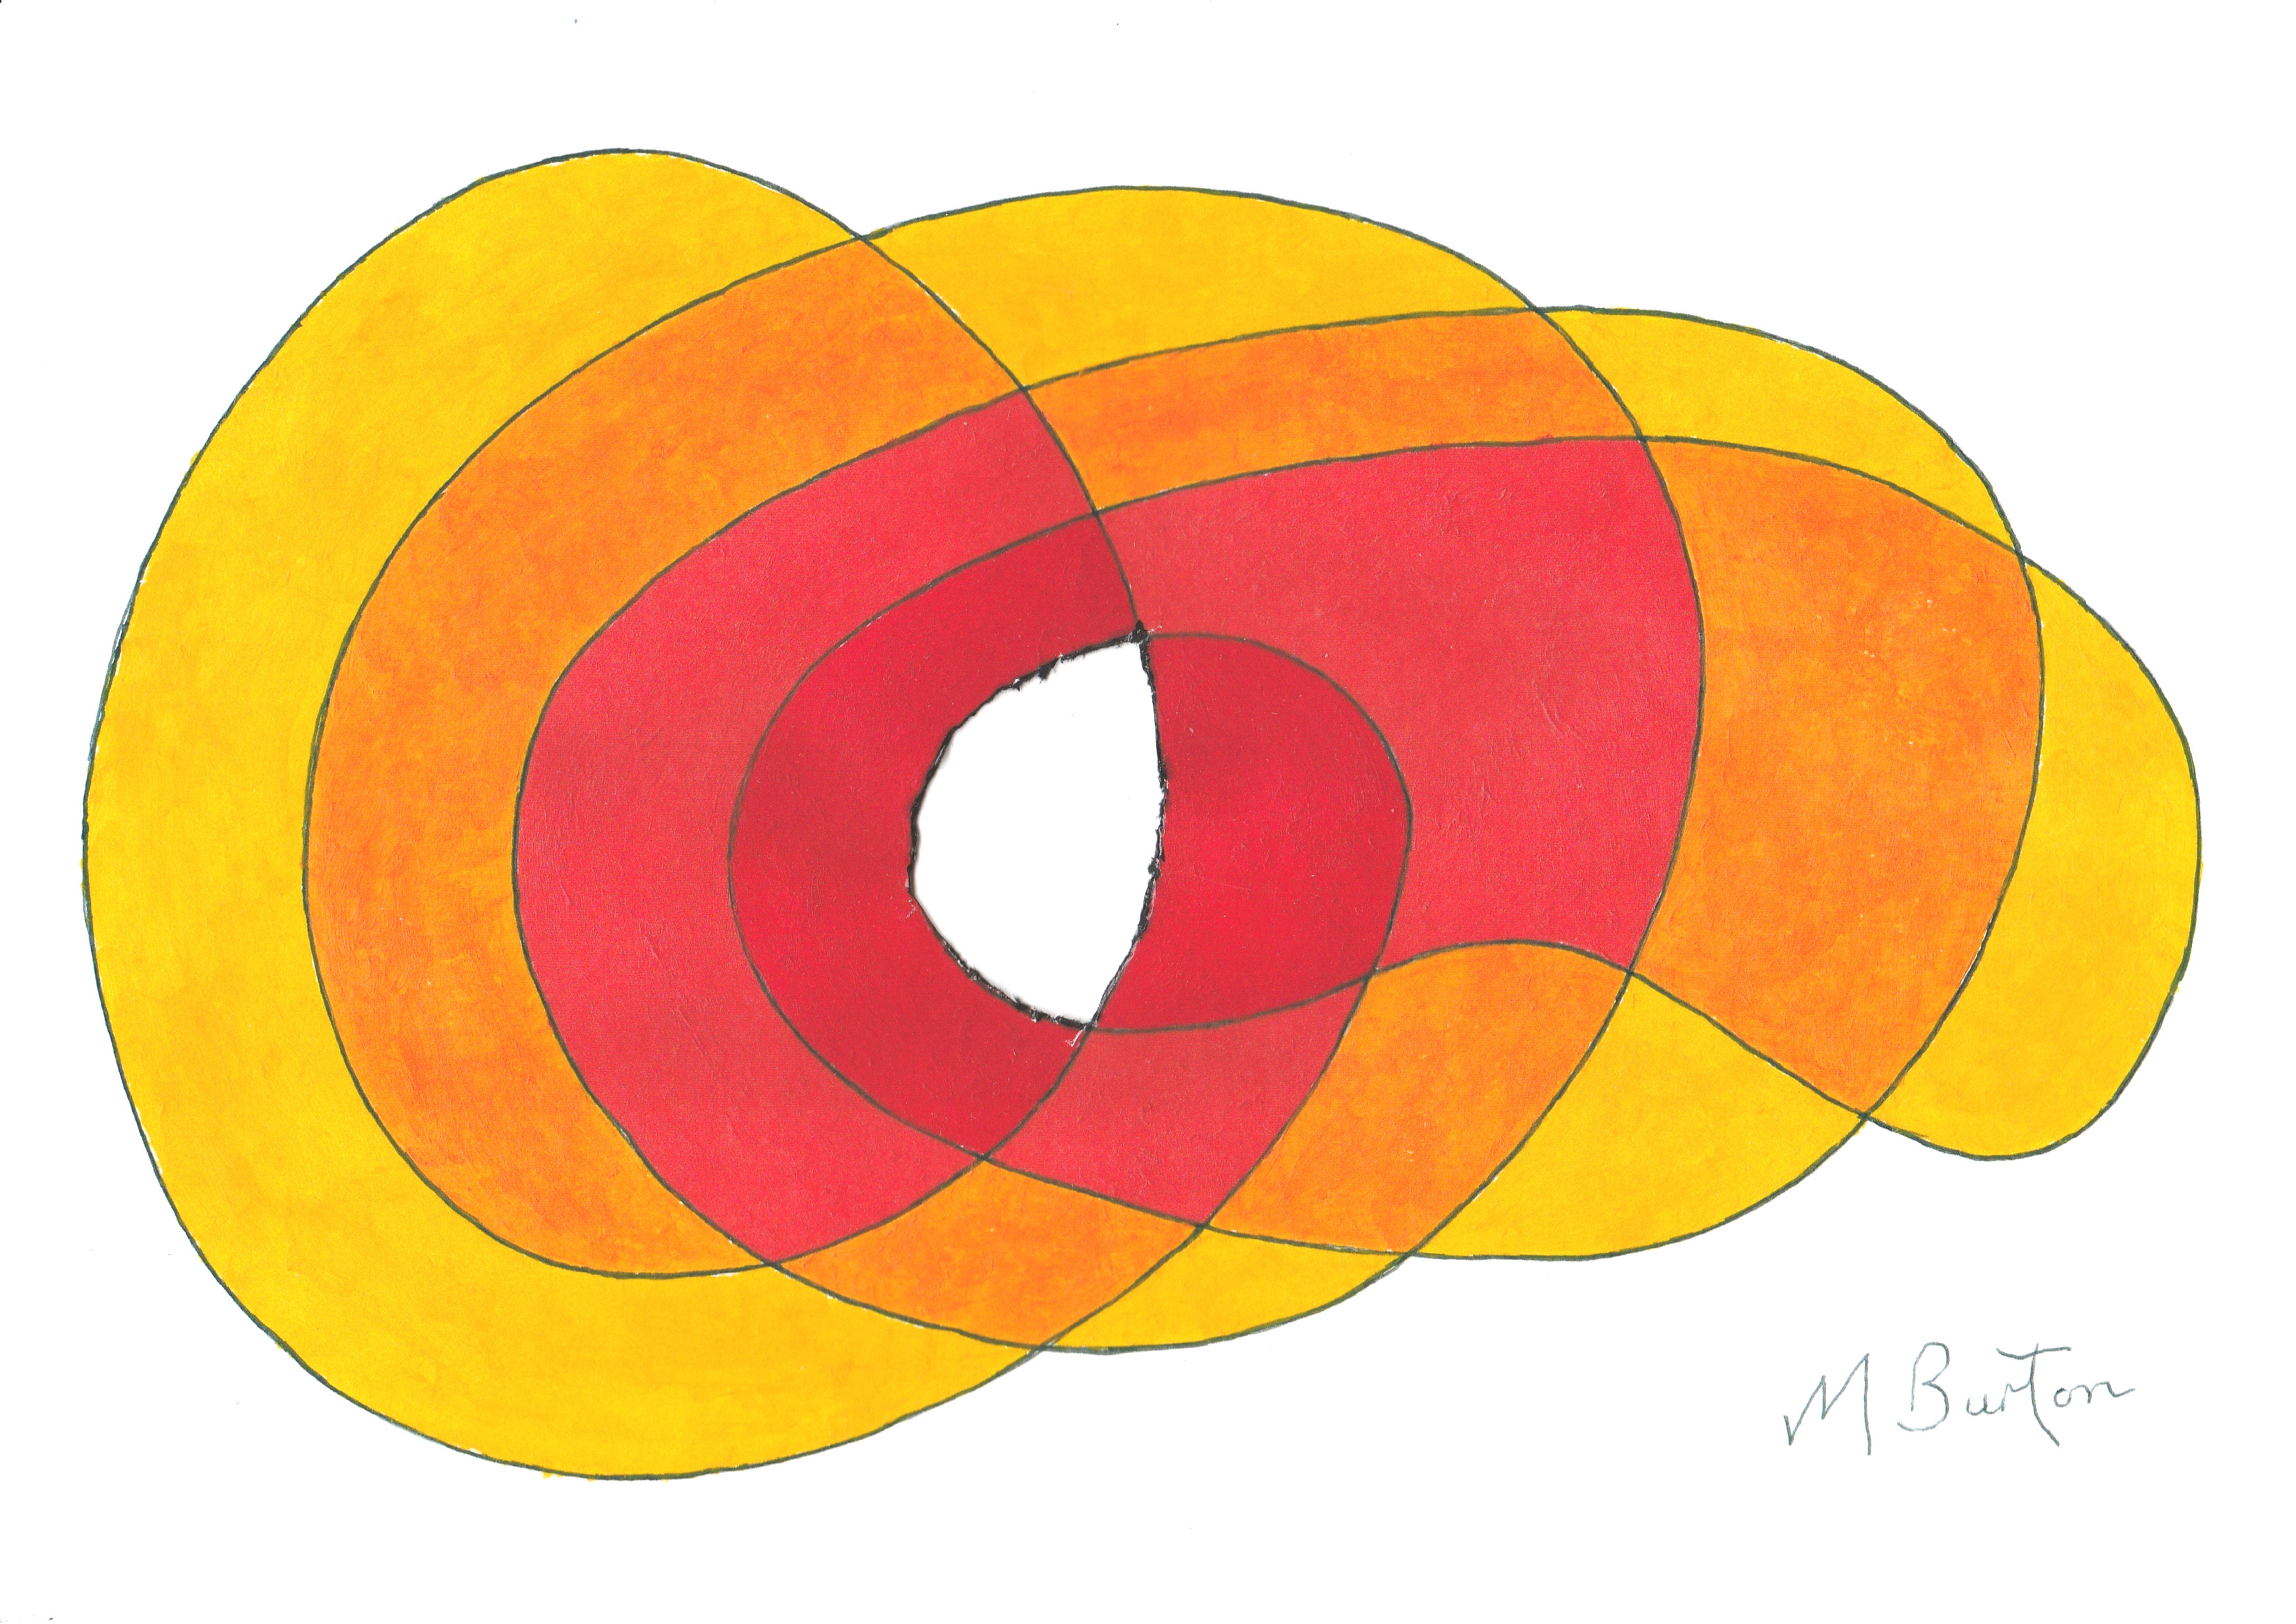
Using two twists to produce Black and Red Boomerangs on drawing of Doug Eglen’s metal sculpture. Mick Burton, continuous line artist.
Black has now appeared at the top for half the time, so we have four colours on view. Another outcome is that the two sides, which are Green and Blue, swapped from one side to the other at the twists which has resulted in blue almost disappearing. This is due to the close photographic angle by Doug showing most of the insides of each boomerang shape and I coloured them almost equally Green and Blue in my first drawing. Green stayed the same within the Red boomerang here and Blue changed to Green in the new Black one.
I have mentioned the Mobius effect. The Boomerang drawing has not produced a change in the number of surfaces but just altered their positions. Sides still equal surfaces. This is because I have used two half twists. If I had only used one half twist then the number of surfaces overall would become two surfaces, one colour for top and bottom and another for both sides.
It seemed to me that employing one quarter twist would produce a Mobius single surface throughout, as each time a surface comes round again it deflects a quarter and on the fourth approach it is back on top. Maybe a three quarter twist would also achieve this, but I found this more difficult to visualise. First approach deflects to side 4, Second to side 3, Third to side 2 and fourth to side 1 again.
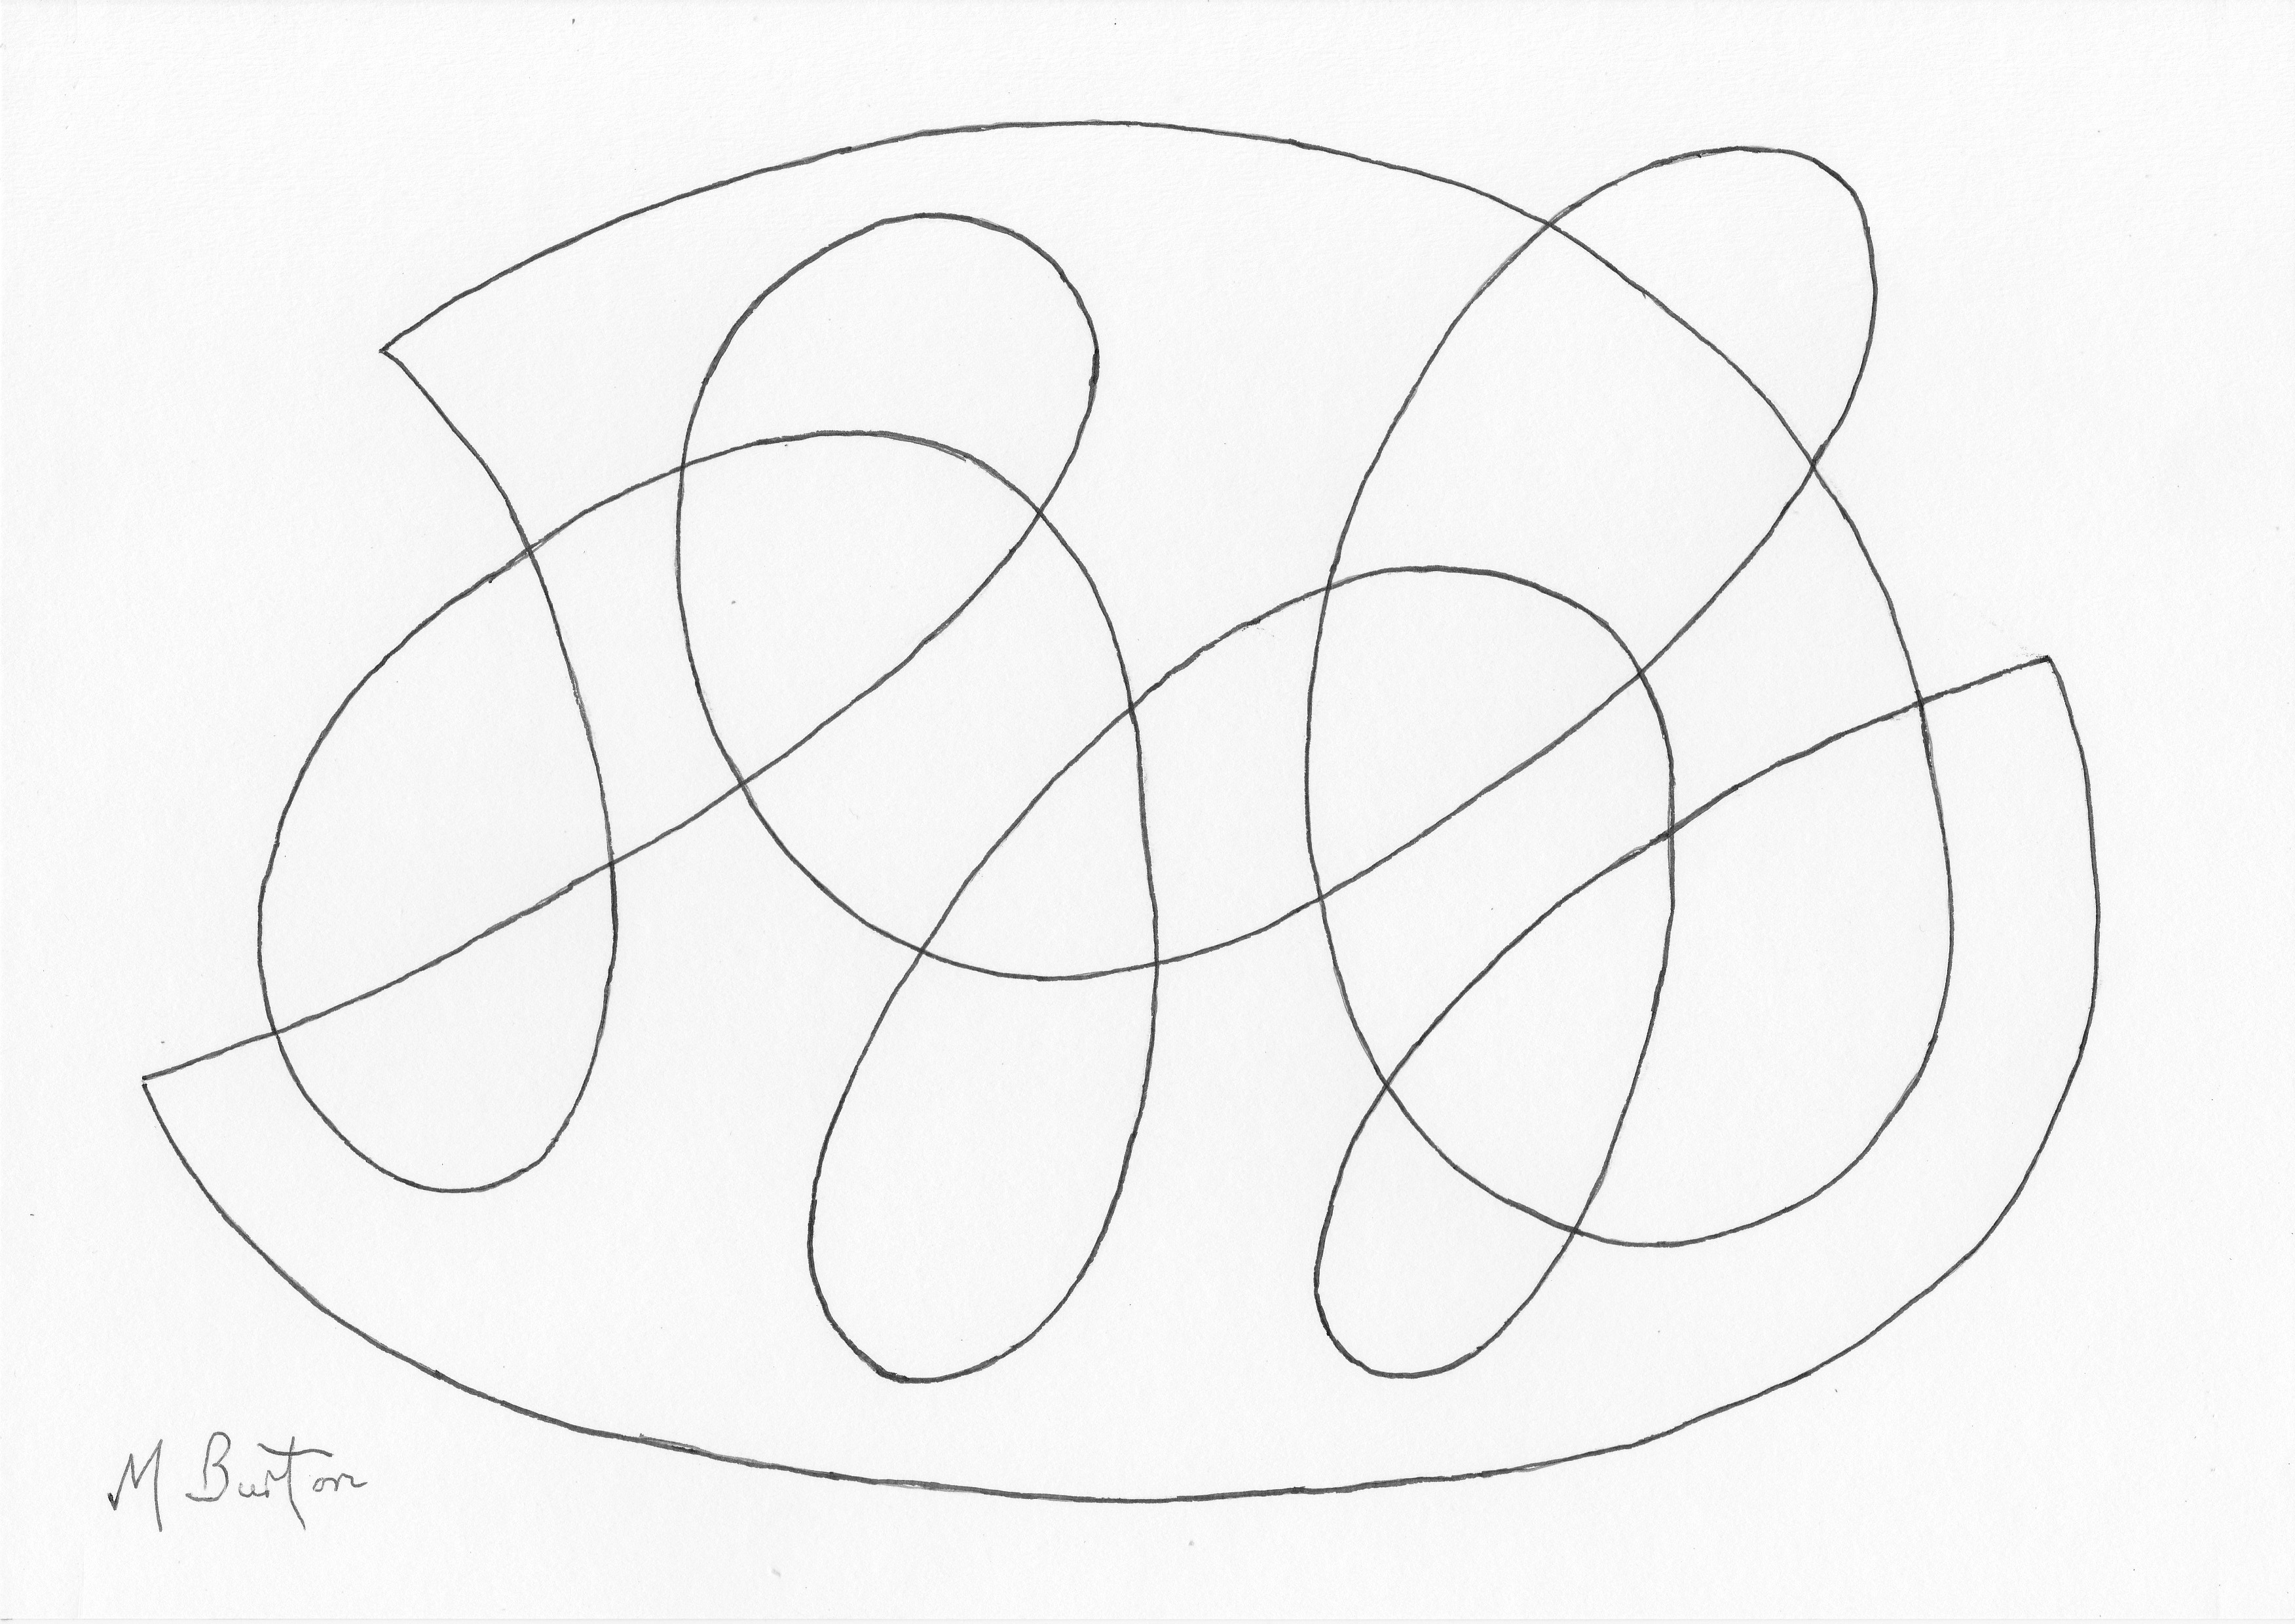
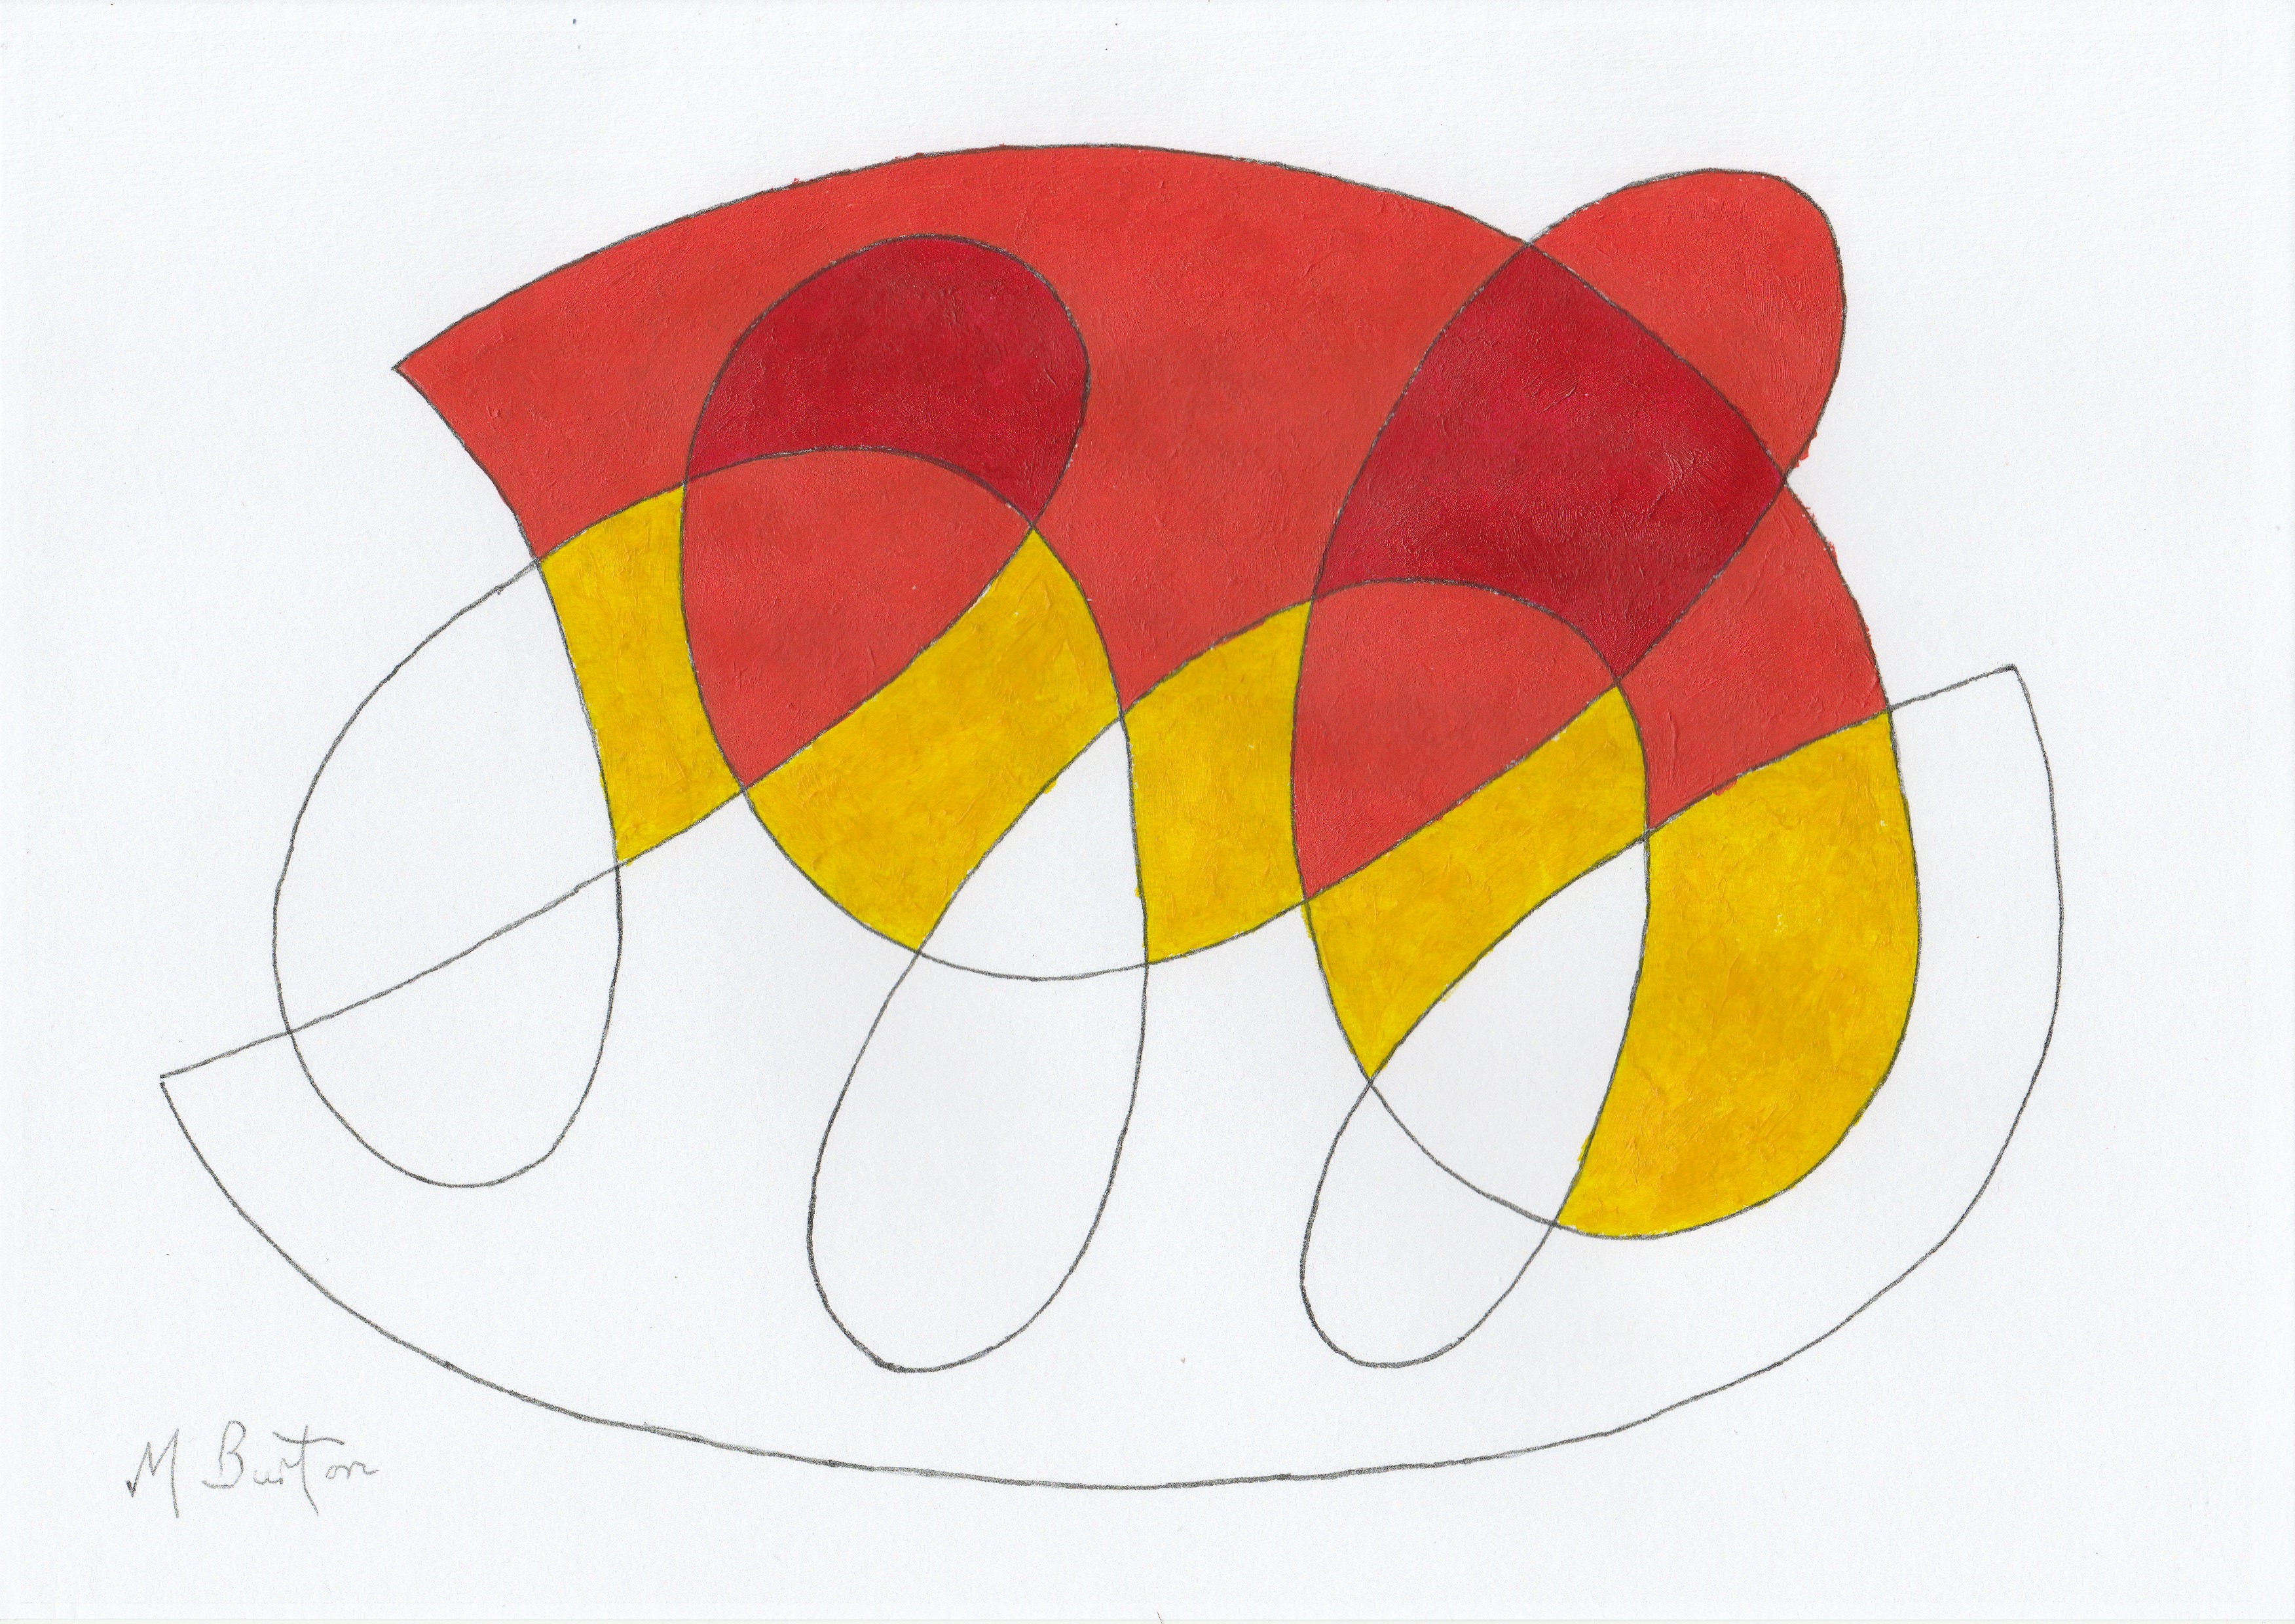
Anyway, I have drawn simply a single quarter twist as an addition to Doug’s sculpture.

Drawing of Doug Eglen continuous metal sculpture, but with added quarter twist. Mick Burton, continuous line artist.
I have started with black and the result is All Black. This drawing depicts a 4 sided metal continuous sculpture which has only one surface. It is a complete Mobius result. Visually, you can see that it is a quarter twist and our knowledge of the general sculpture helps us to realise that there is in fact one surface.
Yes, a Boomerang drawing and an “All Black” drawing suggest that I have Australian and New Zealand interests. My mother, maiden name Brenda Mace, was born in a pub in Bedale, North Yorkshire. Nearly 100 years earlier six brothers were born in the same pub and four of them went to gold fields in both Australia and then New Zealand in the early 1860’s. They were cricketers as well and Christopher Mace played for Victoria against the first team to visit from England and two years later John and Harry joined with him, in Otago New Zealand, against the first English team to play there.
Back to the drawings. I looked on the Internet for images of general structures which included a quarter twist and failed to find any. There were examples of the pure circular twist, including 4 sided, but these are difficult to visualise as there is no obvious start point.
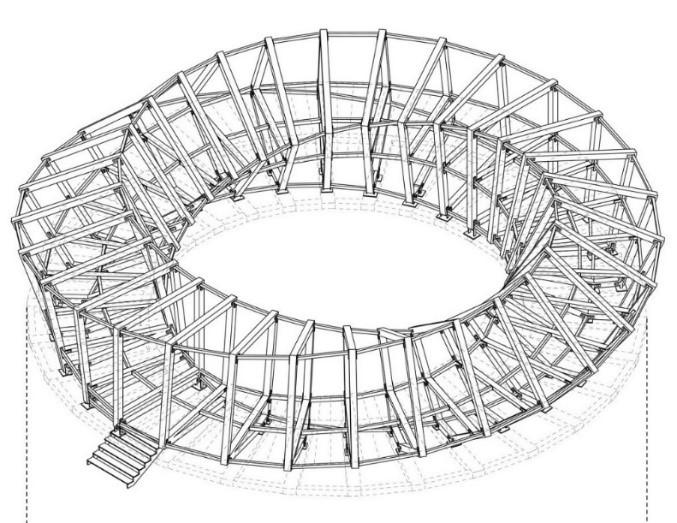
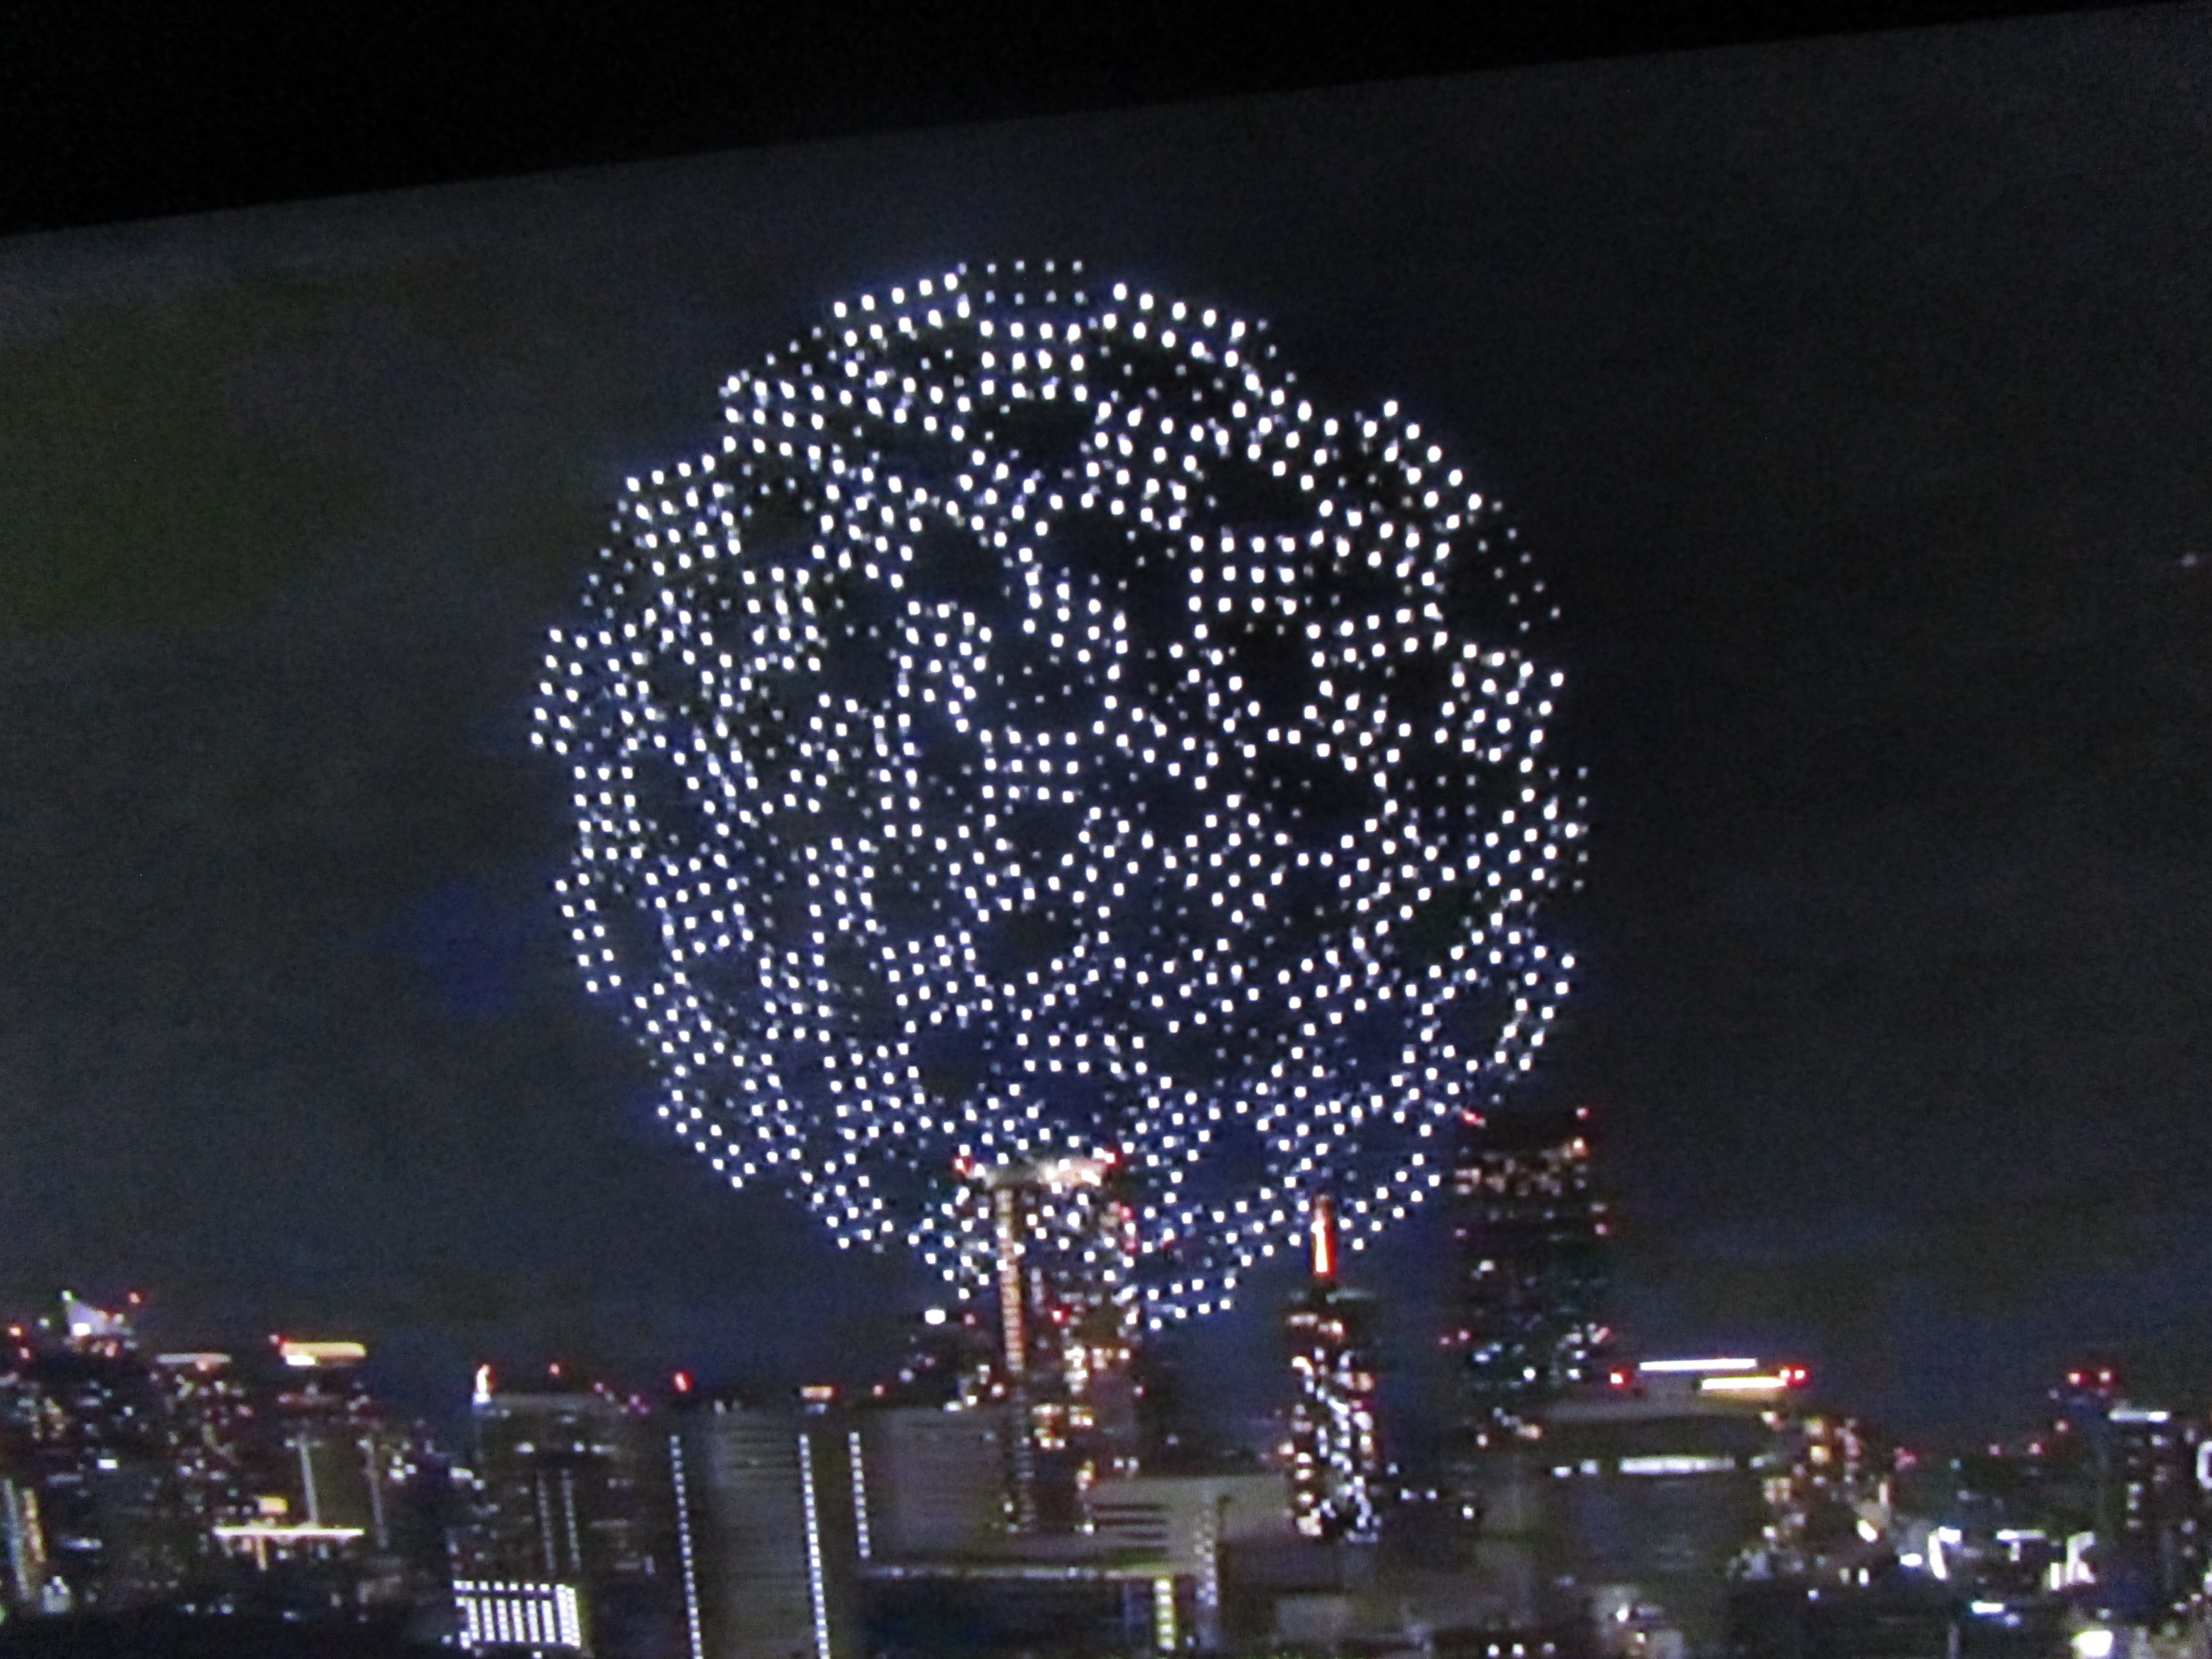
Mobius Strip Structure of Rectangle Geometric Shape. Issuu website.
This pure circular twist is more understandable than most and the Issuu website shows how they built one which you can walk round in. I am not sure if this includes walking upside down at one stage!
https://issuu.com/vsvu/docs/prof_is_1000/s/16586493
I feel that a twist anchored into an actual general structure, which has some straight and flat sections, is important. It is easier to identify the type of twist and how the effect of the twist radiates through the whole structure in a more meaningful way.
Some other reference sites mention continuous surfaces, with more than the single edge and surface of a Mobius Strip, as Morbioids. They compare their structure with the Torus (when it has parallel lines drawn around it which can be regarded as equivalent to edges which can produce the Mobius effect).
There are specific explanations of degree of twist, the number of sides, leading to the number of surfaces. These confirm my assumptions about a quarter (90 degree) twist, or three quarter (270 degree) twist resulting in a single surface for the square structure. A half (180 degree) twist has two surfaces. Others explain 5 or 6 sides and there is a formula for n surfaces according to twist and sides.
A useful link that works is headed “Name for a 3 sided Mobius Strip?” https://reddit.com/r/topology/comments/1bfdu7m/
SamwiseGanges said that he was going to call them Mobius prisms. When he referred to square Mobius prisms, he confirmed my assumptions about the effect of their twists.
AceThe Aro said that Dr. Cye Waldman called them Mobioid’s in 2017 and you can click onto his moving images. You can also click on Ace’s own slideshow which runs through all the different twist and number of sides possibilities.
I would like to refer to my drawing of Doug Eglen’s structure, with a quarter twist, as an “Anchored mobius torus”, or “Anchored Mobioid”.
Doug may consider loosening the join on his double boomerang ironwork and resetting it with a quarter (90 degree) twist. That would produce a real single surface anchored Mobioid.