After completing my drawings of Haken’s Gordian Knot, which I covered in my previous continuous line blog post, I decided that I needed to find out more about how this unknot was created. It is one thing me portraying the route of the two strands running through a completed structure, but possible something very different if I construct it from scratch.
A Google search for Haken’s Gordian Knot took me to a page of MathOverflow website, where a question that appeared “Are there any very hard unknots?” posed by mathematician Timothy Gowers, in January 2011. In an update after many answers he said that he had arrived at Haken’s “Gordian Knot”.

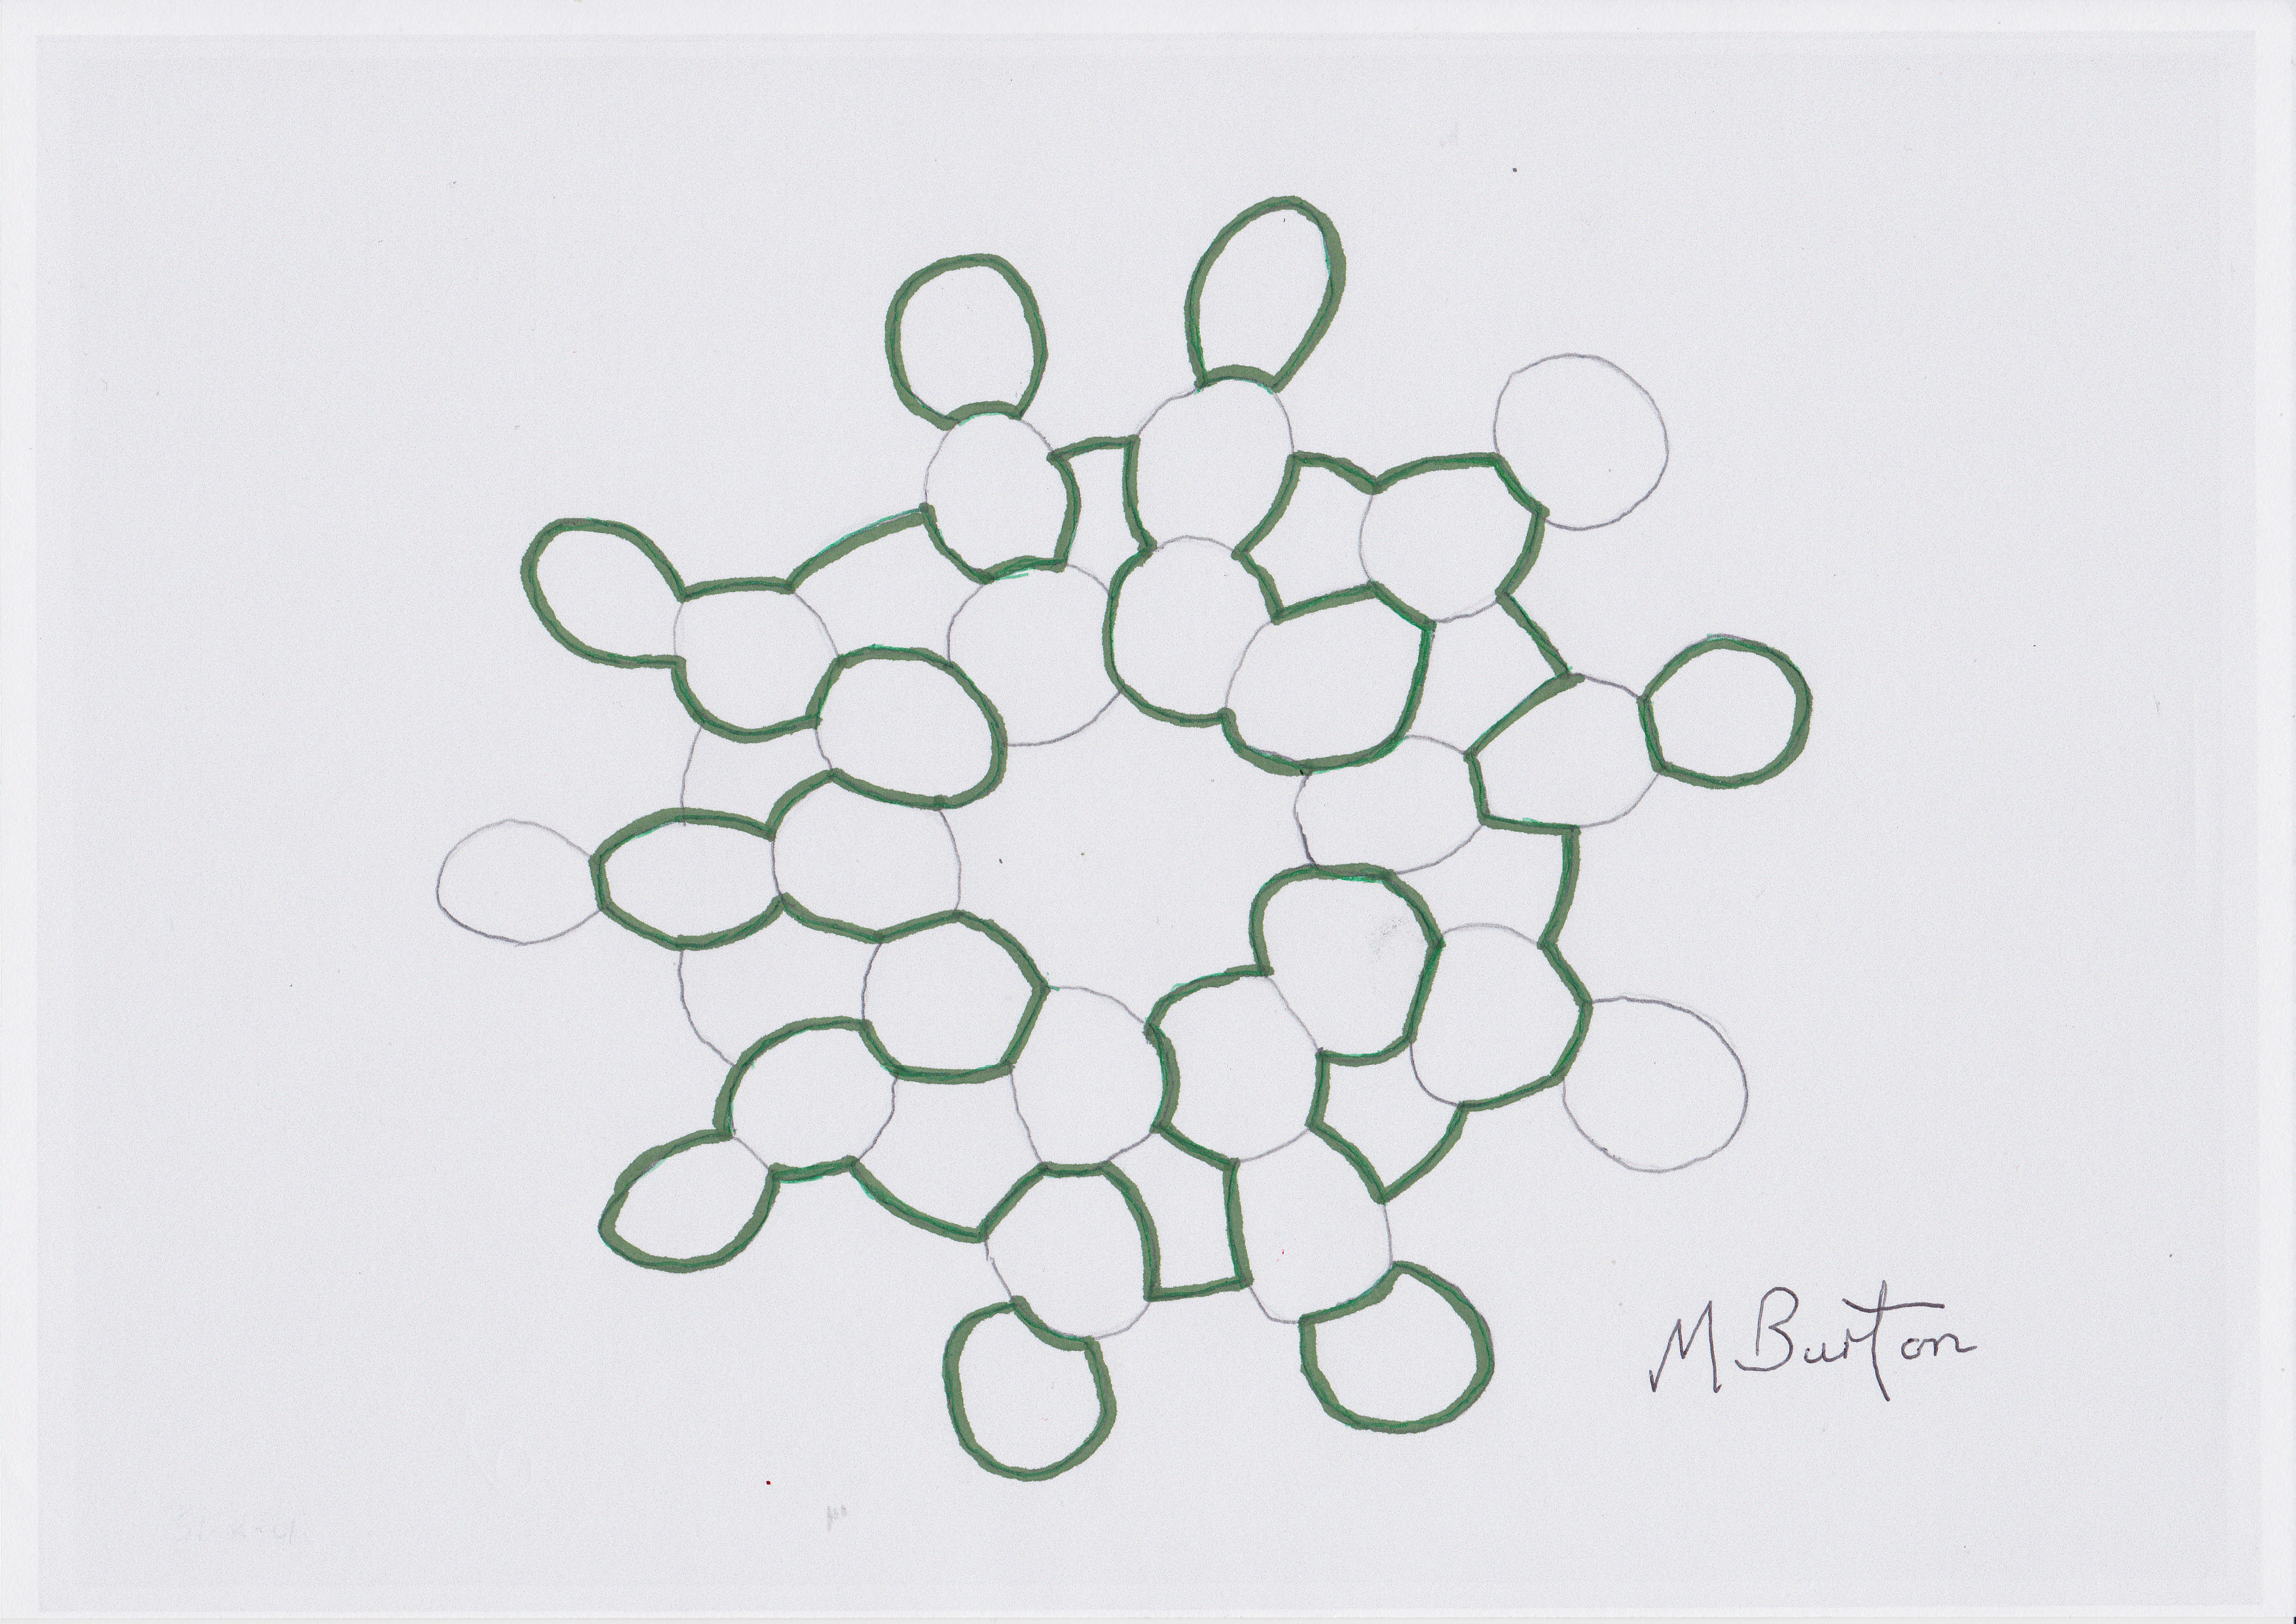
Haken’s Gordian Knot, from Ian Agol. A simple circle of string (an Unknot) formed into a complicated continuous line.
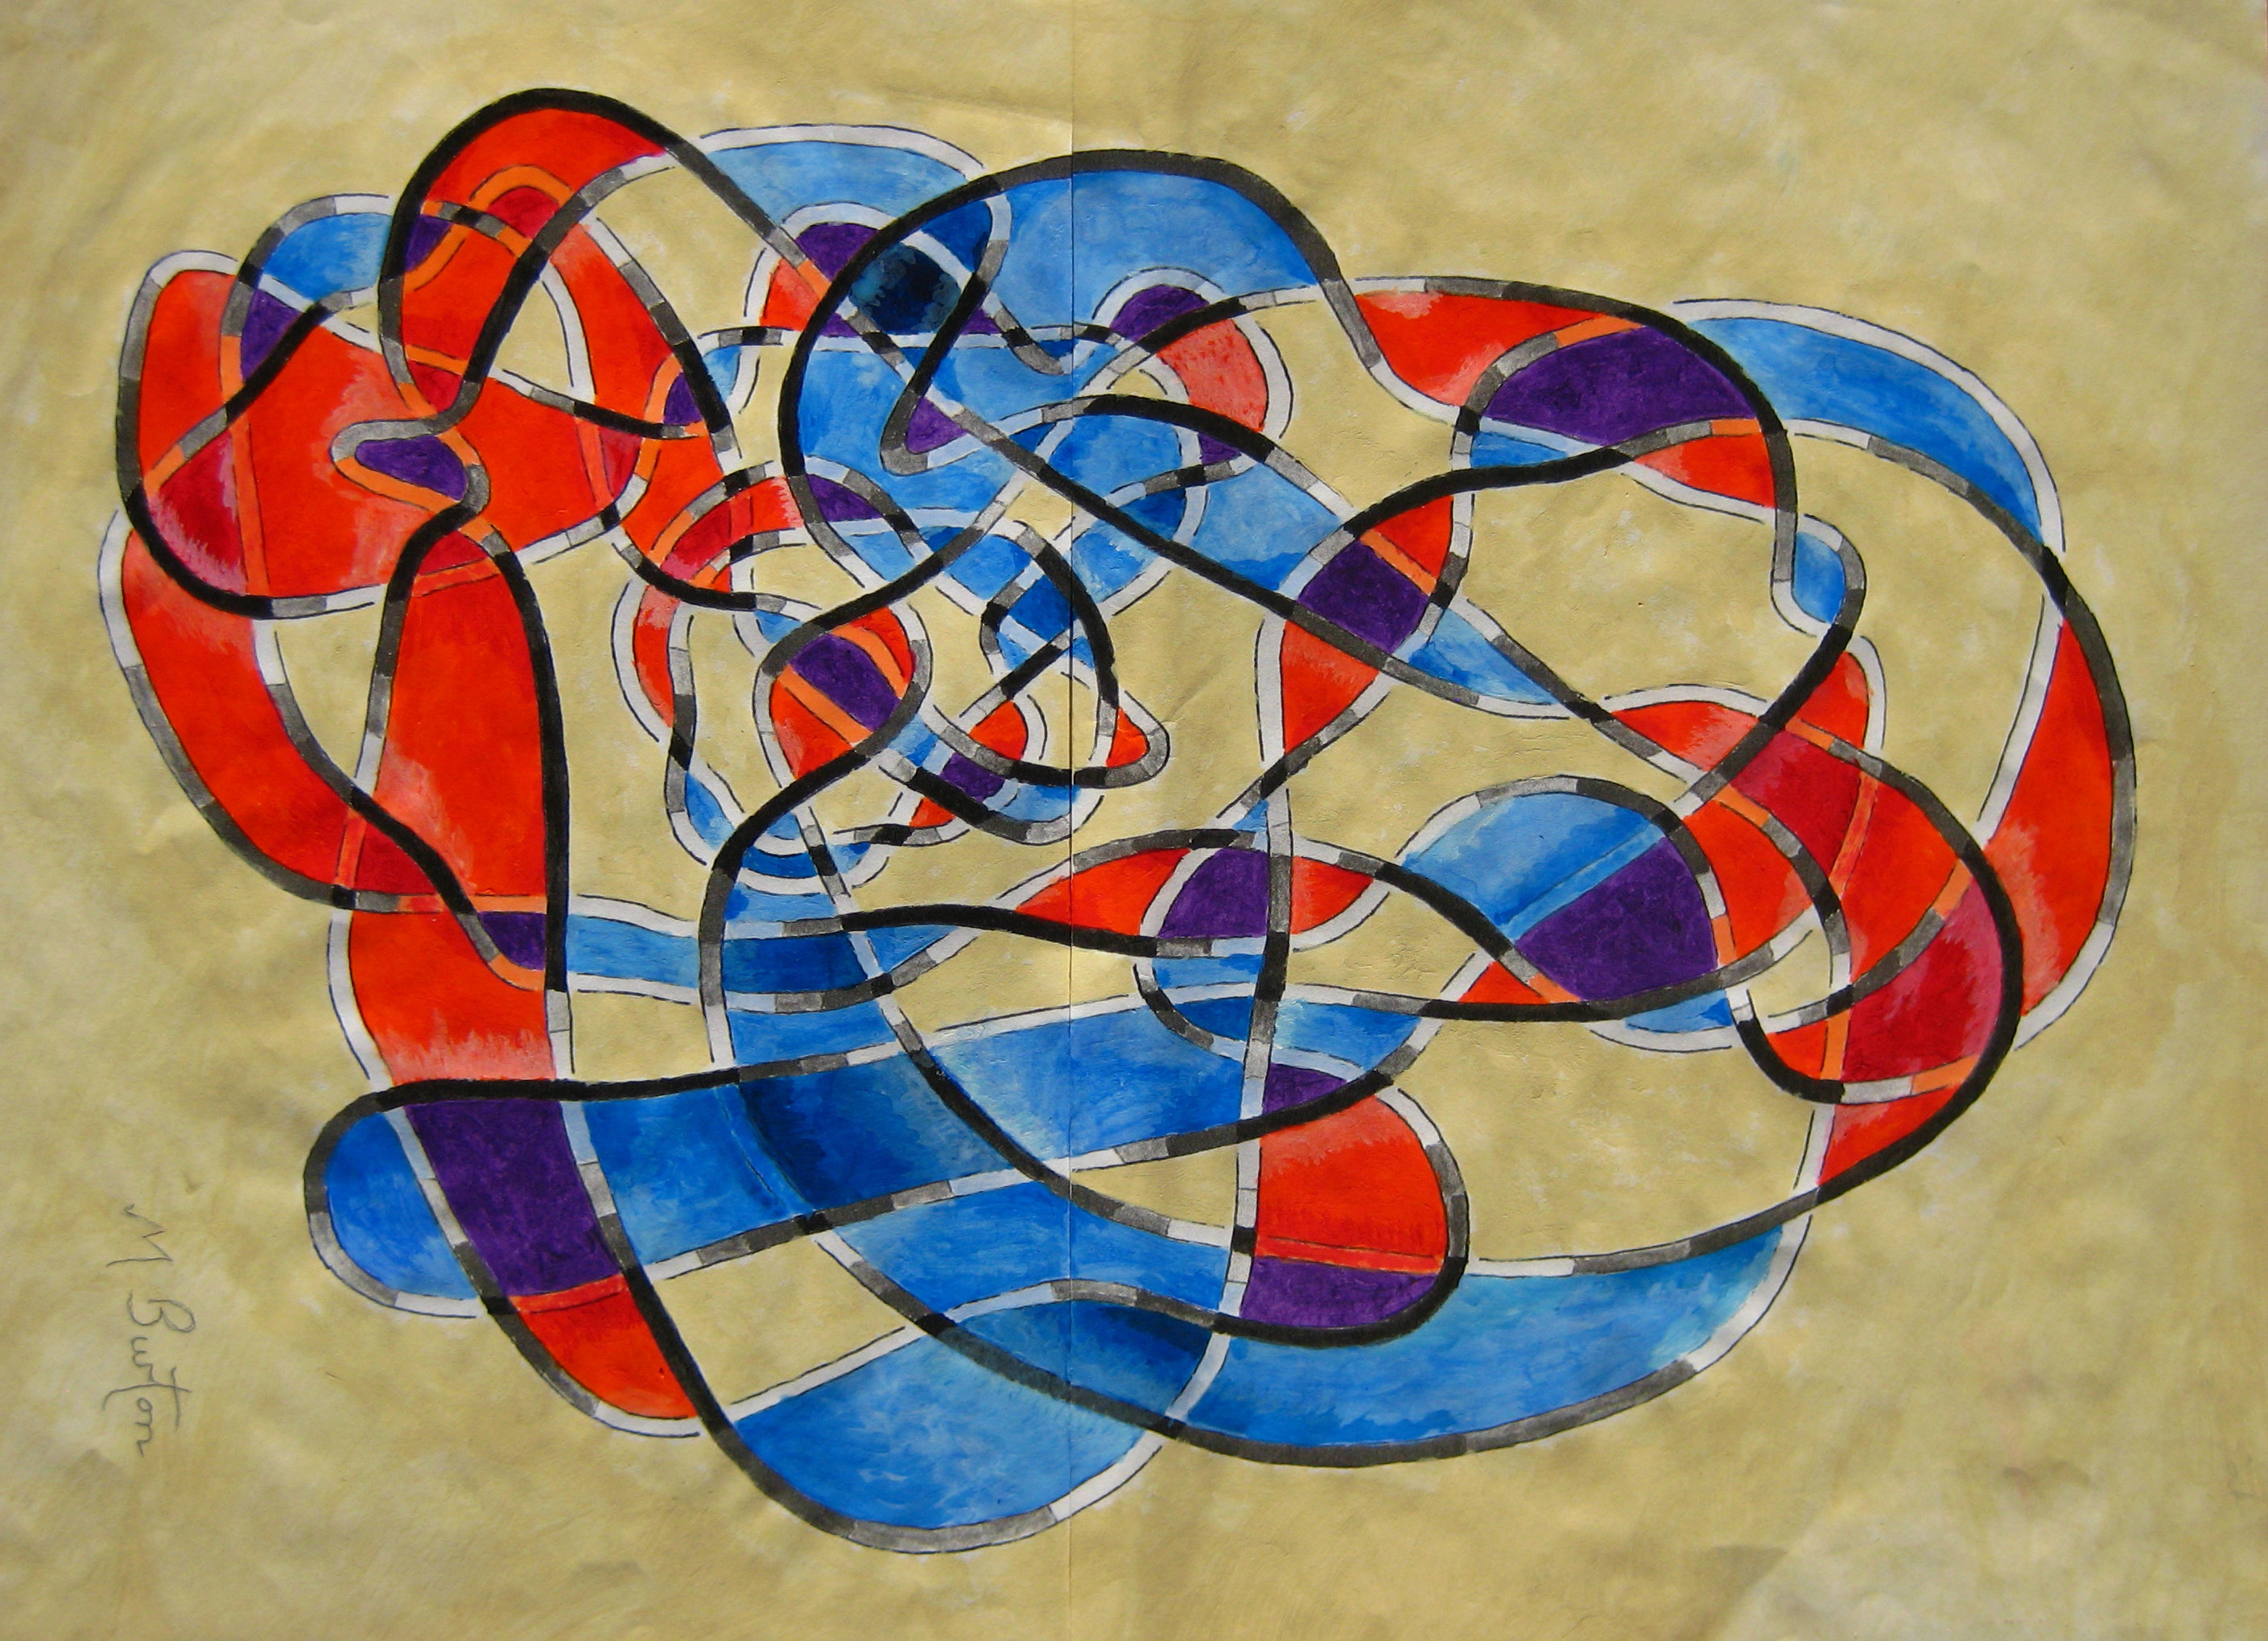
Timothy said that, after studying the knot for some time, “It is clear that Haken started by taking a loop, pulling it until it formed something close to two parallel strands, twisting those strands several times, and then threading the ends in and out of the resulting twists”. This approach is something like the suggestions I made in my last post on the basis of my Twisting, Overlapping, Envelope painting of the Haken Knot.

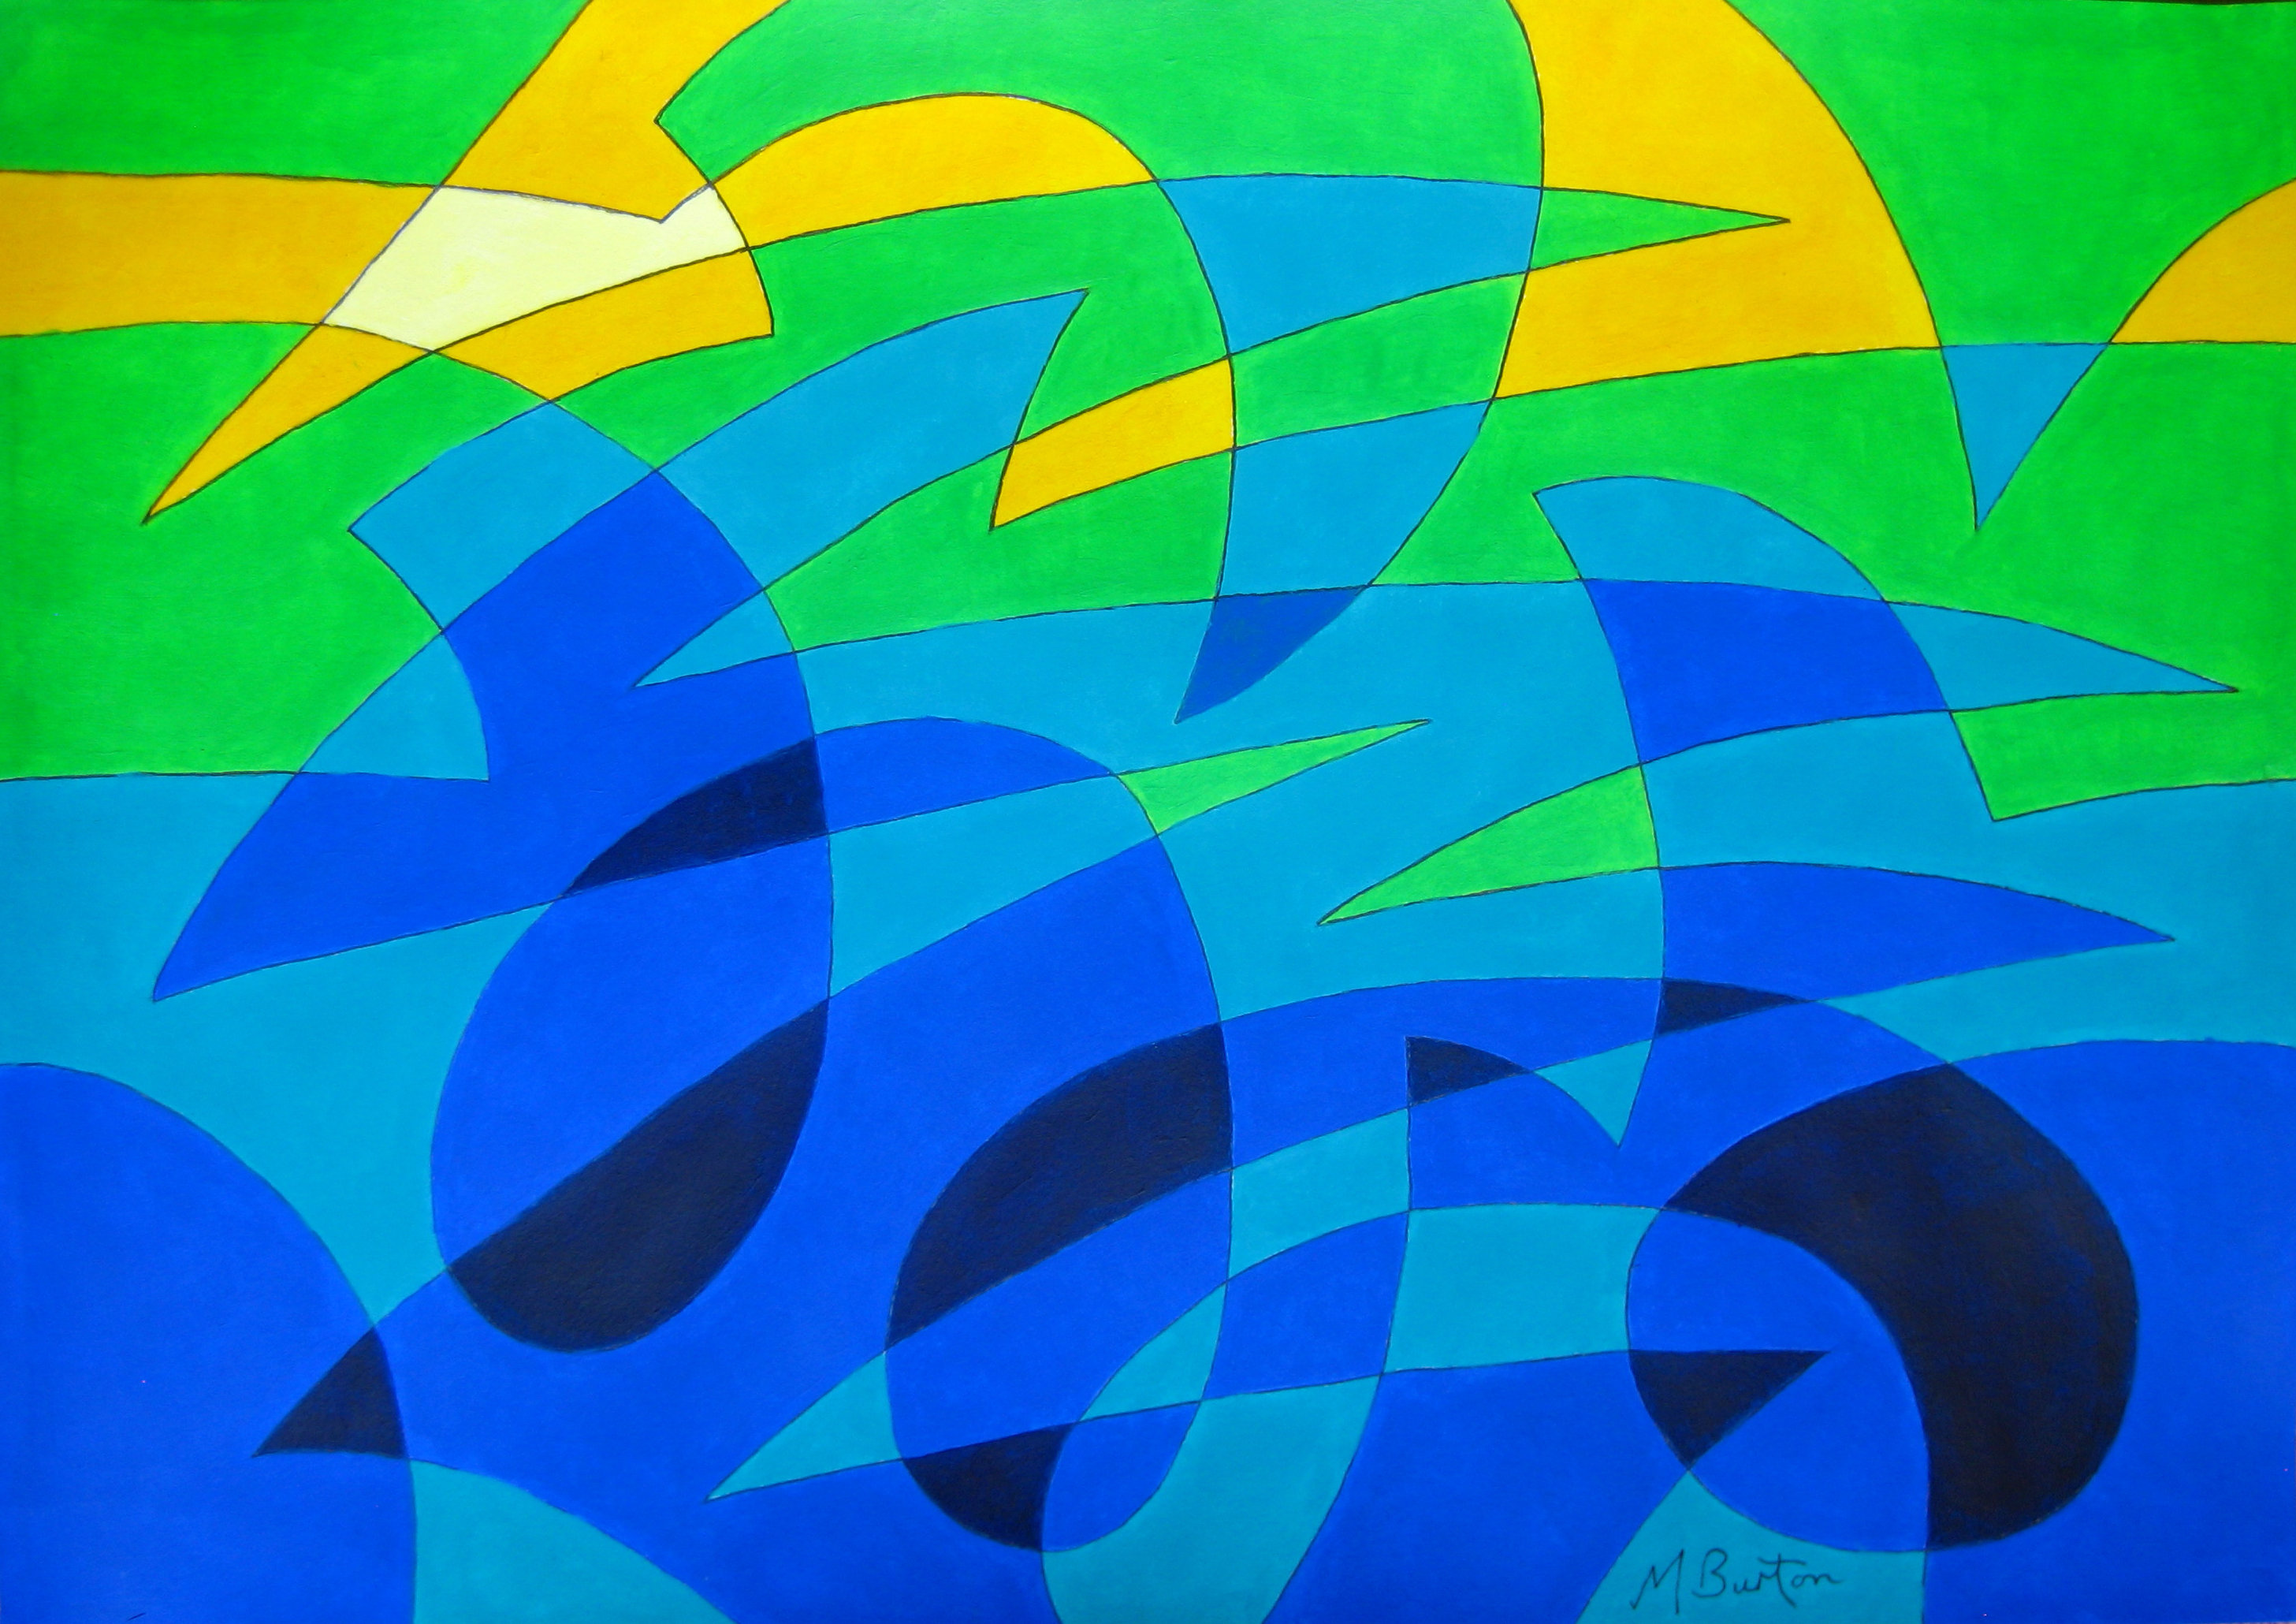
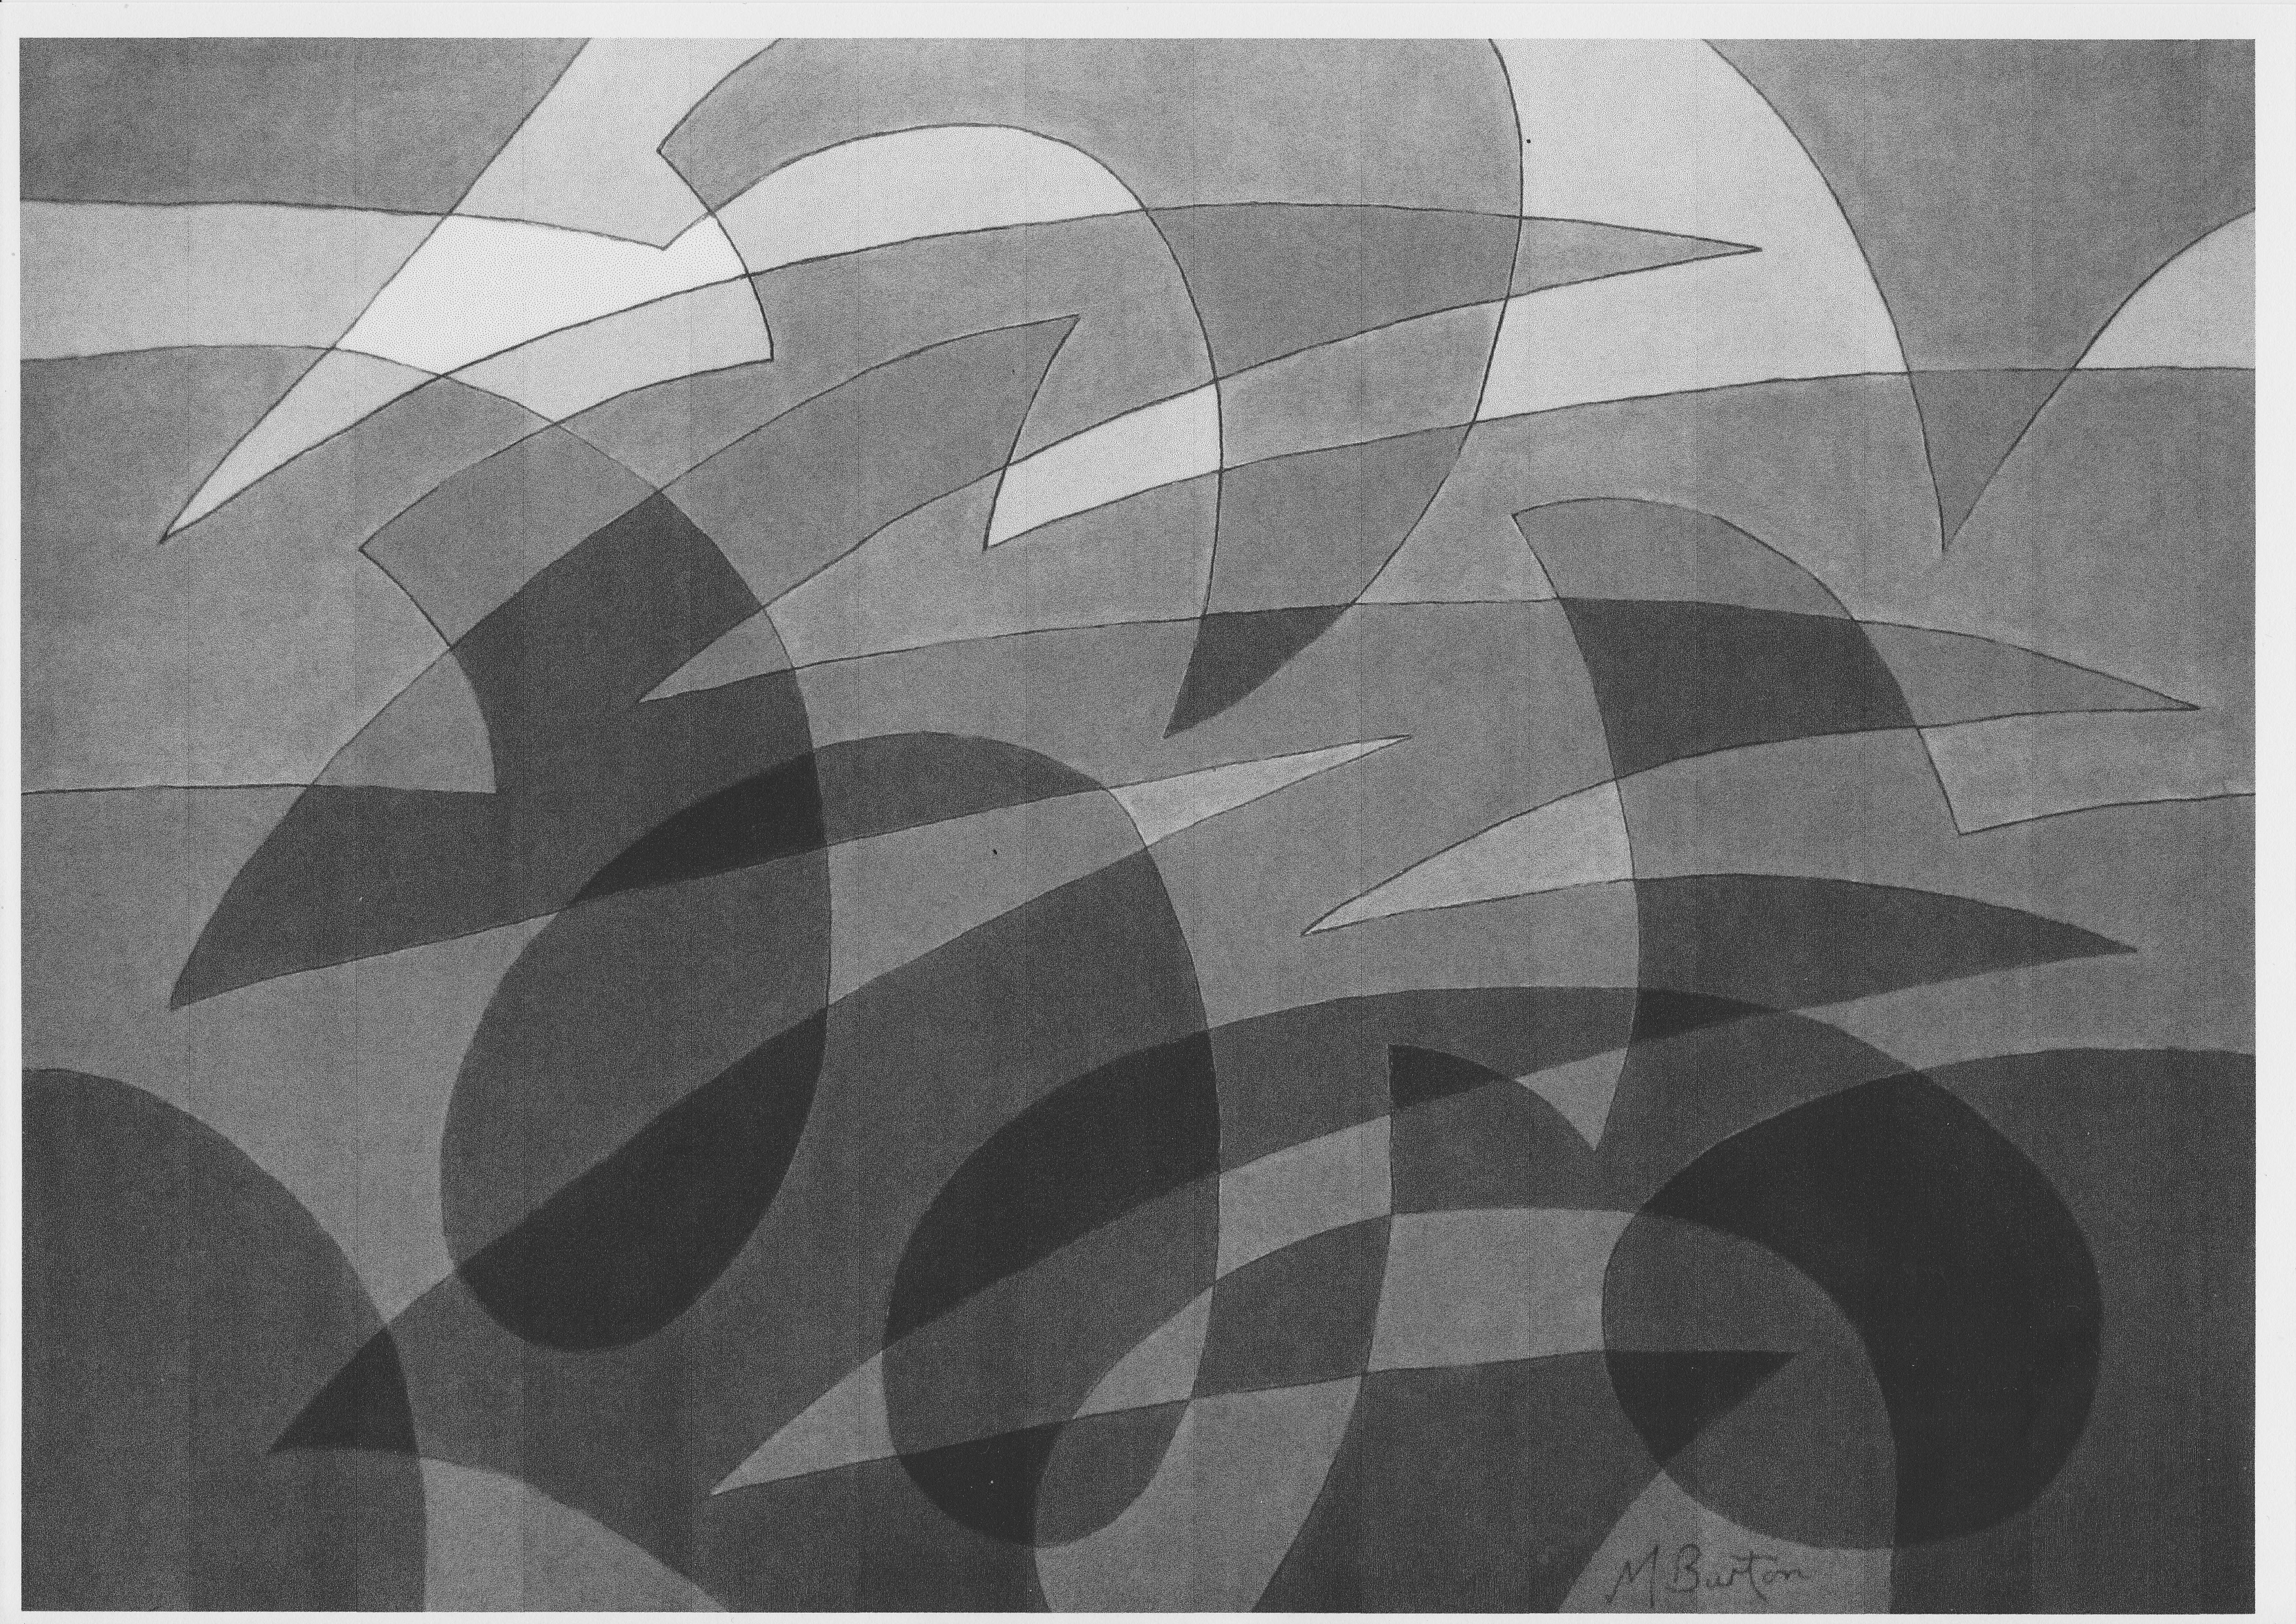
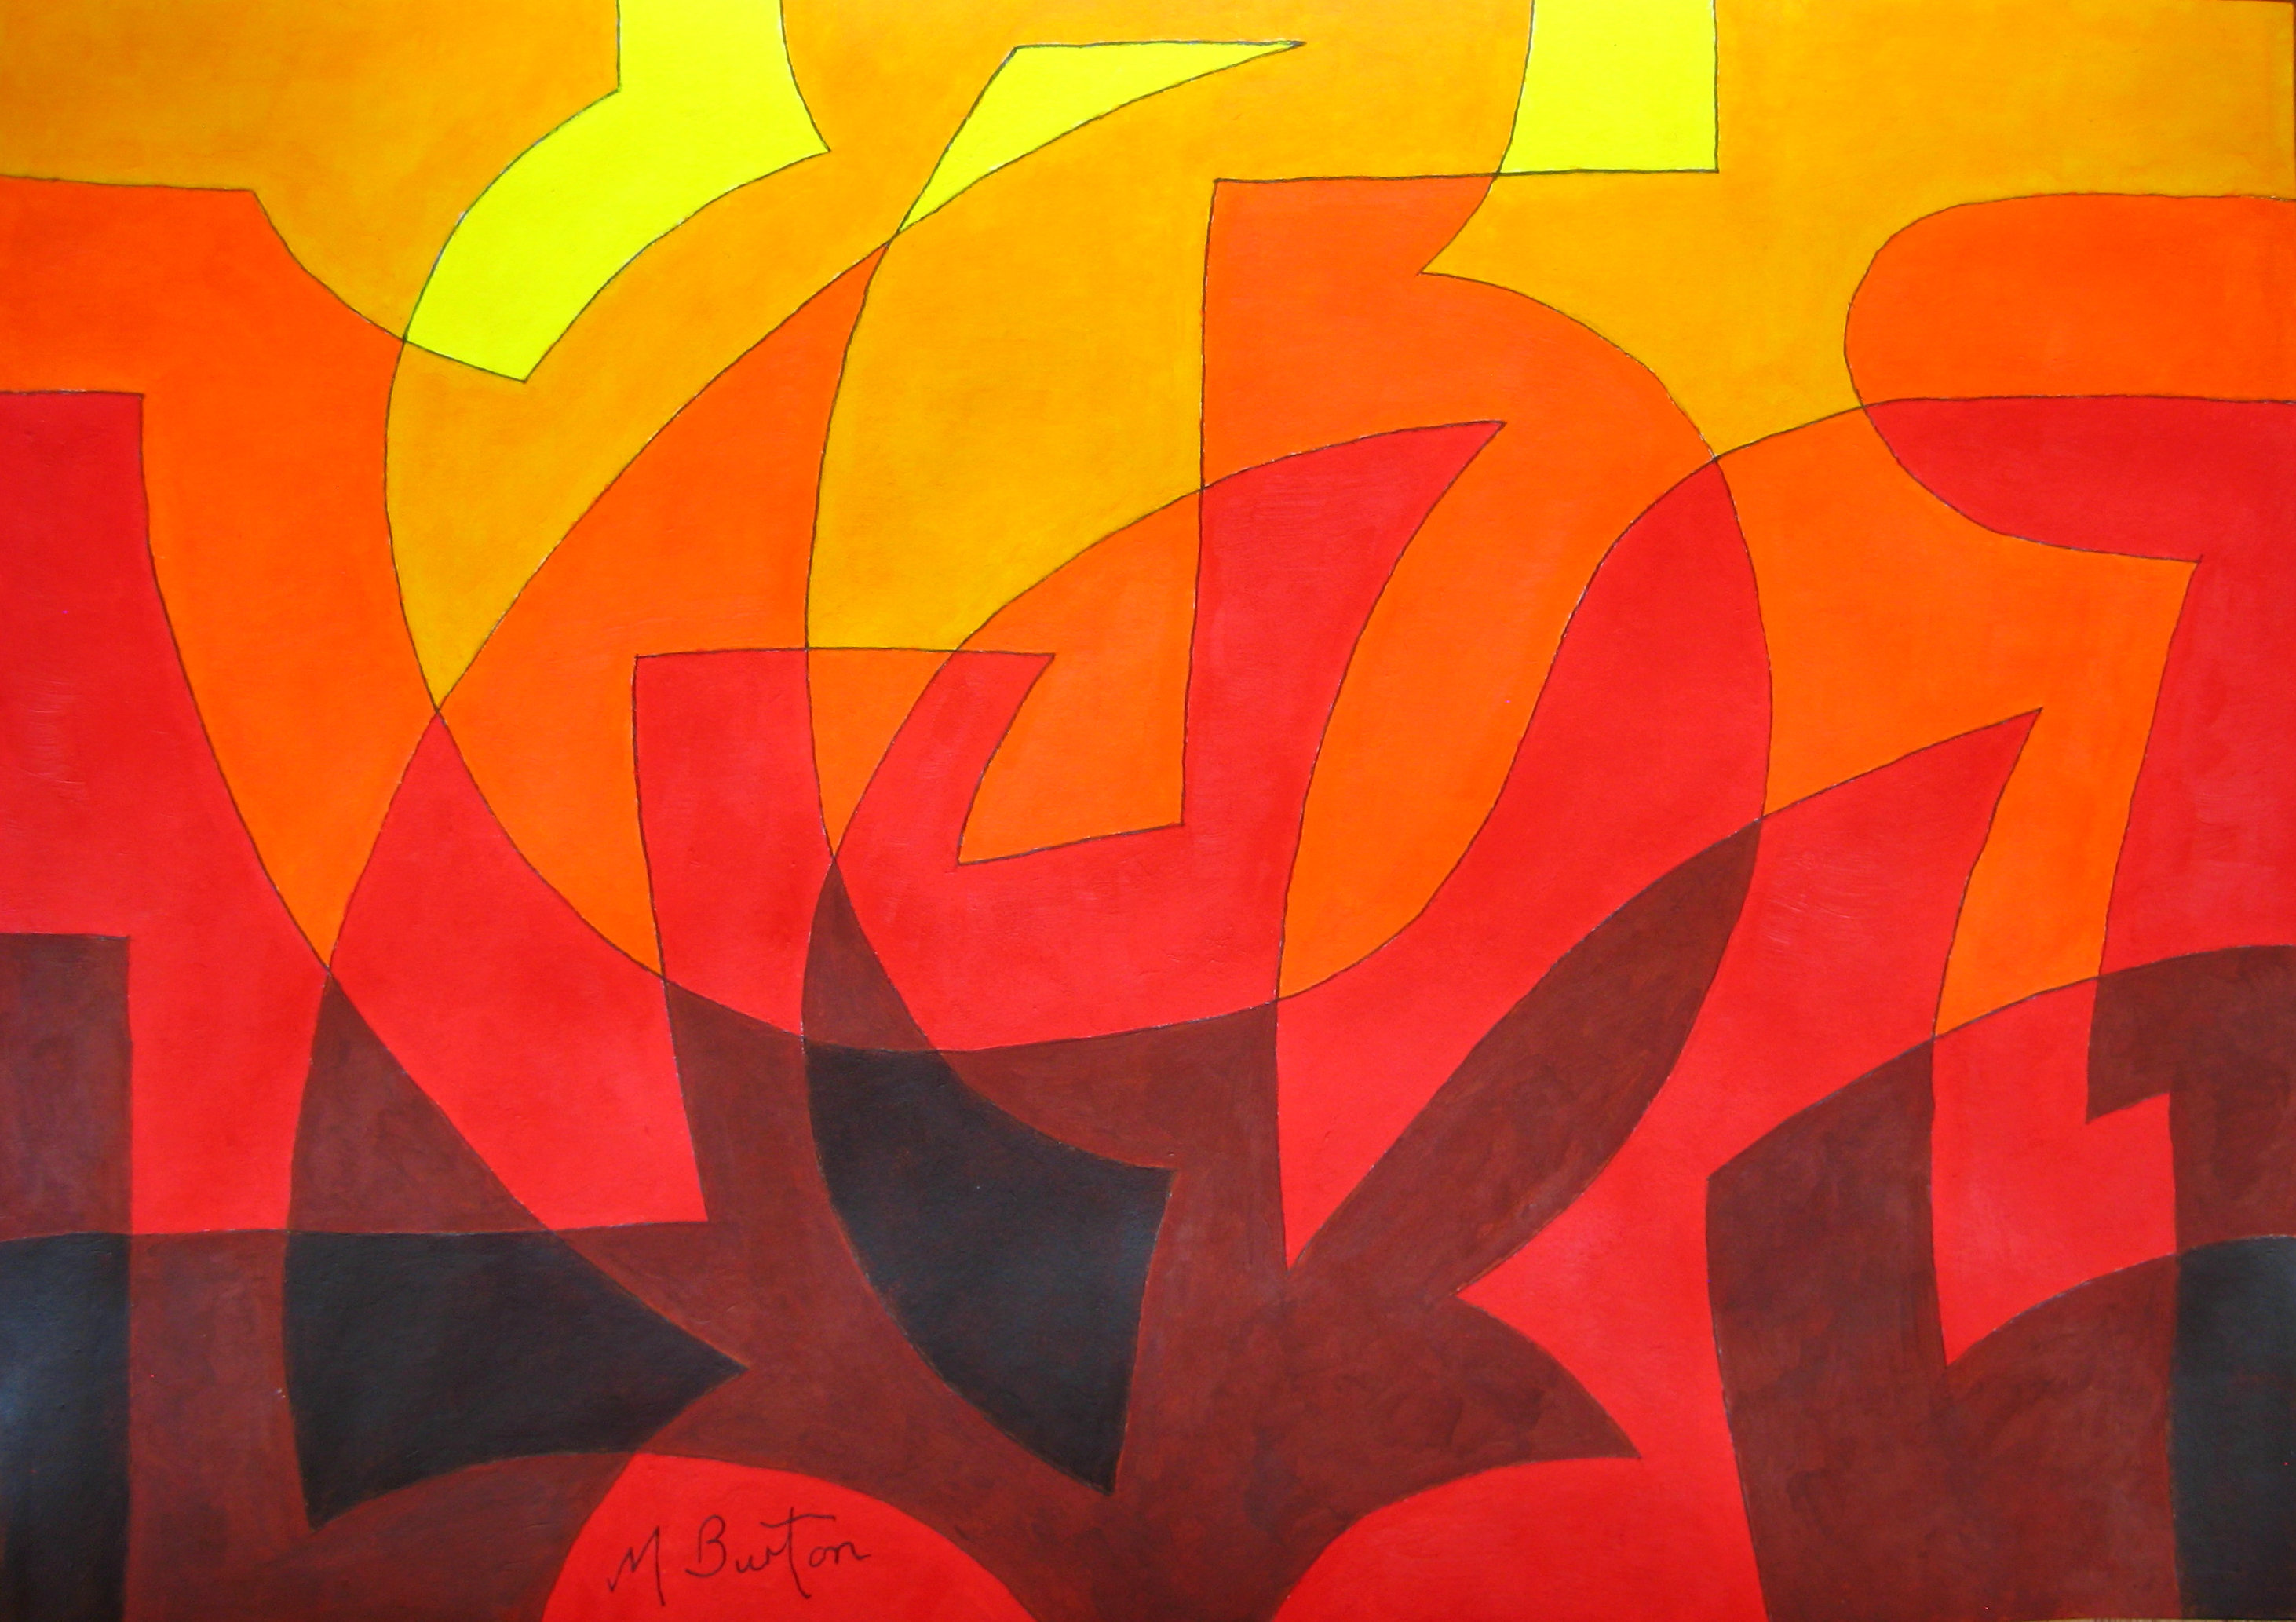
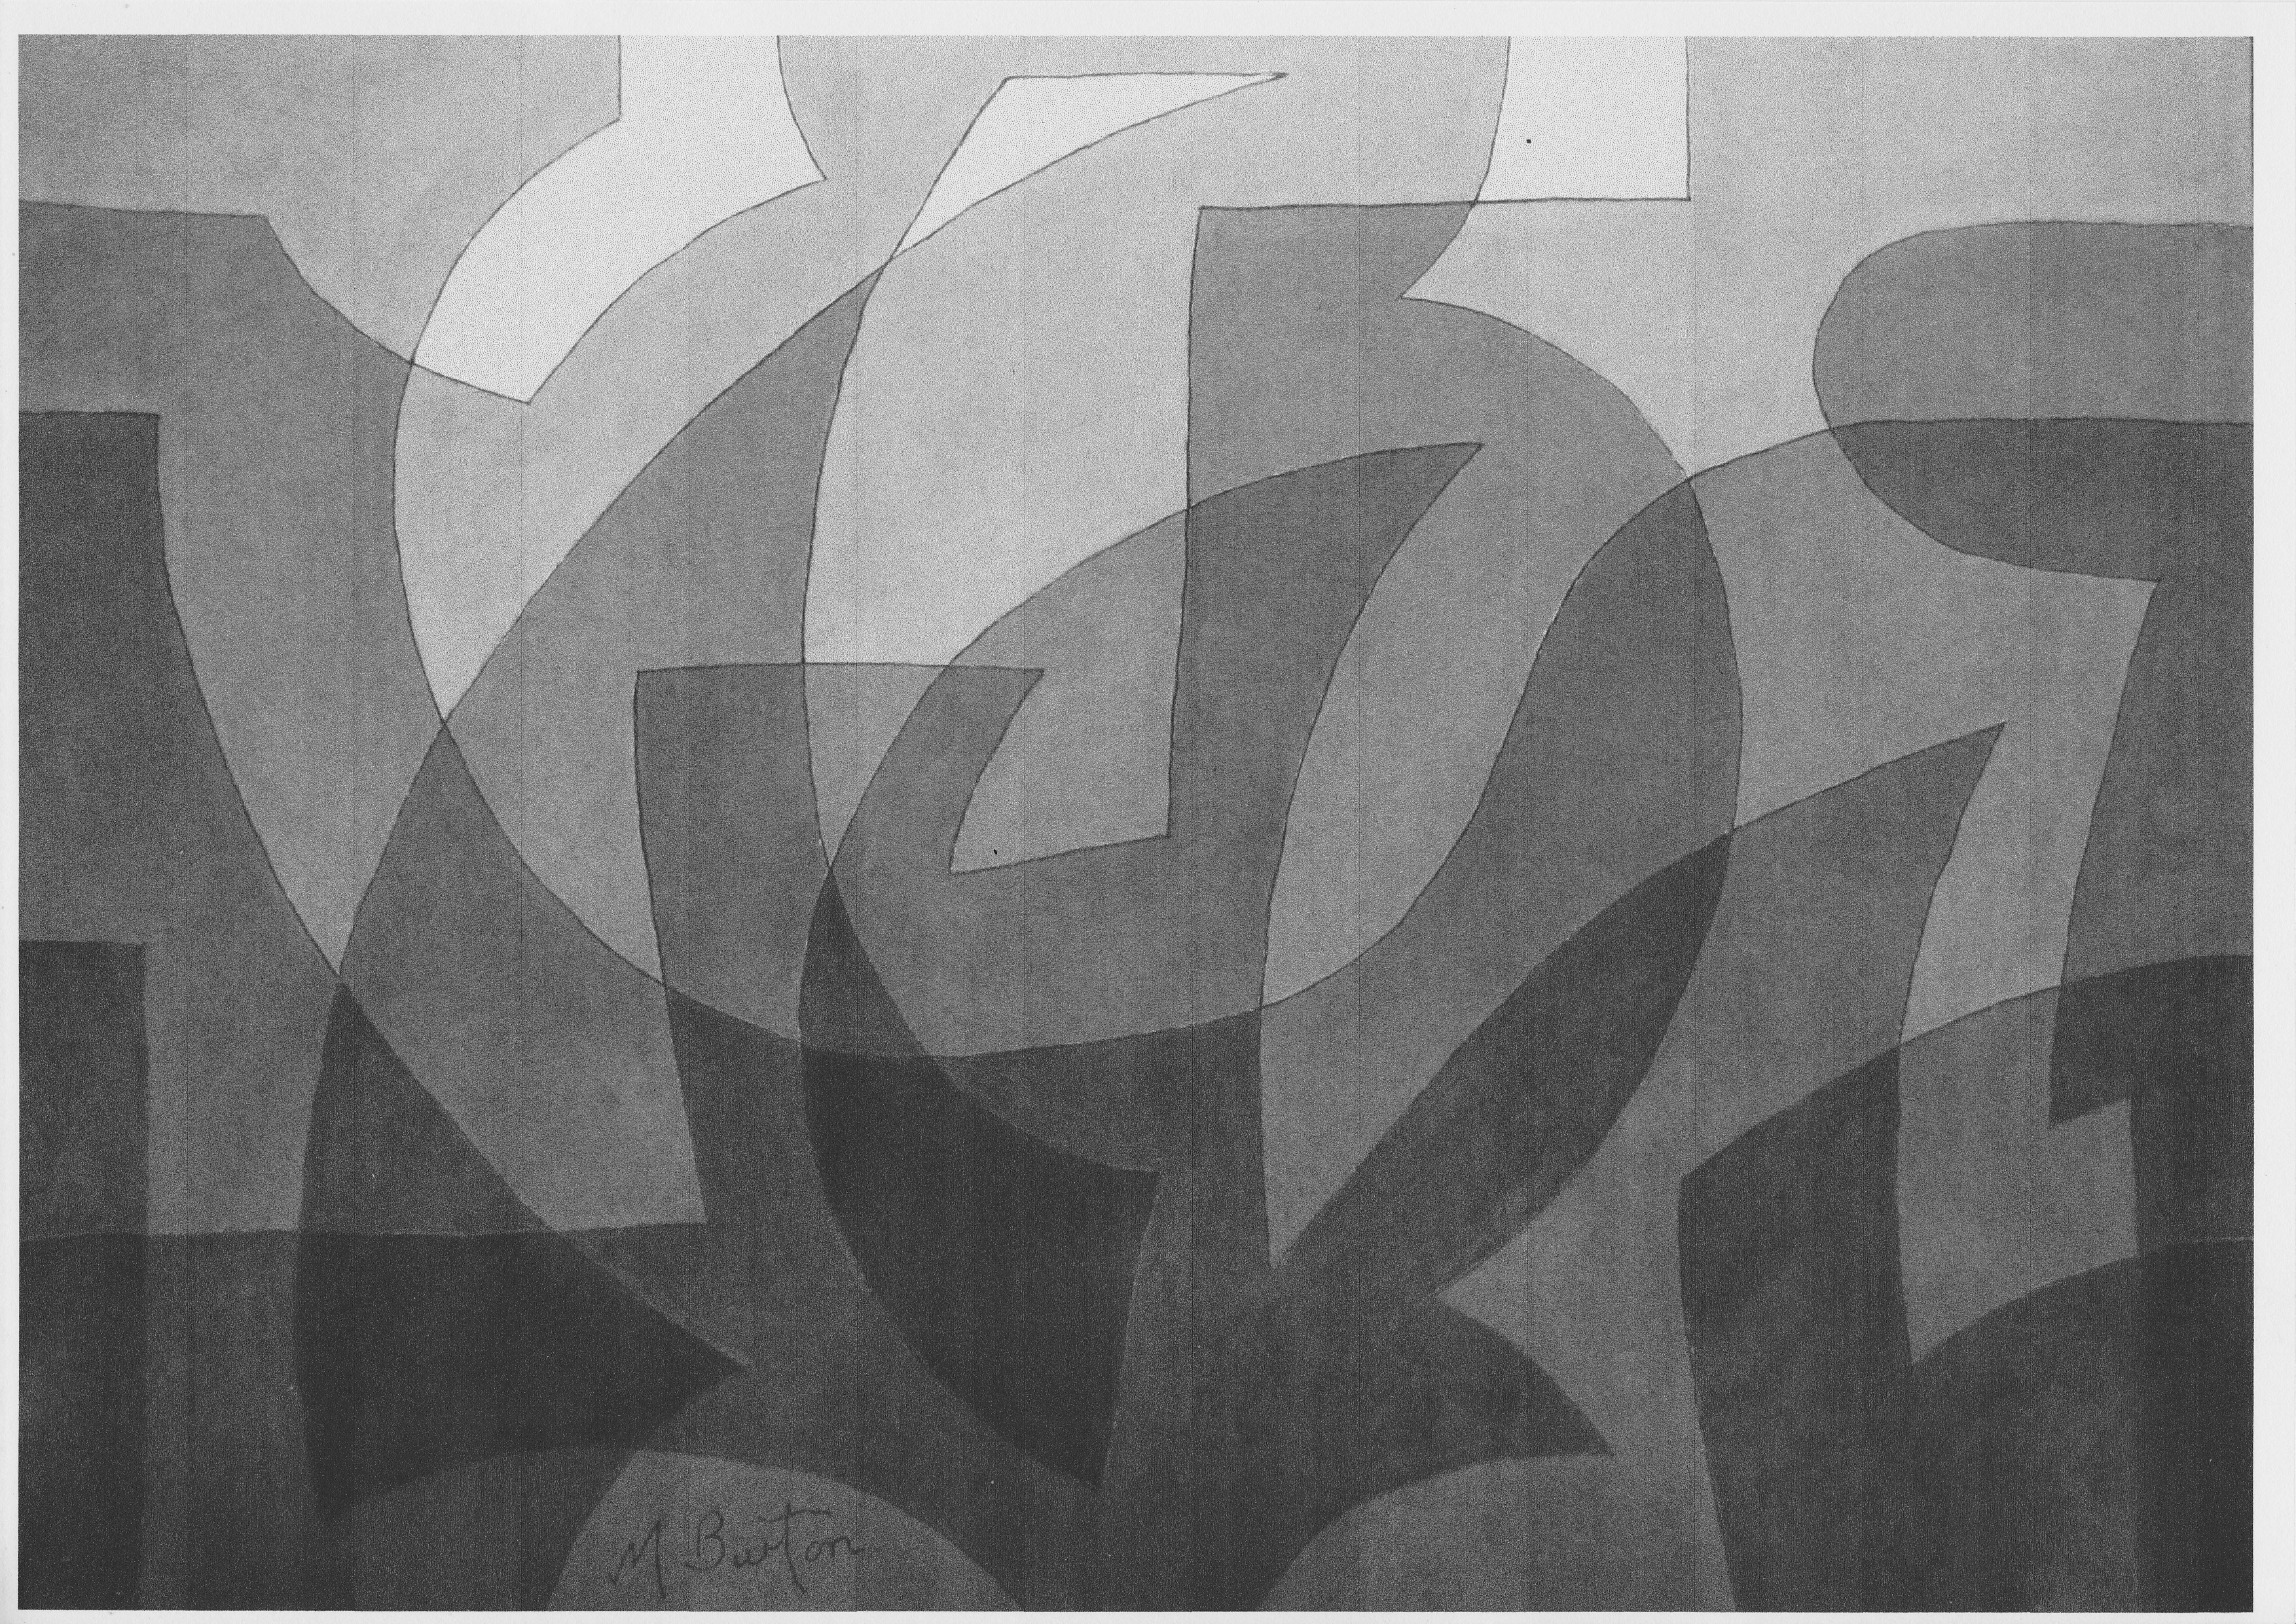
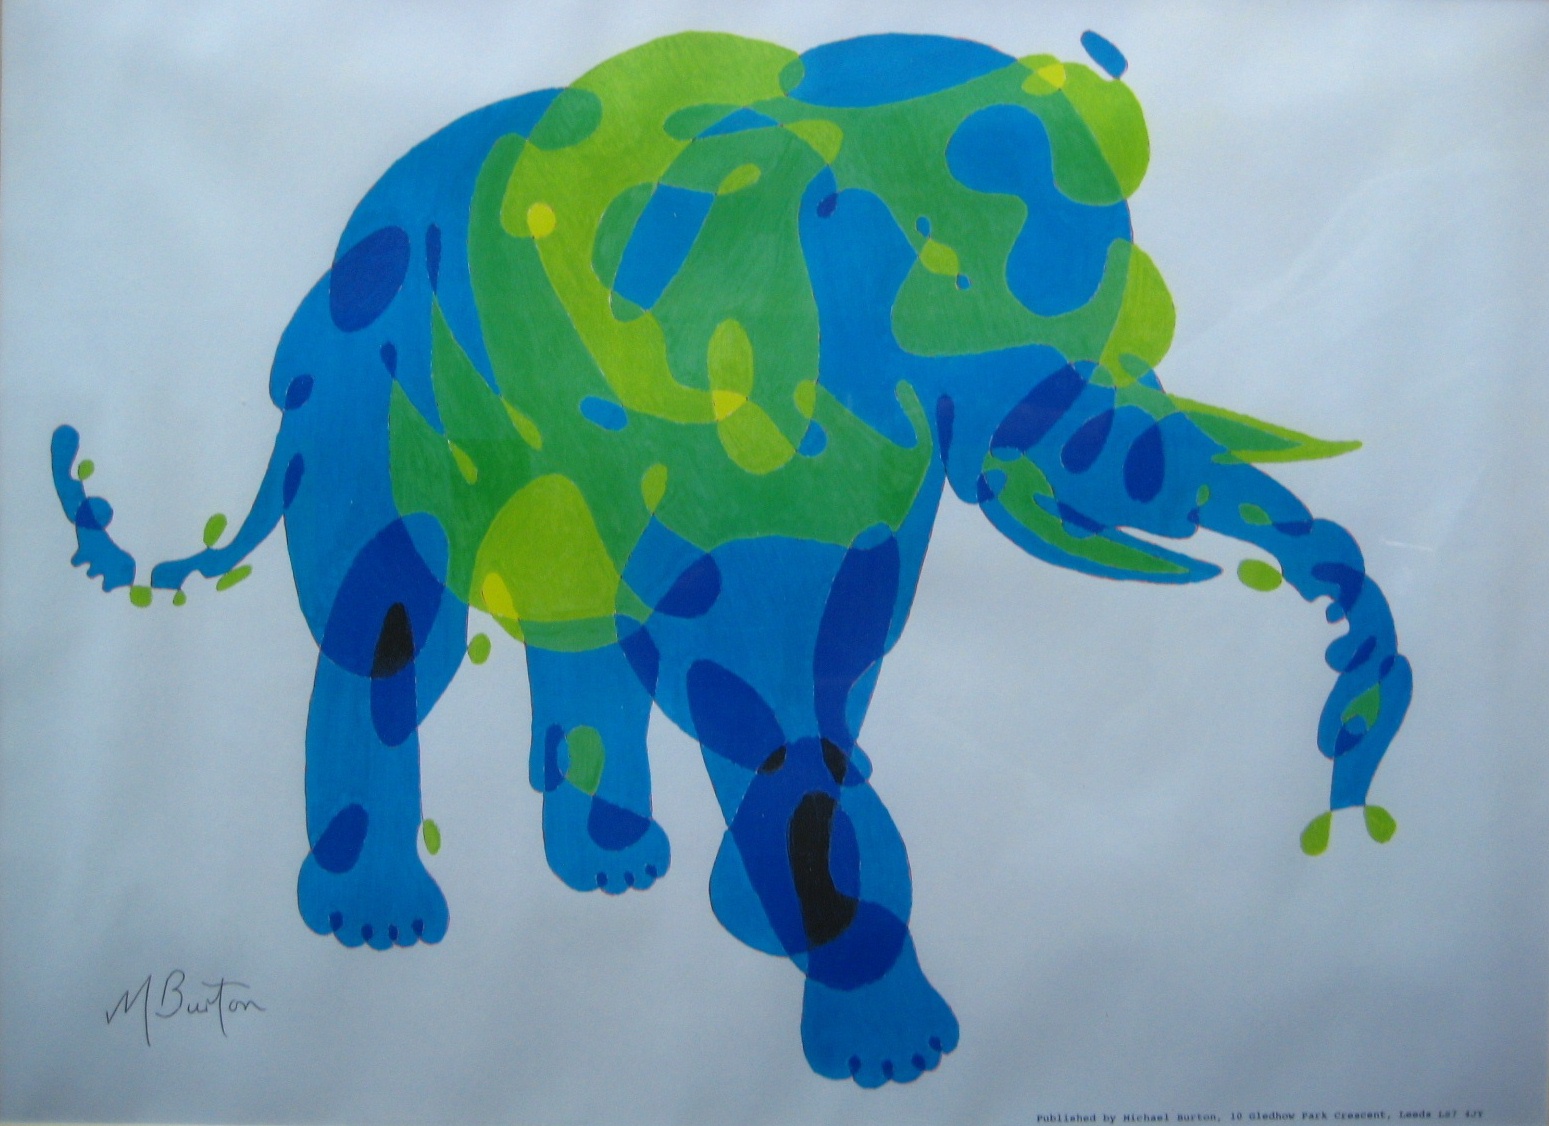
Twisting, overlapping colouring of Haken’s Gordian Knot. Mick Burton single continuous line drawing painting.
Timothy then added that “The thing that is slightly mysterious is that both ends are “locked” “. When I started to build the structure from scratch I began to realise what “locked” may mean.

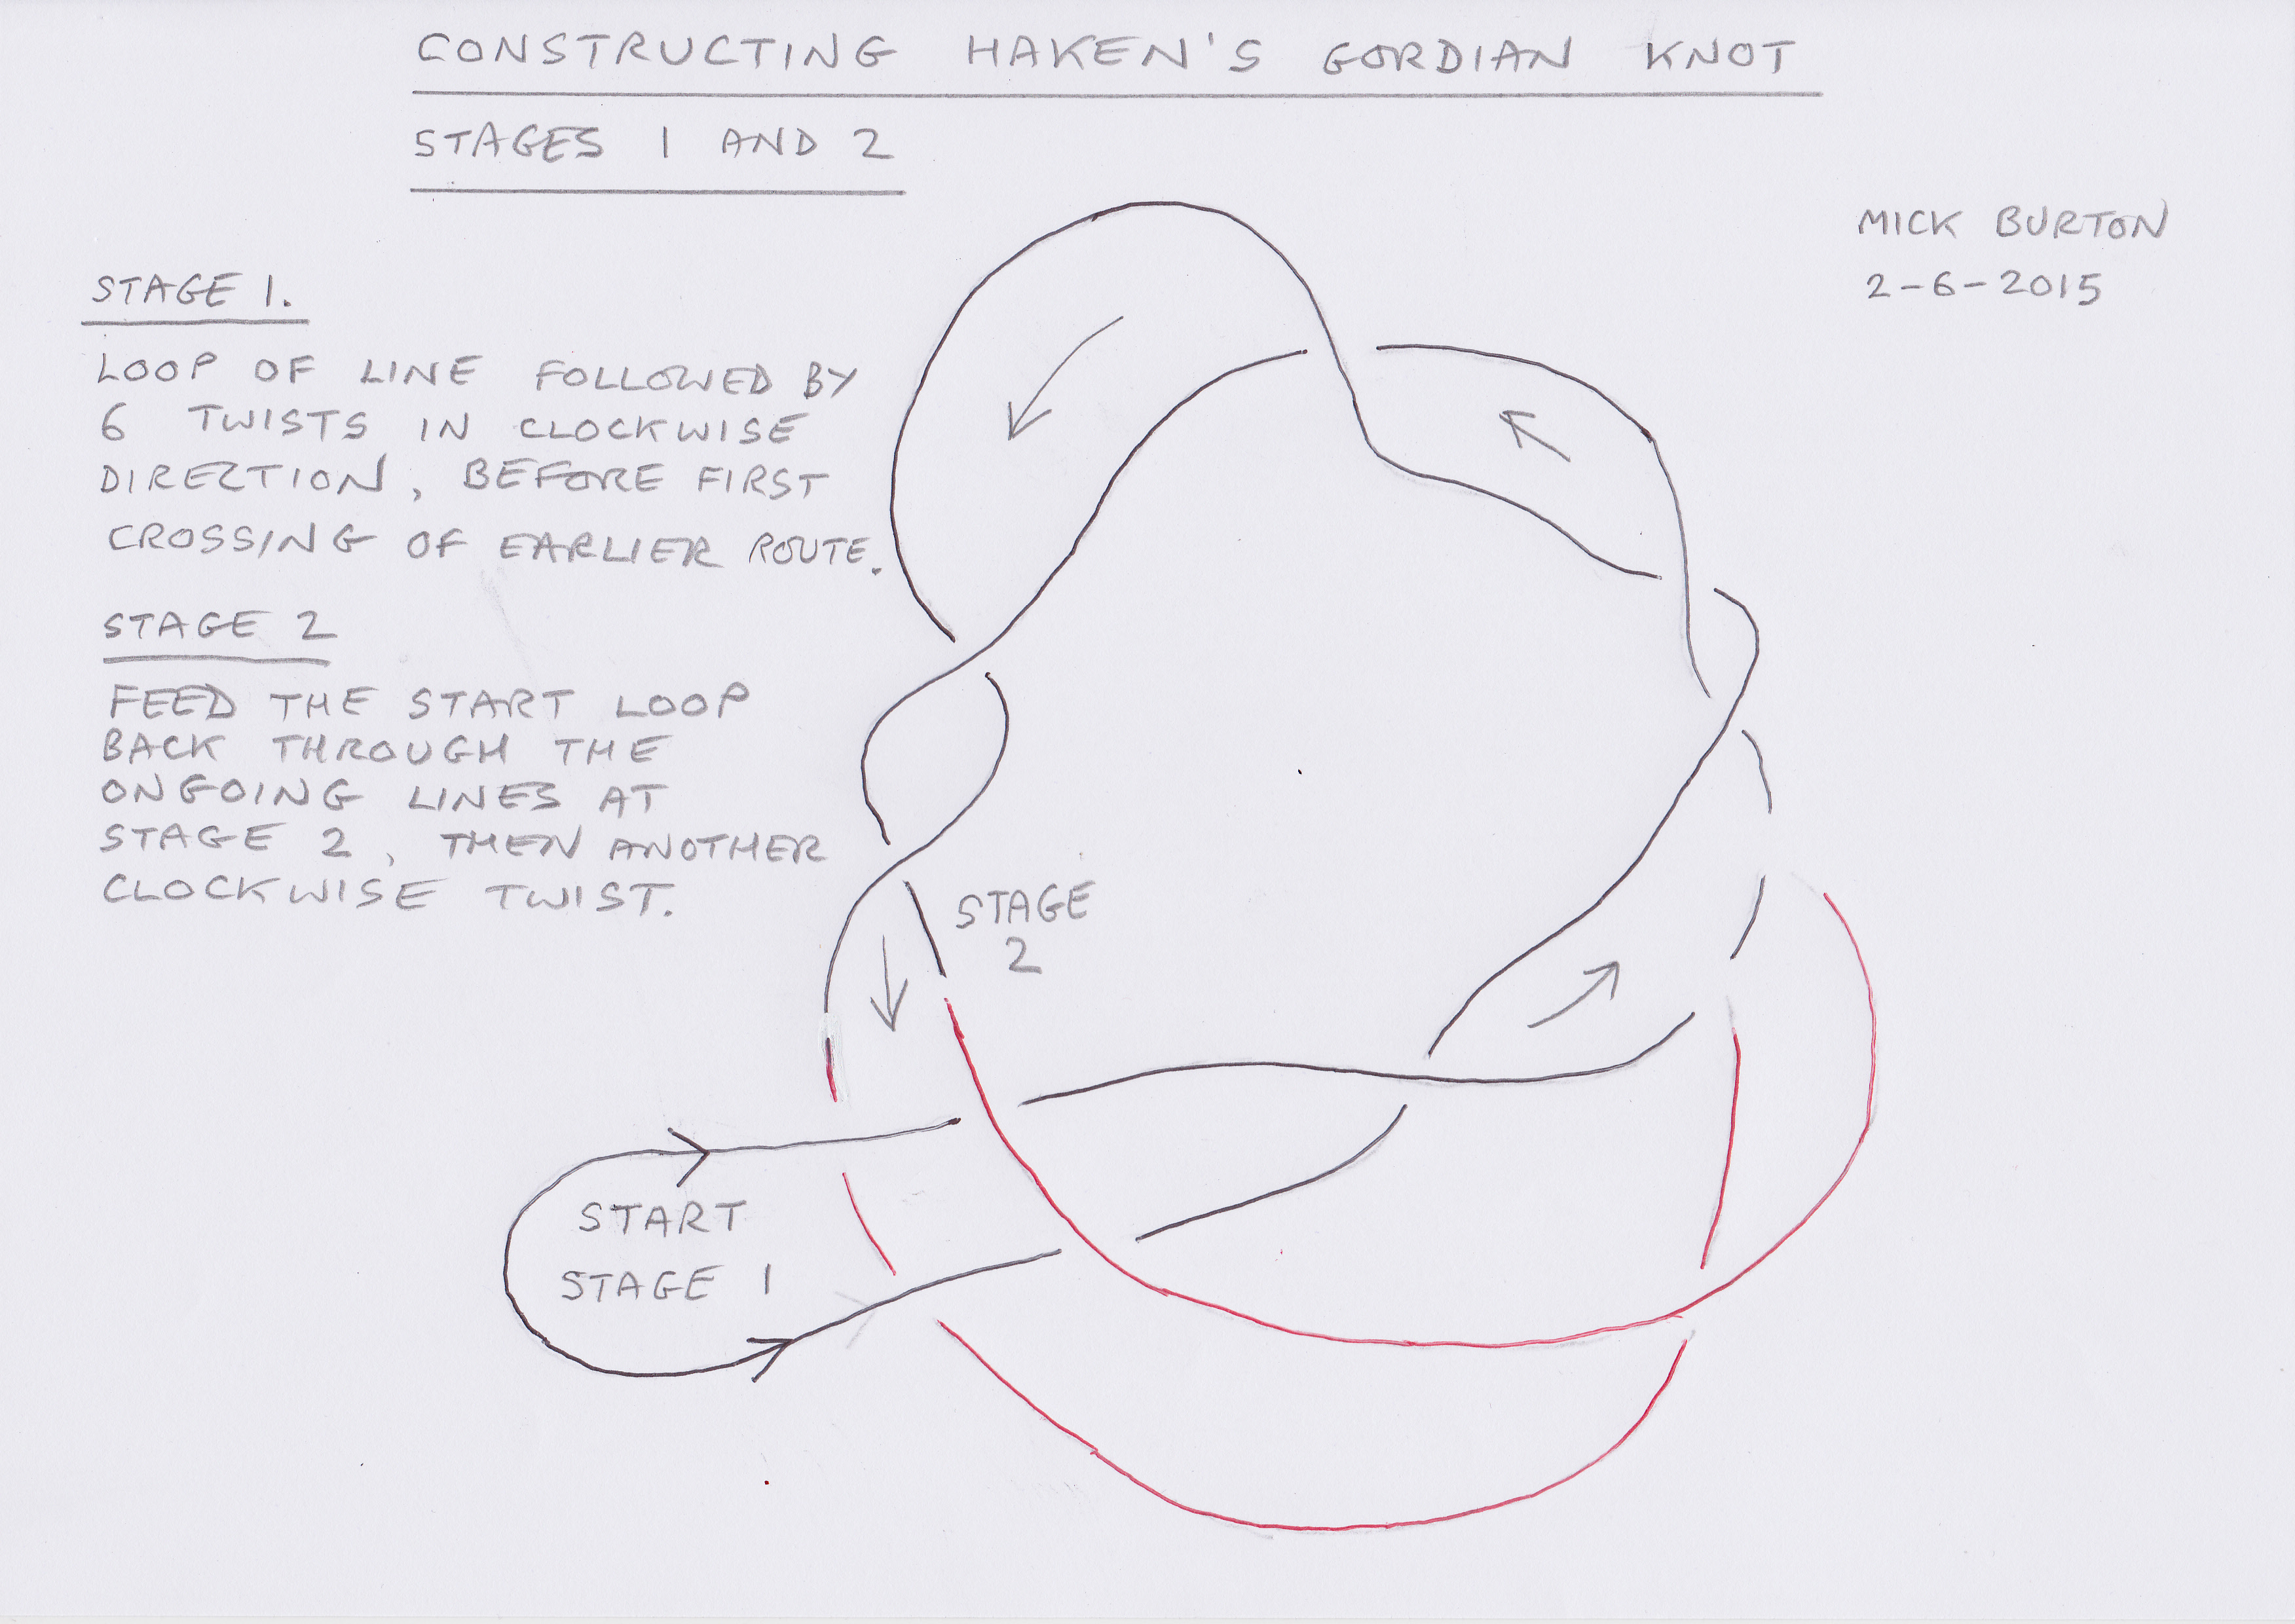
Constructing Haken’s Gordian Knot. Stages 1 & 2. Mick Burton.
After leaving the looped end at the start, the ongoing route first meets its earlier self at Stage 2. However instead of the ongoing route going through the earlier one, the initial loop goes back through the later one. This must be what is meant by the first “lock”.

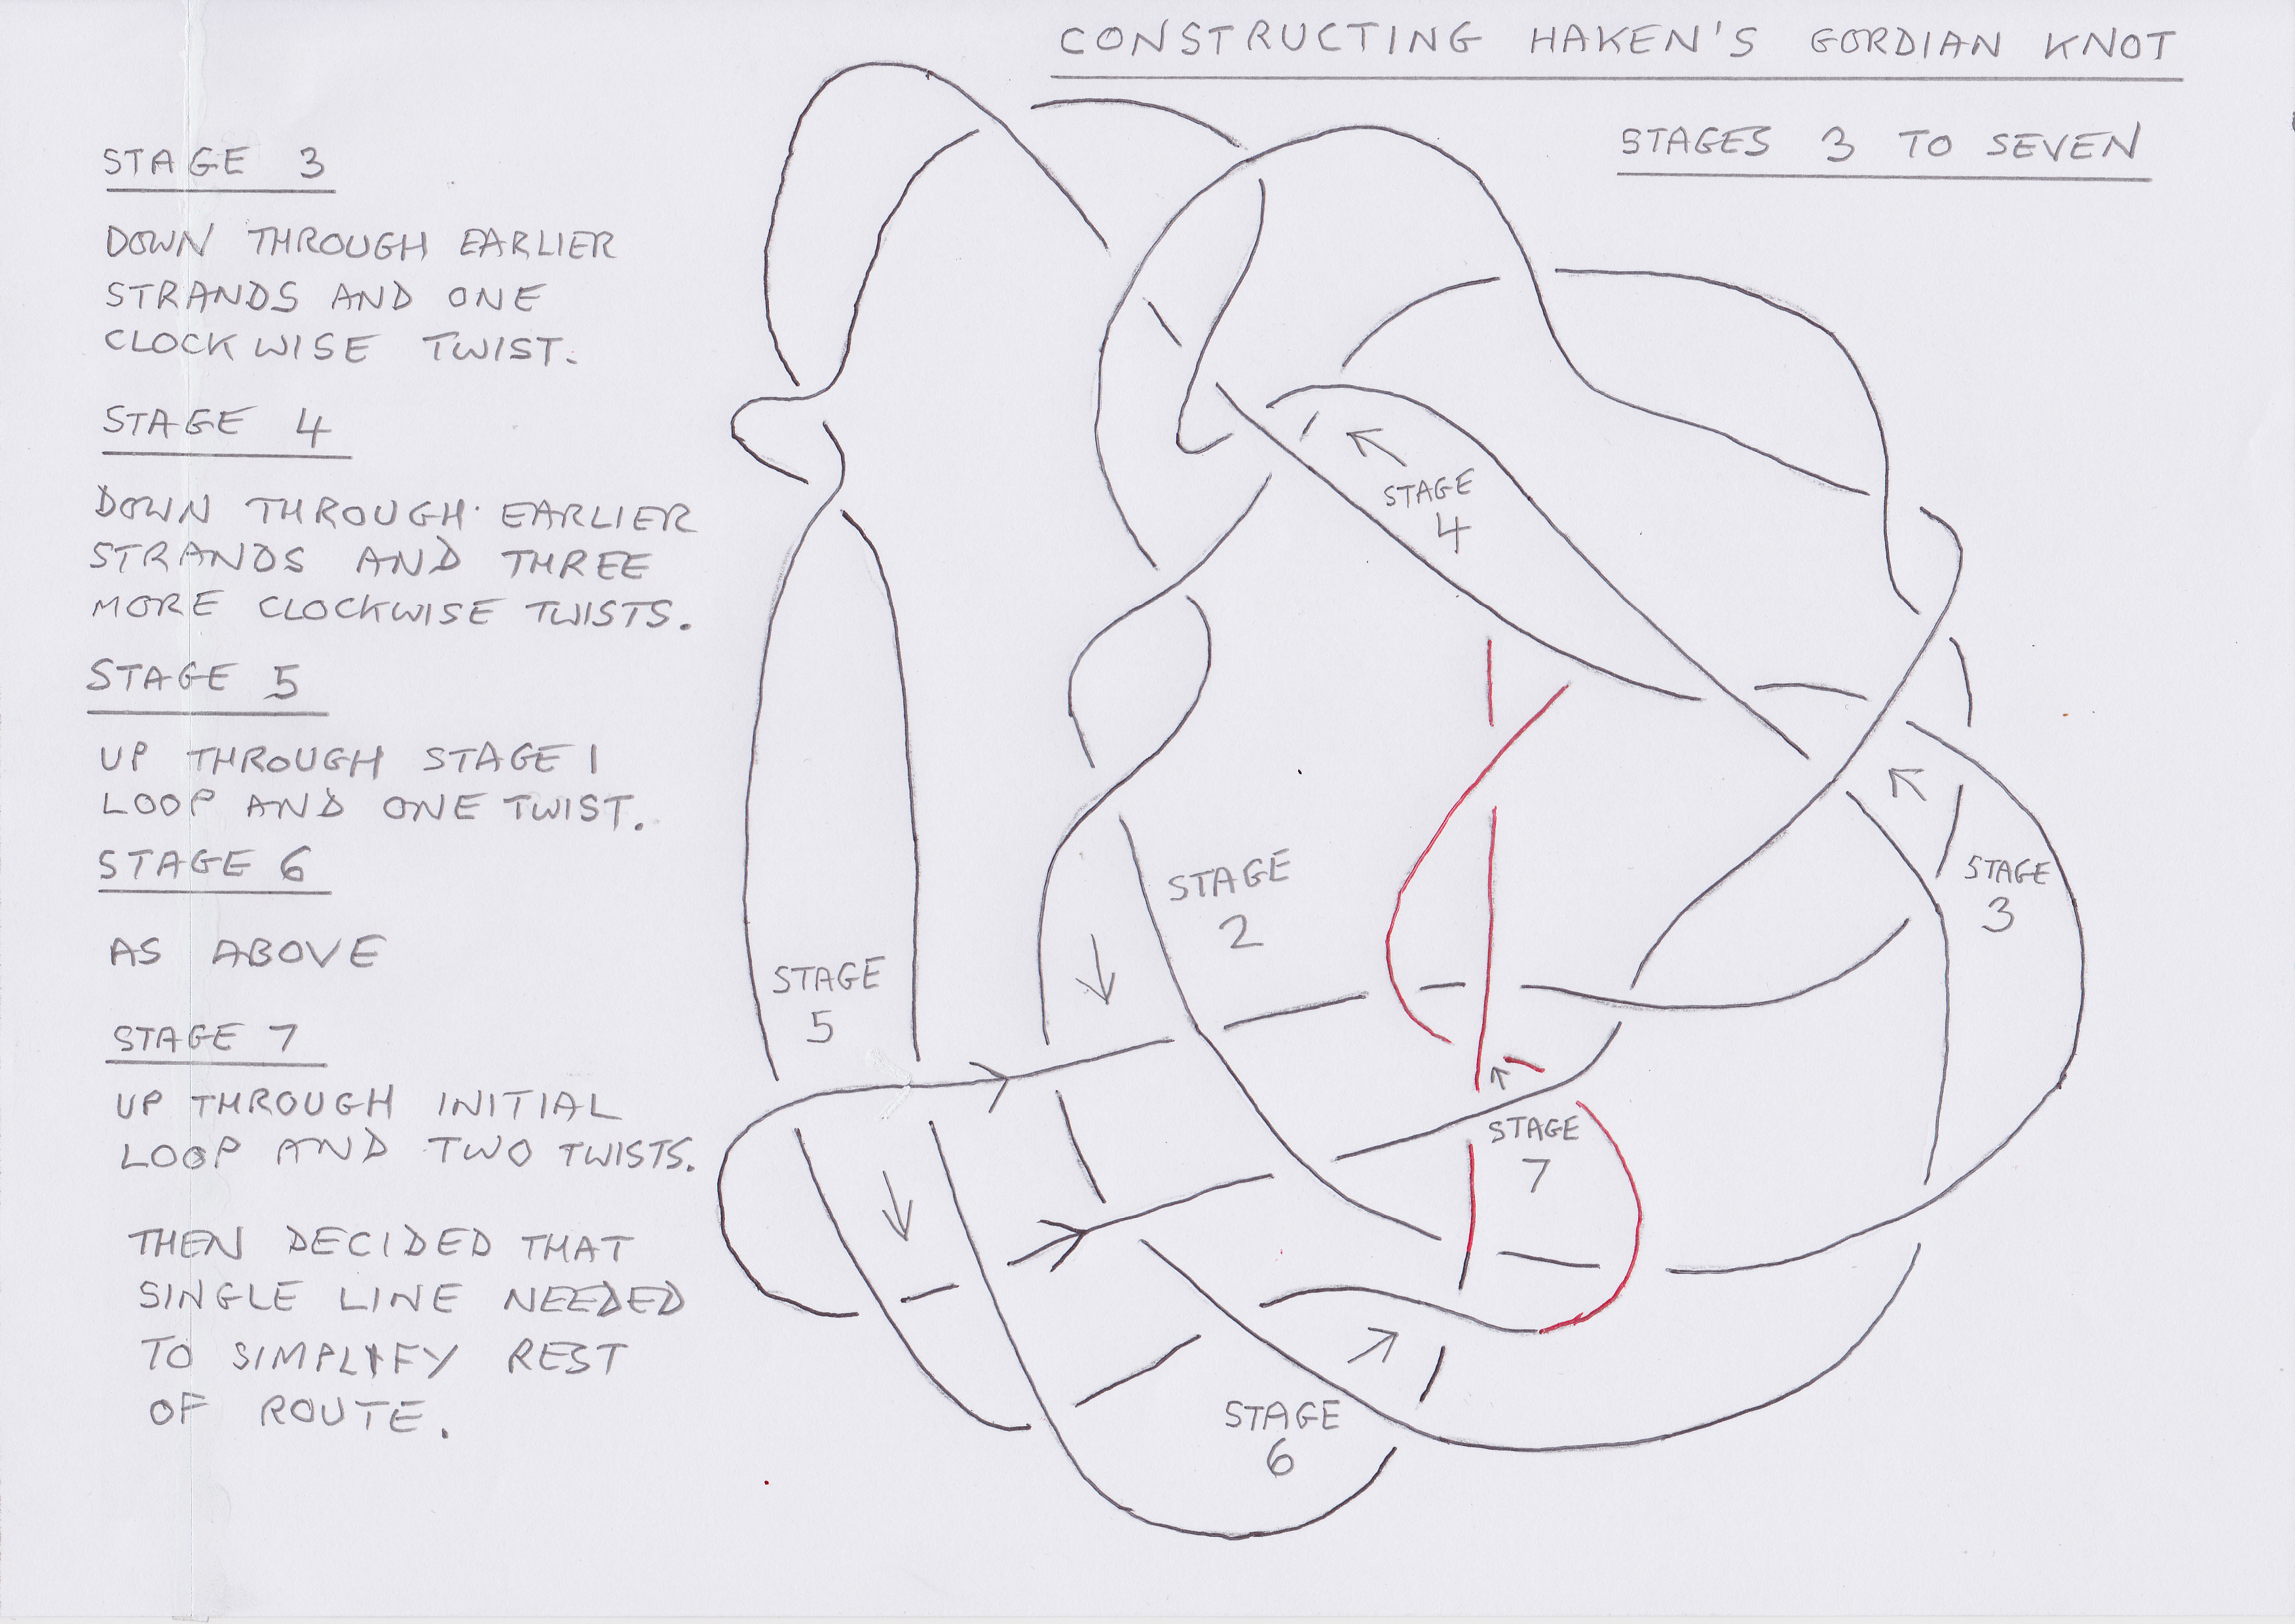
Constructing Haken’s Gordian Knot. Stages 3 to 7. Mick Burton
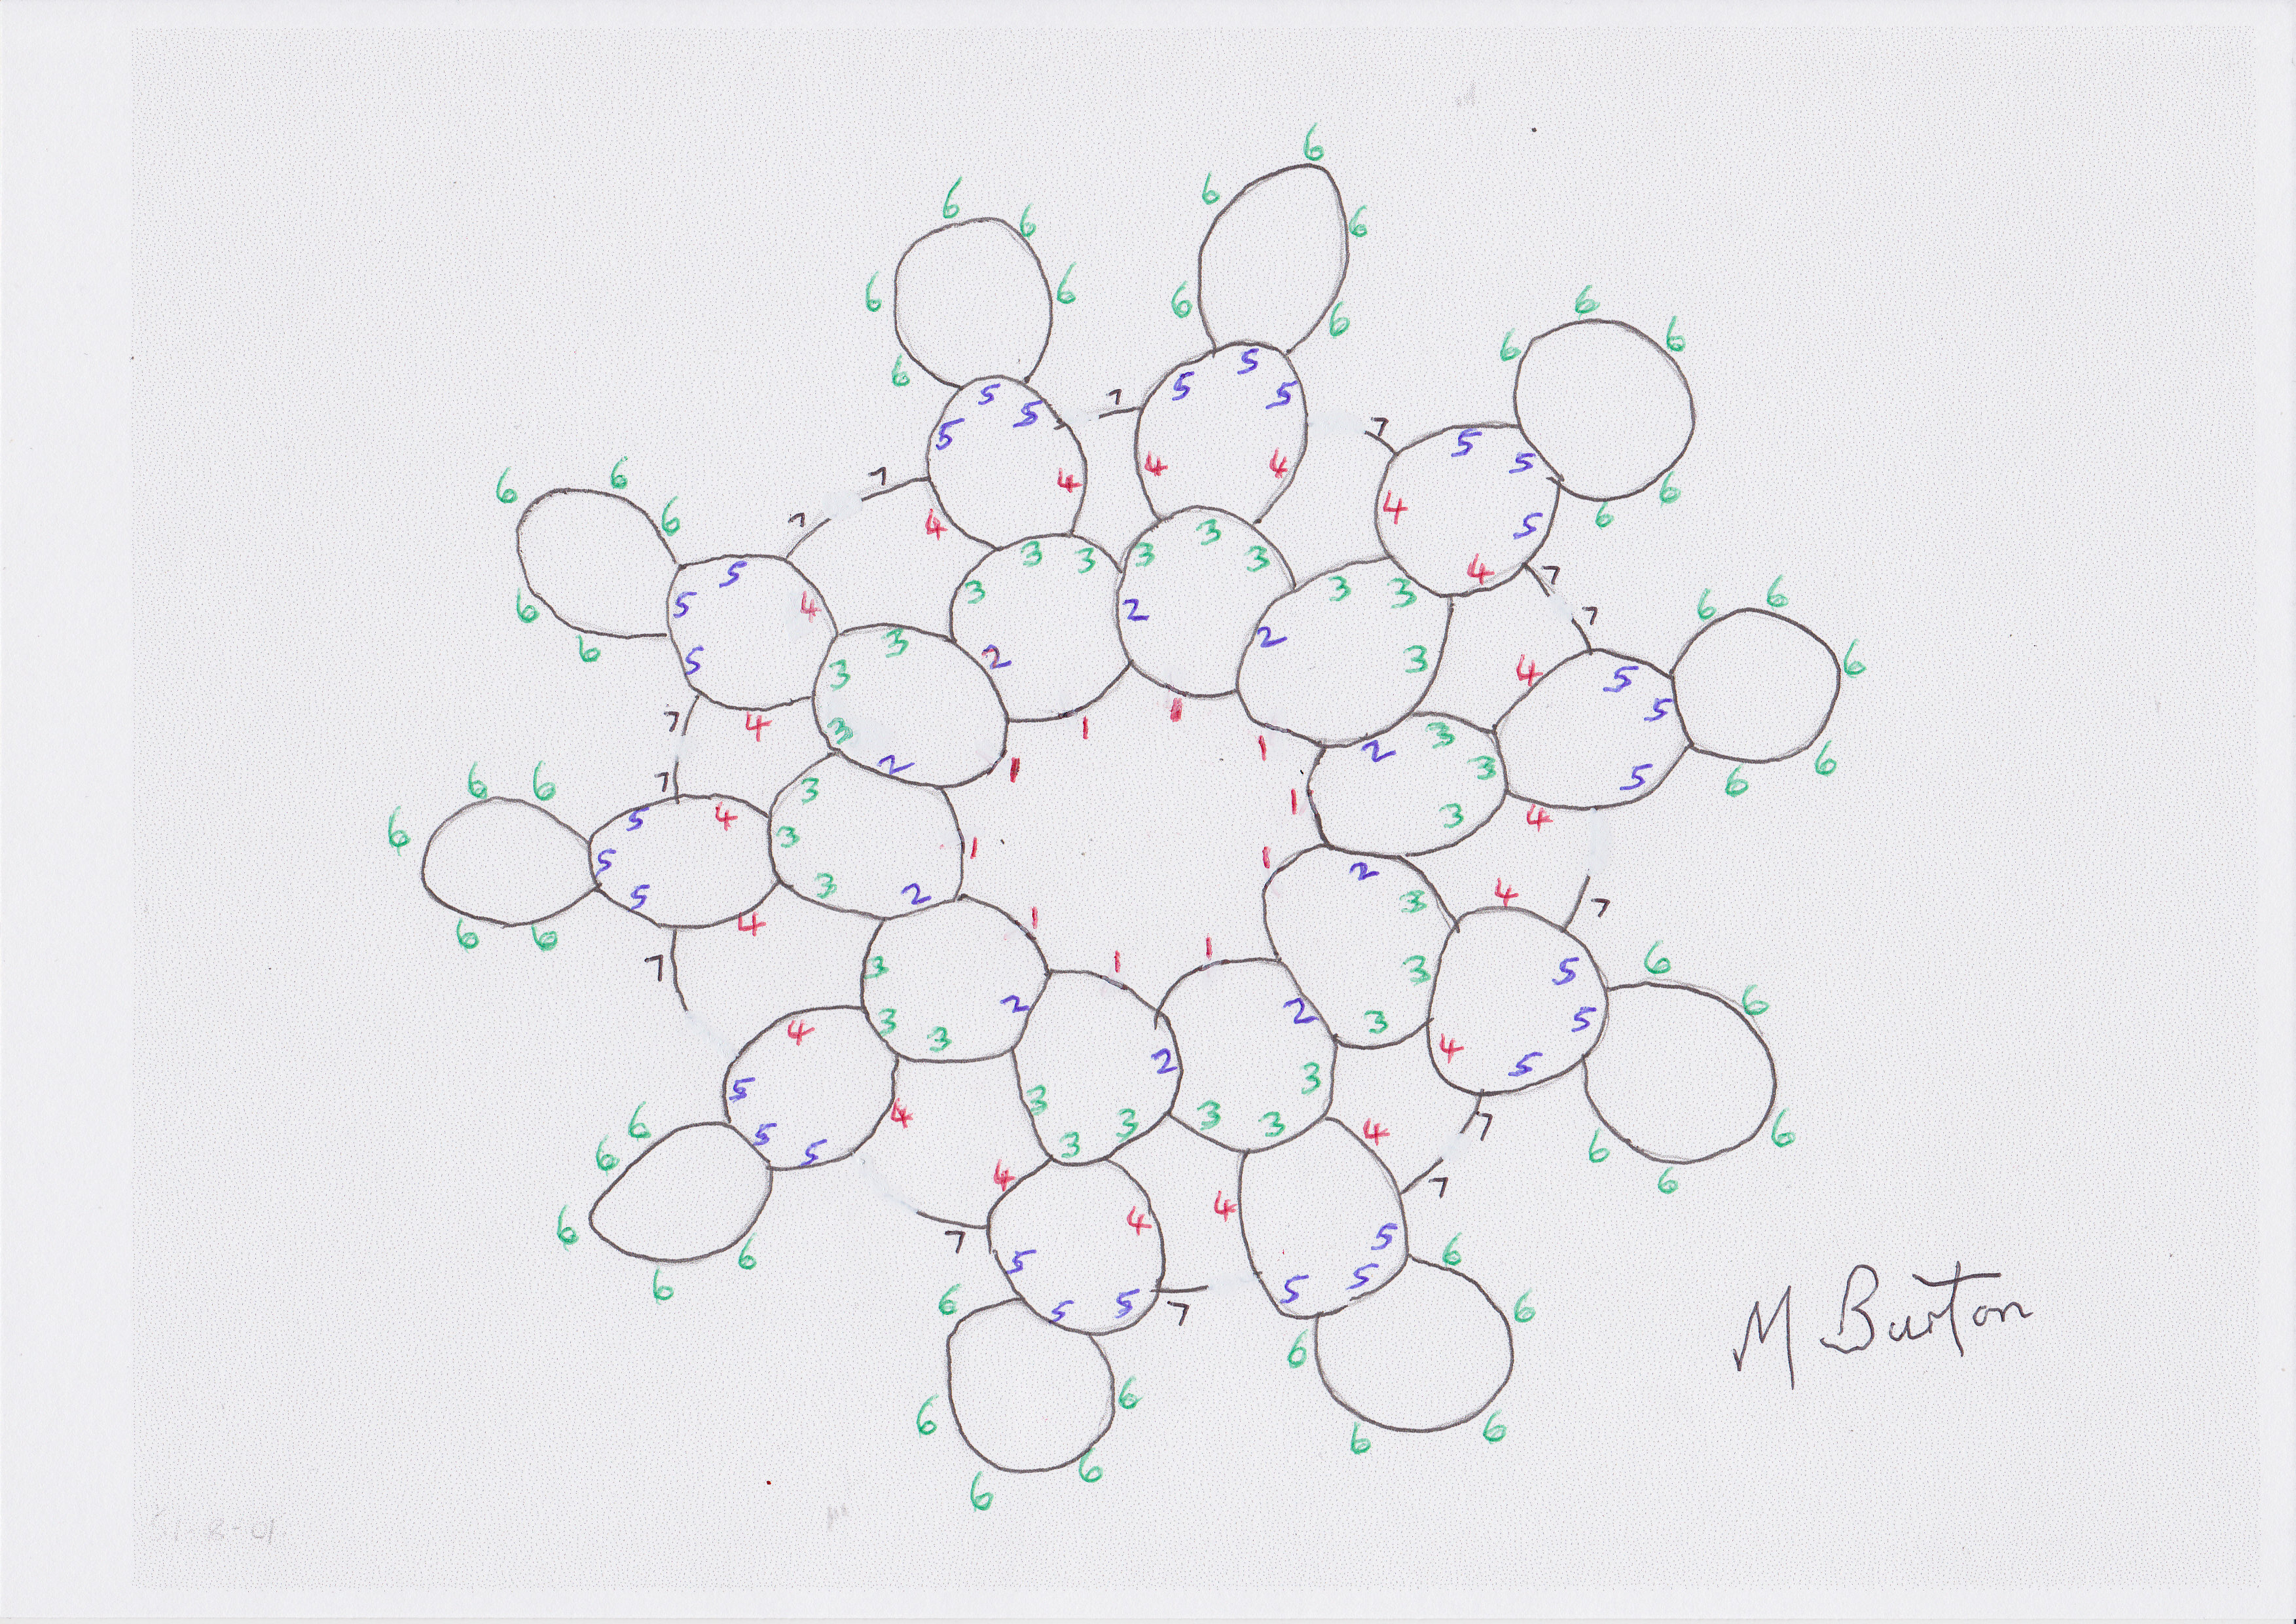
Continuing, things were as expected up to Stage 7. I now realised that the route could be simplified to one line, as the Twists were not affecting progress but the feed through points were crucial. I switched to drawing the route by using a simple line (to represent the twin twisting strands) and showed Feed Through points as Red Arrows.

Haken’s Gordian Knot, Simplified Route showing Feed Points. Mick Burton.
You can see that after point “C”, where the reverse Feed occurs, there are 12 expected Feed Through points until you arrive at point “E”. Here instead of Feeding through an earlier part of the route, Haken indicates that you are expected to Feed through the End Loop at “E” which is too soon. This must be the other “Lock”.
At this stage, of course, I had no idea what to do. Timothy did not seem to be using a lot of paper like me, but a “twisted bunch of string” and a small unknot diagram. So I found some string, but was at a loss to make much sense of anything using that. Timothy, however, was disappointed that it was so easy with his string initially, but delighted when it became more difficult !
What I did realise about the sections of route lying beyond point “E”, which I have coloured Green, is that they all lie beneath the rest of the structure.
This would allow the Green Area to be constructed separately before you sort of sweep it underneath as a final phase. When I say “separately” I can only assume that you would need to do all this first, feed the result through the final loop and encapsulate the result. You would then take this bundle to the start and use it to spearhead the building of the structure, leaving the loop at the other end of the two stranded string back at the start.

Haken’s Gordian Knot, Prior action for the Green Route, before starting main structure. Mick Burton.
Timothy said that he would love to put a picture of the process on the website and asked for suggestions.
Even though I am an artist and not a mathematition, I had already done two pictures of Haken’s knot before I found the MathOverflow website and was fascinated by the production process of the knot and so did some extra diagrams of my own.
I will ask if my drawings match Timothy’s thoughts in any way.