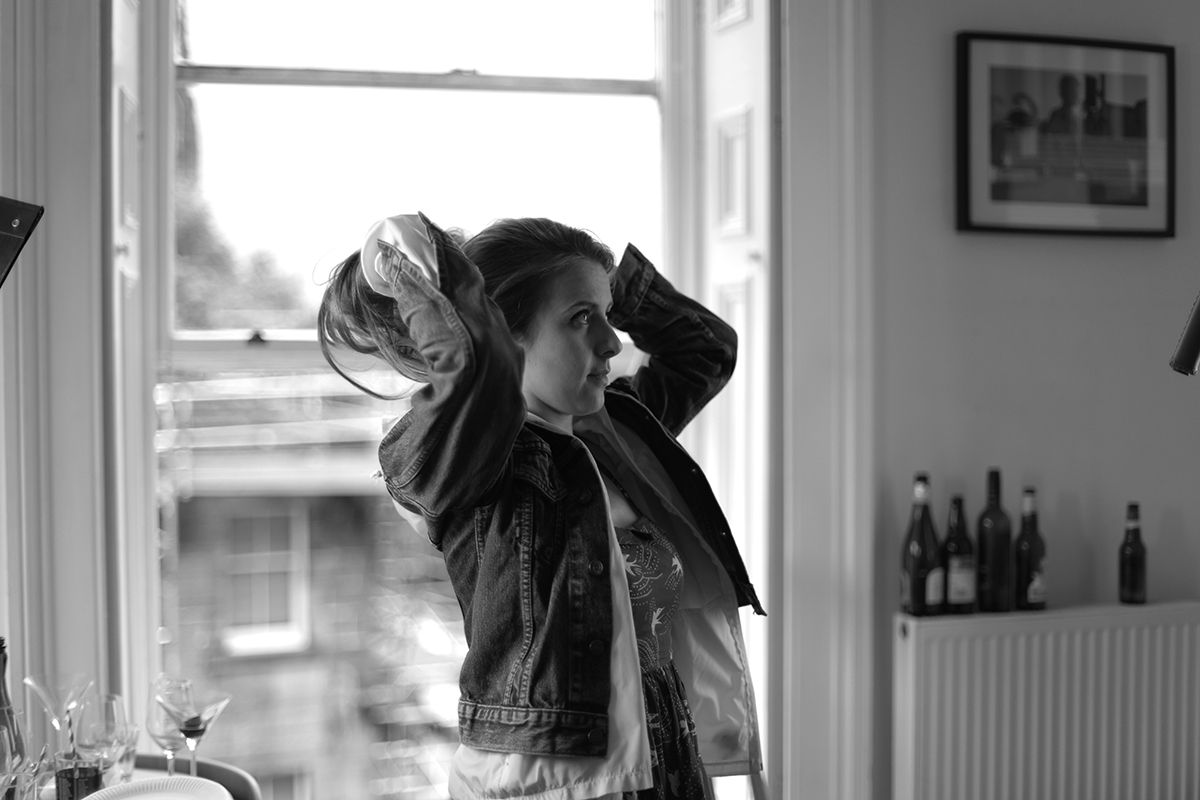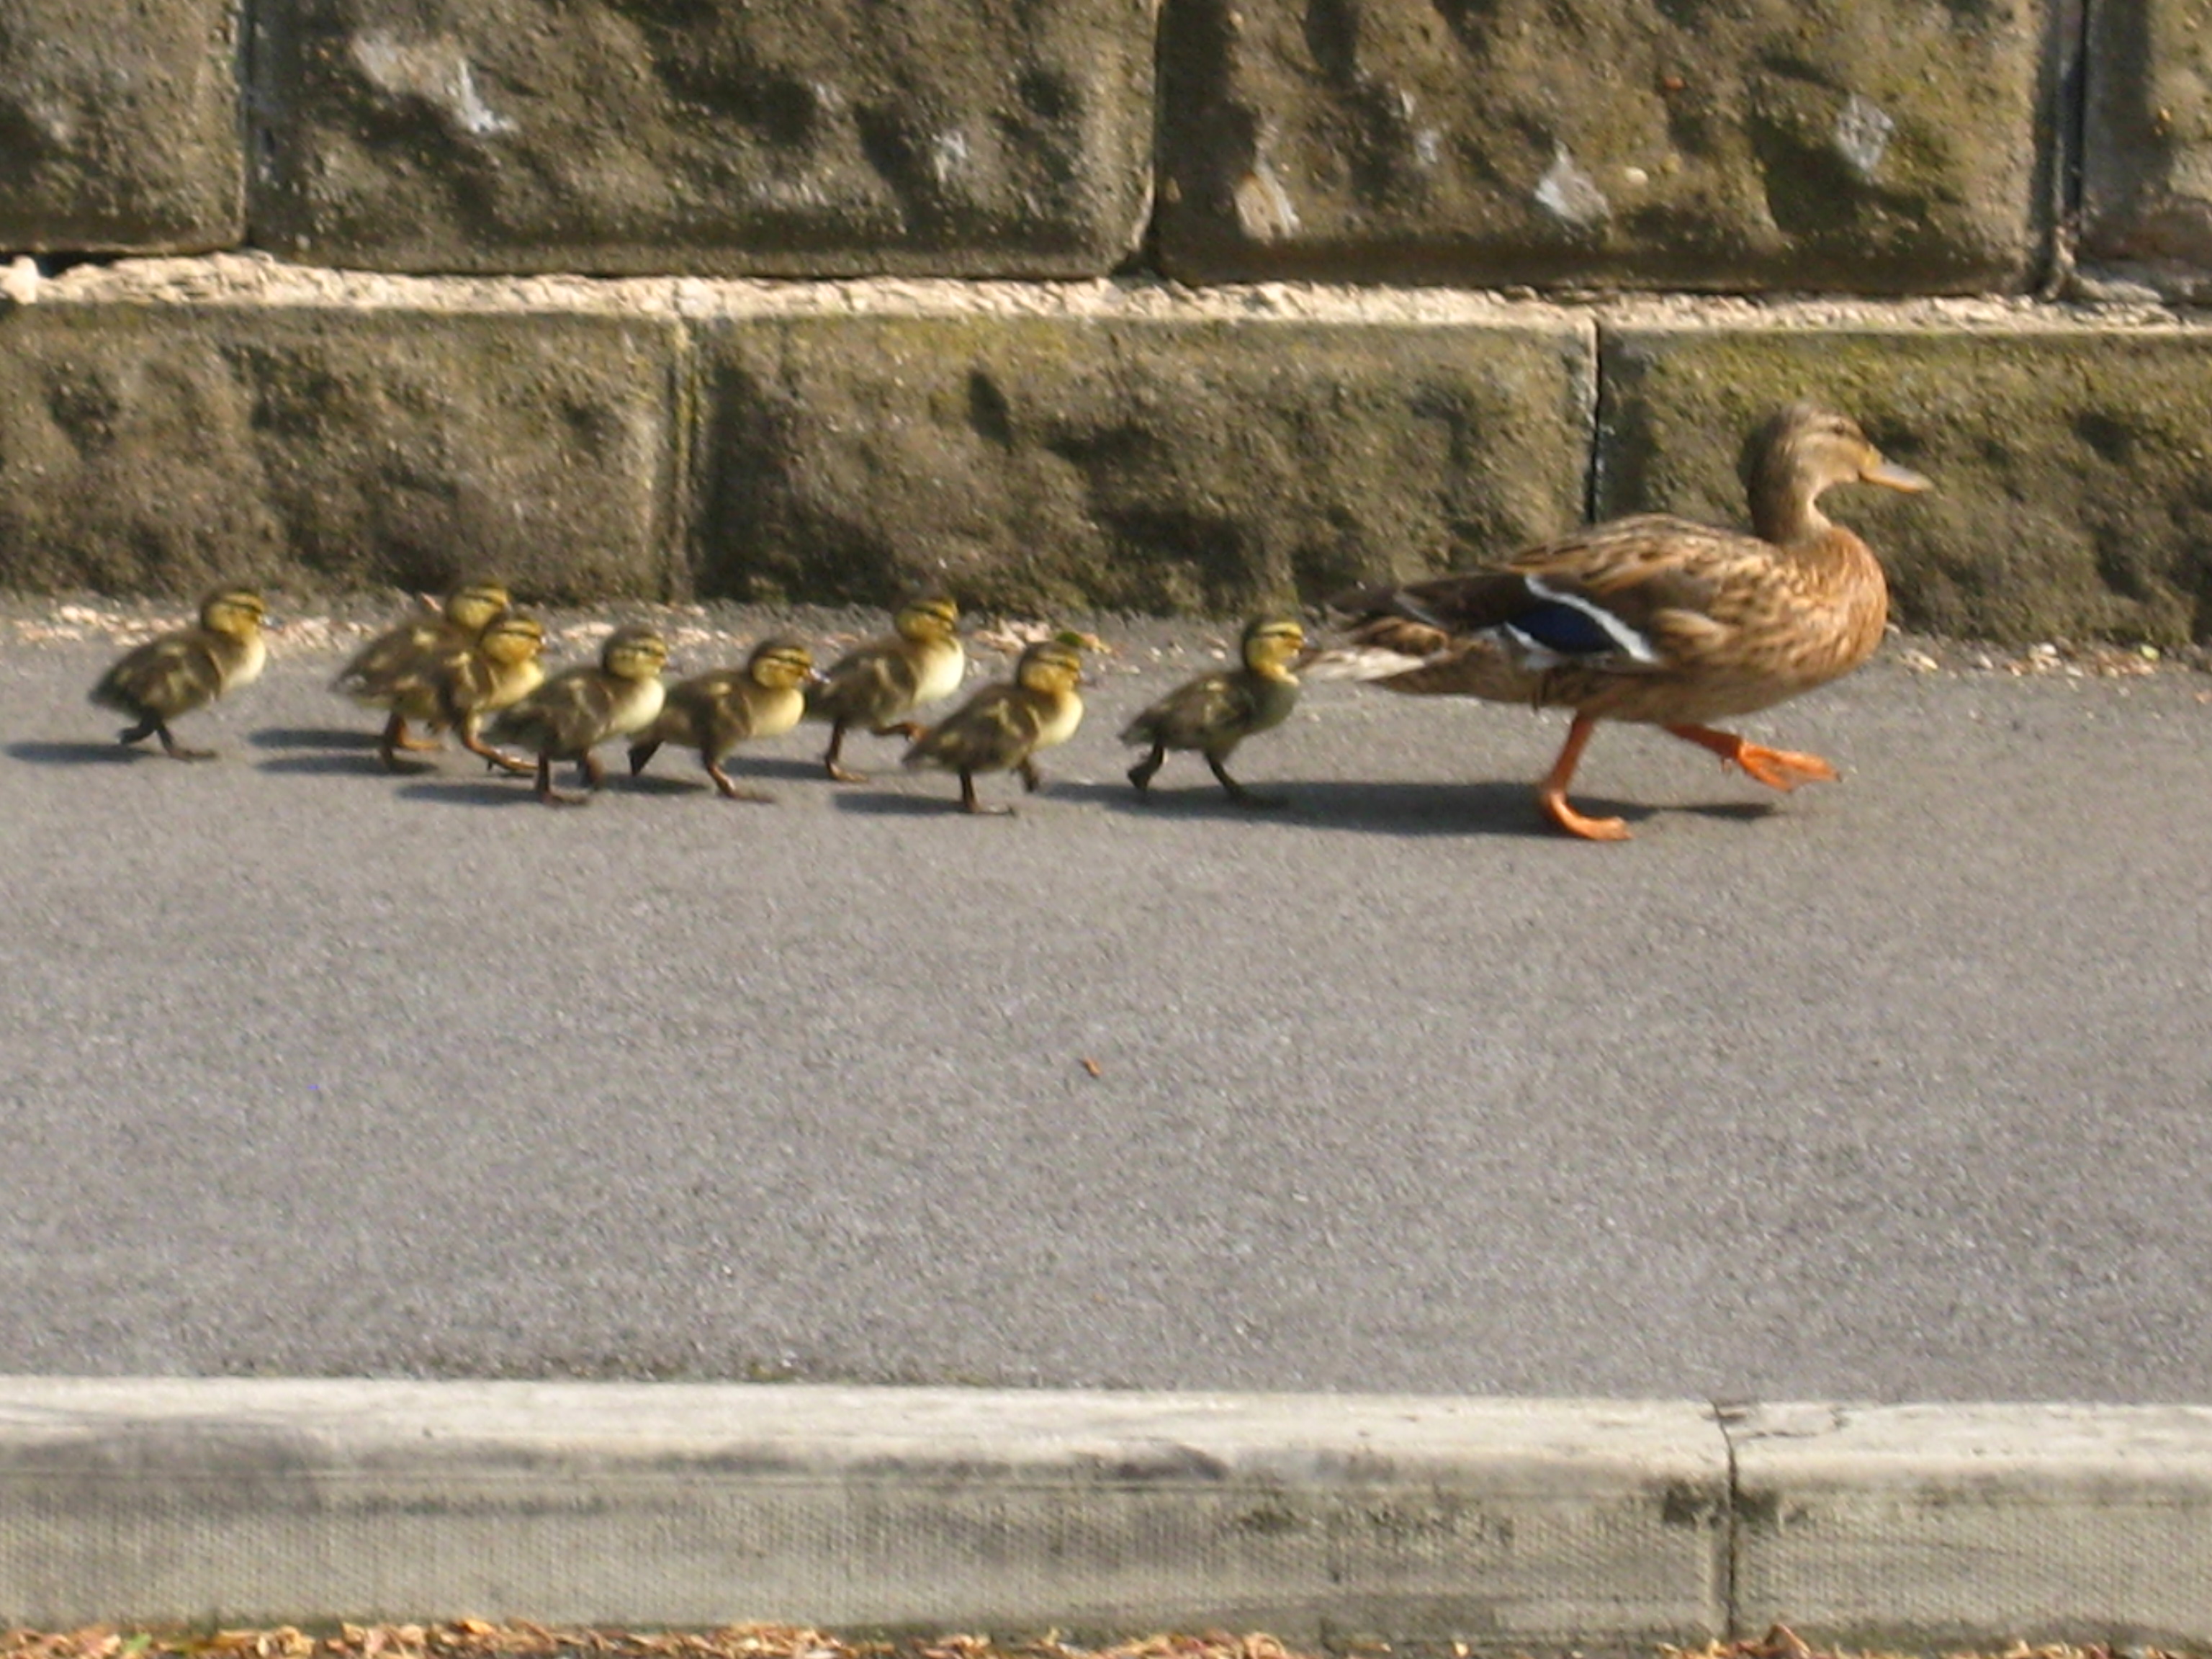
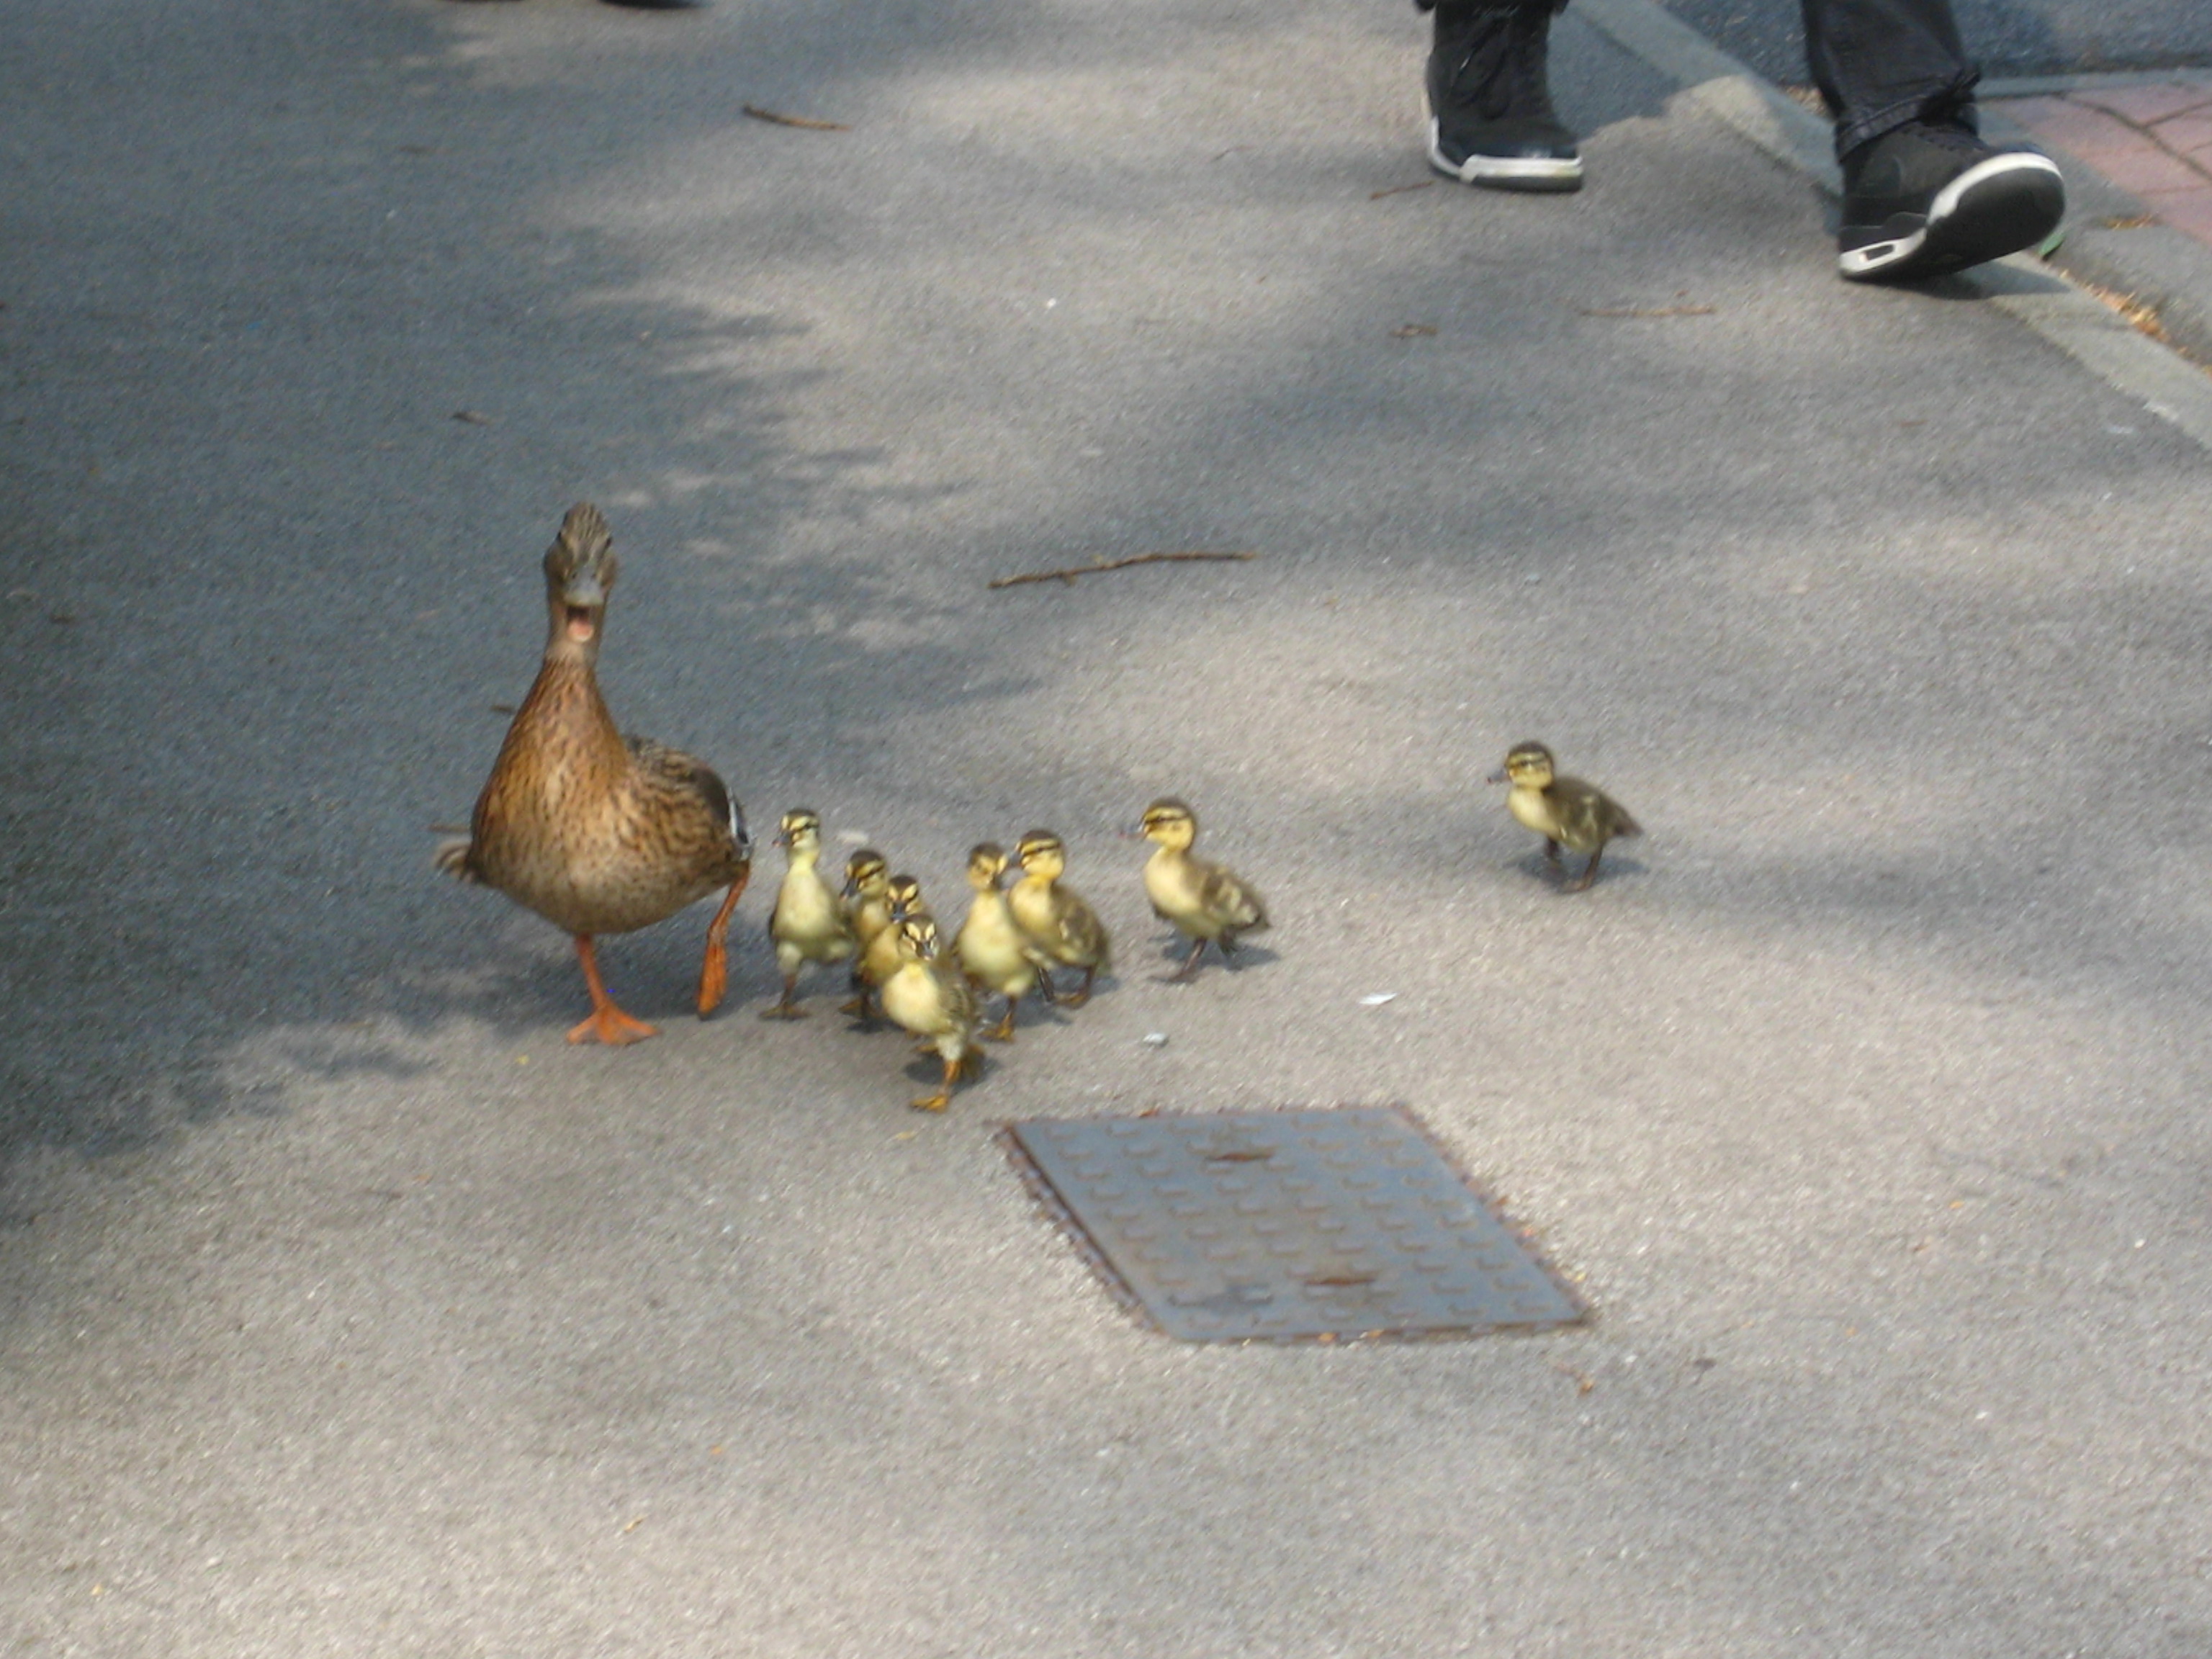
Mallard steams by towing eight ducklings in a continuous line. Photo Mick Burton, 7.5.2016, Well House Drive, Gledhow Valley, Leeds.
After a couple of hours digging rocks and roots in the back garden, I emptied the roots into the brown bin and glanced towards the road at the front. There was a gap between the car and the gate post and I glimpsed a line of ducklings going by on the other side of the road. What were the chances of that happening?
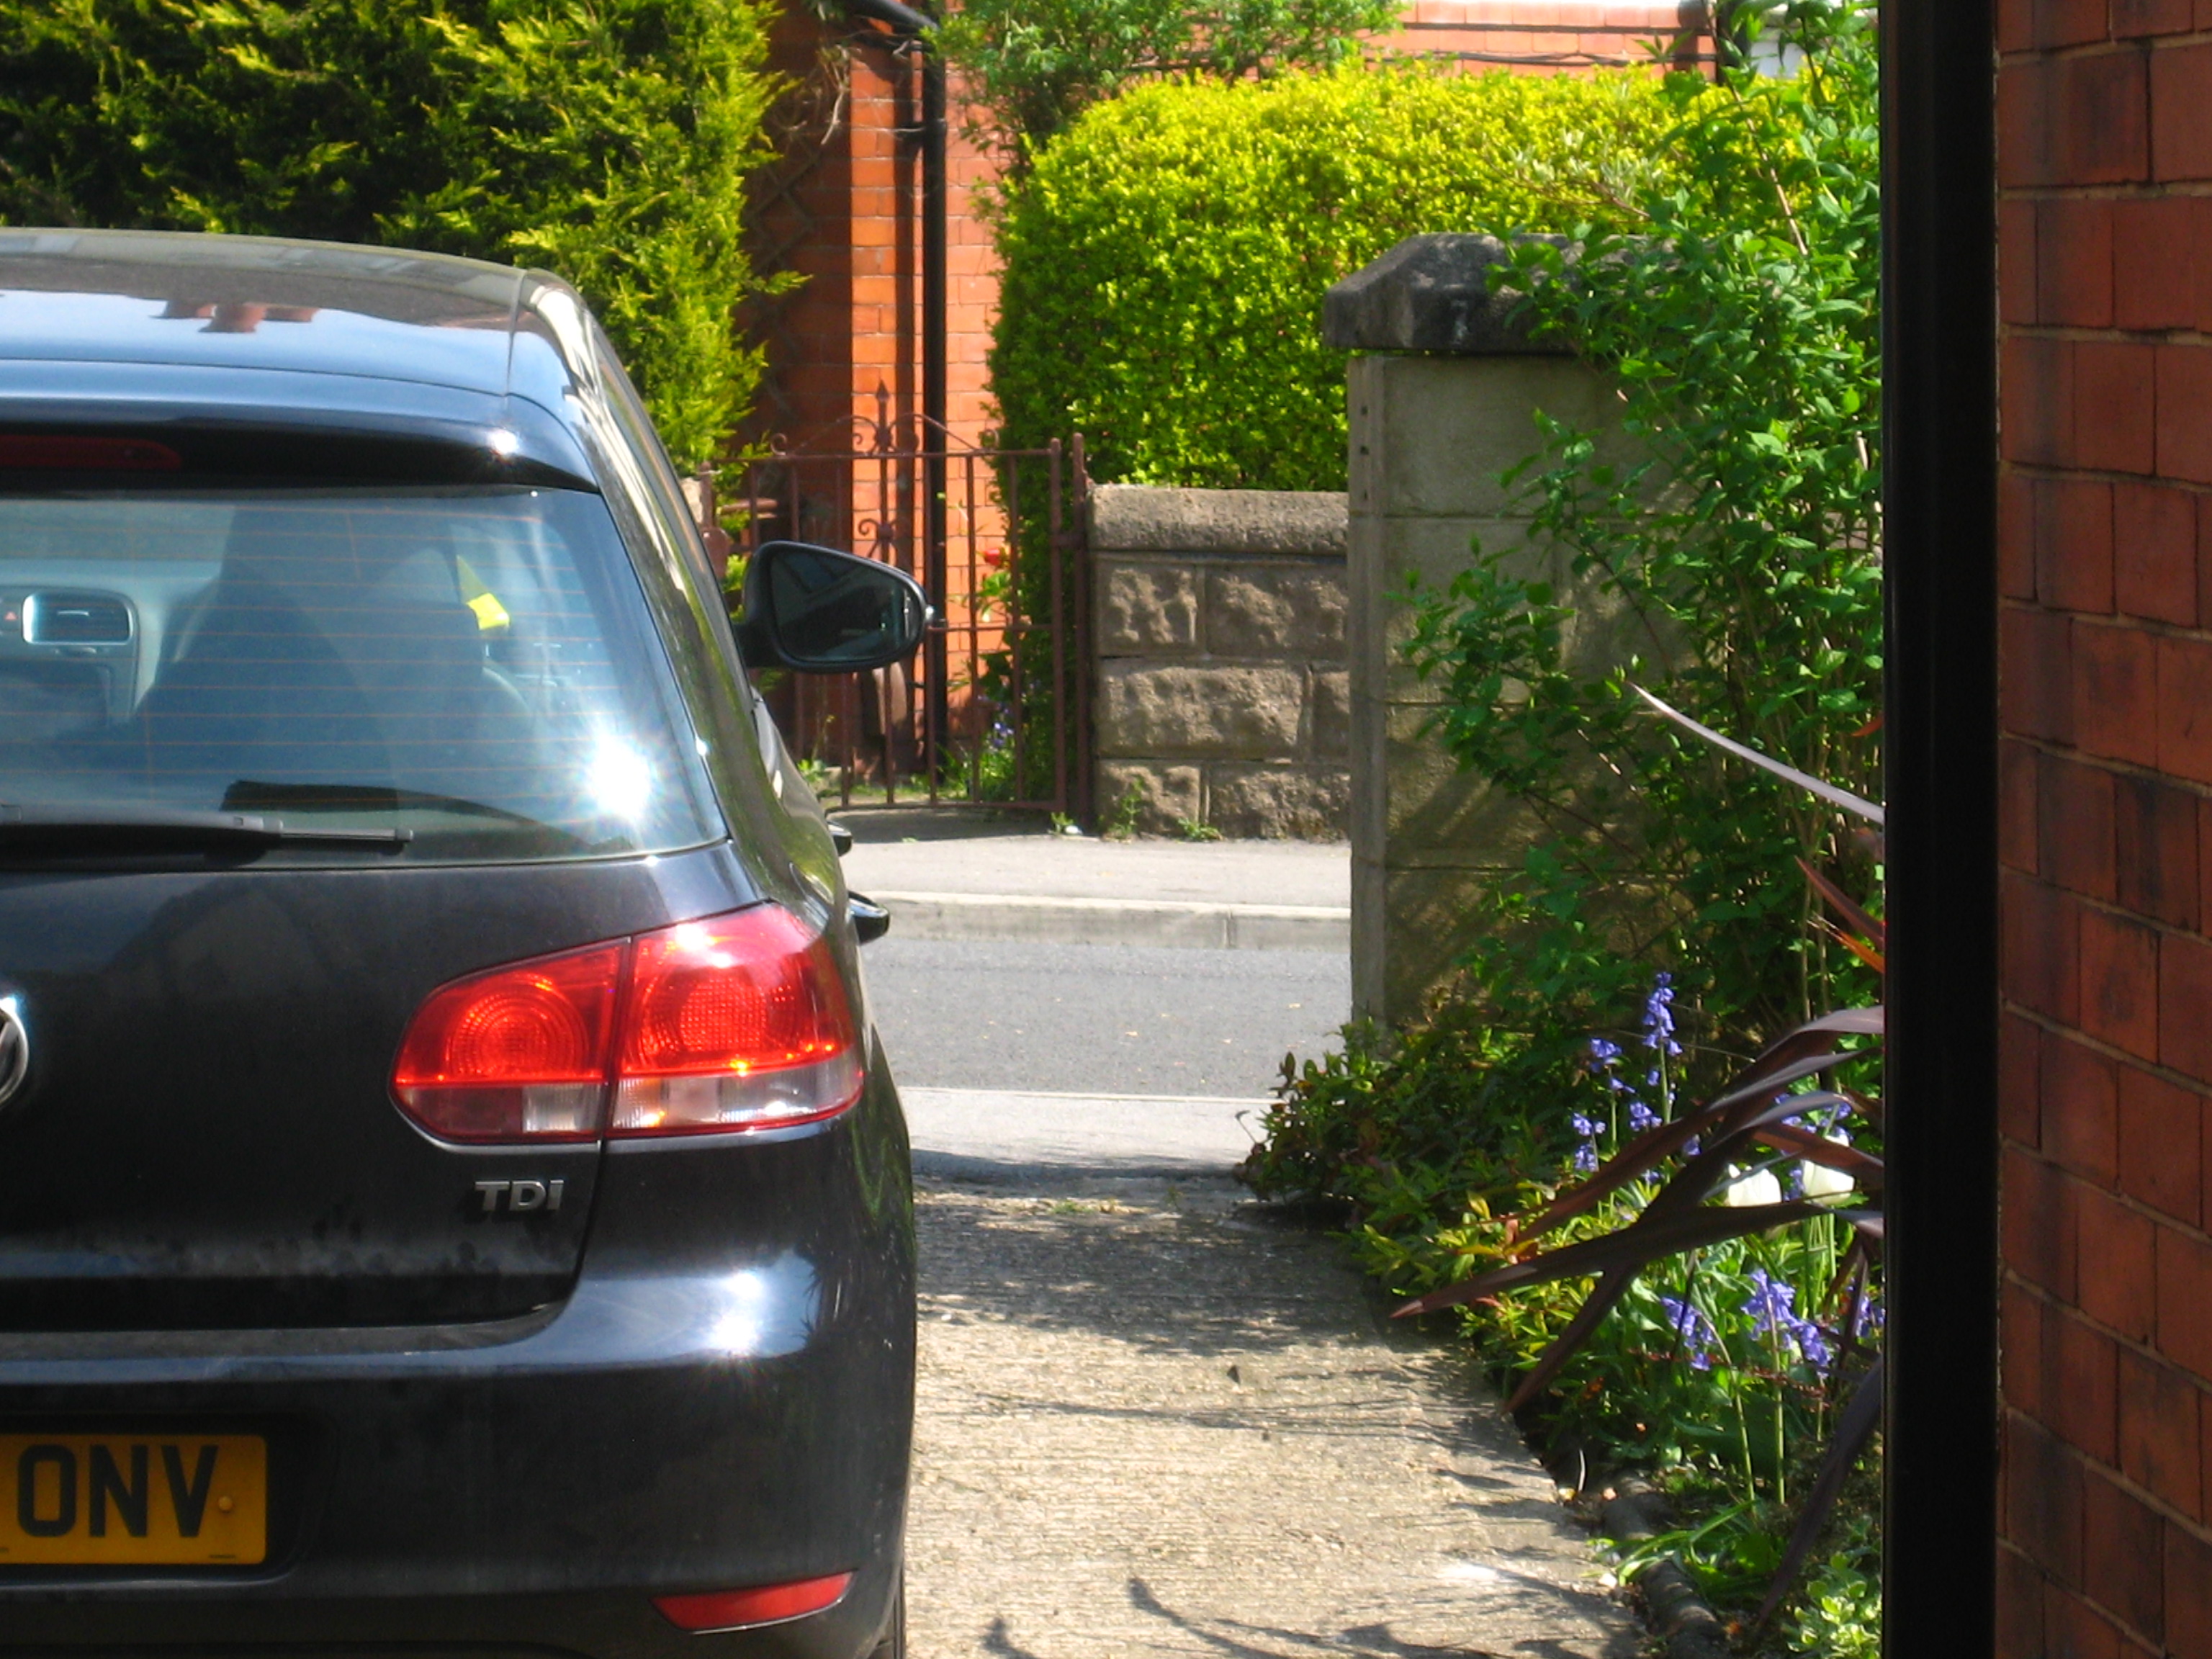
View across the road where a line of ducklings went by. Photo Mick Burton, continuous line artist,7.5.16.
I rushed inside the house for my camera and ran to catch up with the female Mallard mother marching down the road with her brood in tow. There were some kids in gardens not yet aware and cars going up and down the road. I took the photo which appears at the top of this post.
But what was this Mallard mother doing coming down our road with her ducklings, when I knew of no streams or ponds in the streets higher up?
Anyway, I knew where she was likely to be going. If she turned right at the bottom of the road she was on Gledhow Valley Road and the houses along there all had the Gledhow Beck flowing through their gardens. She started to move out towards the curb to assess when to cross the road.

Mallard mum starting to move out towards the curb. Photo Mick Burton, continuous line artist.
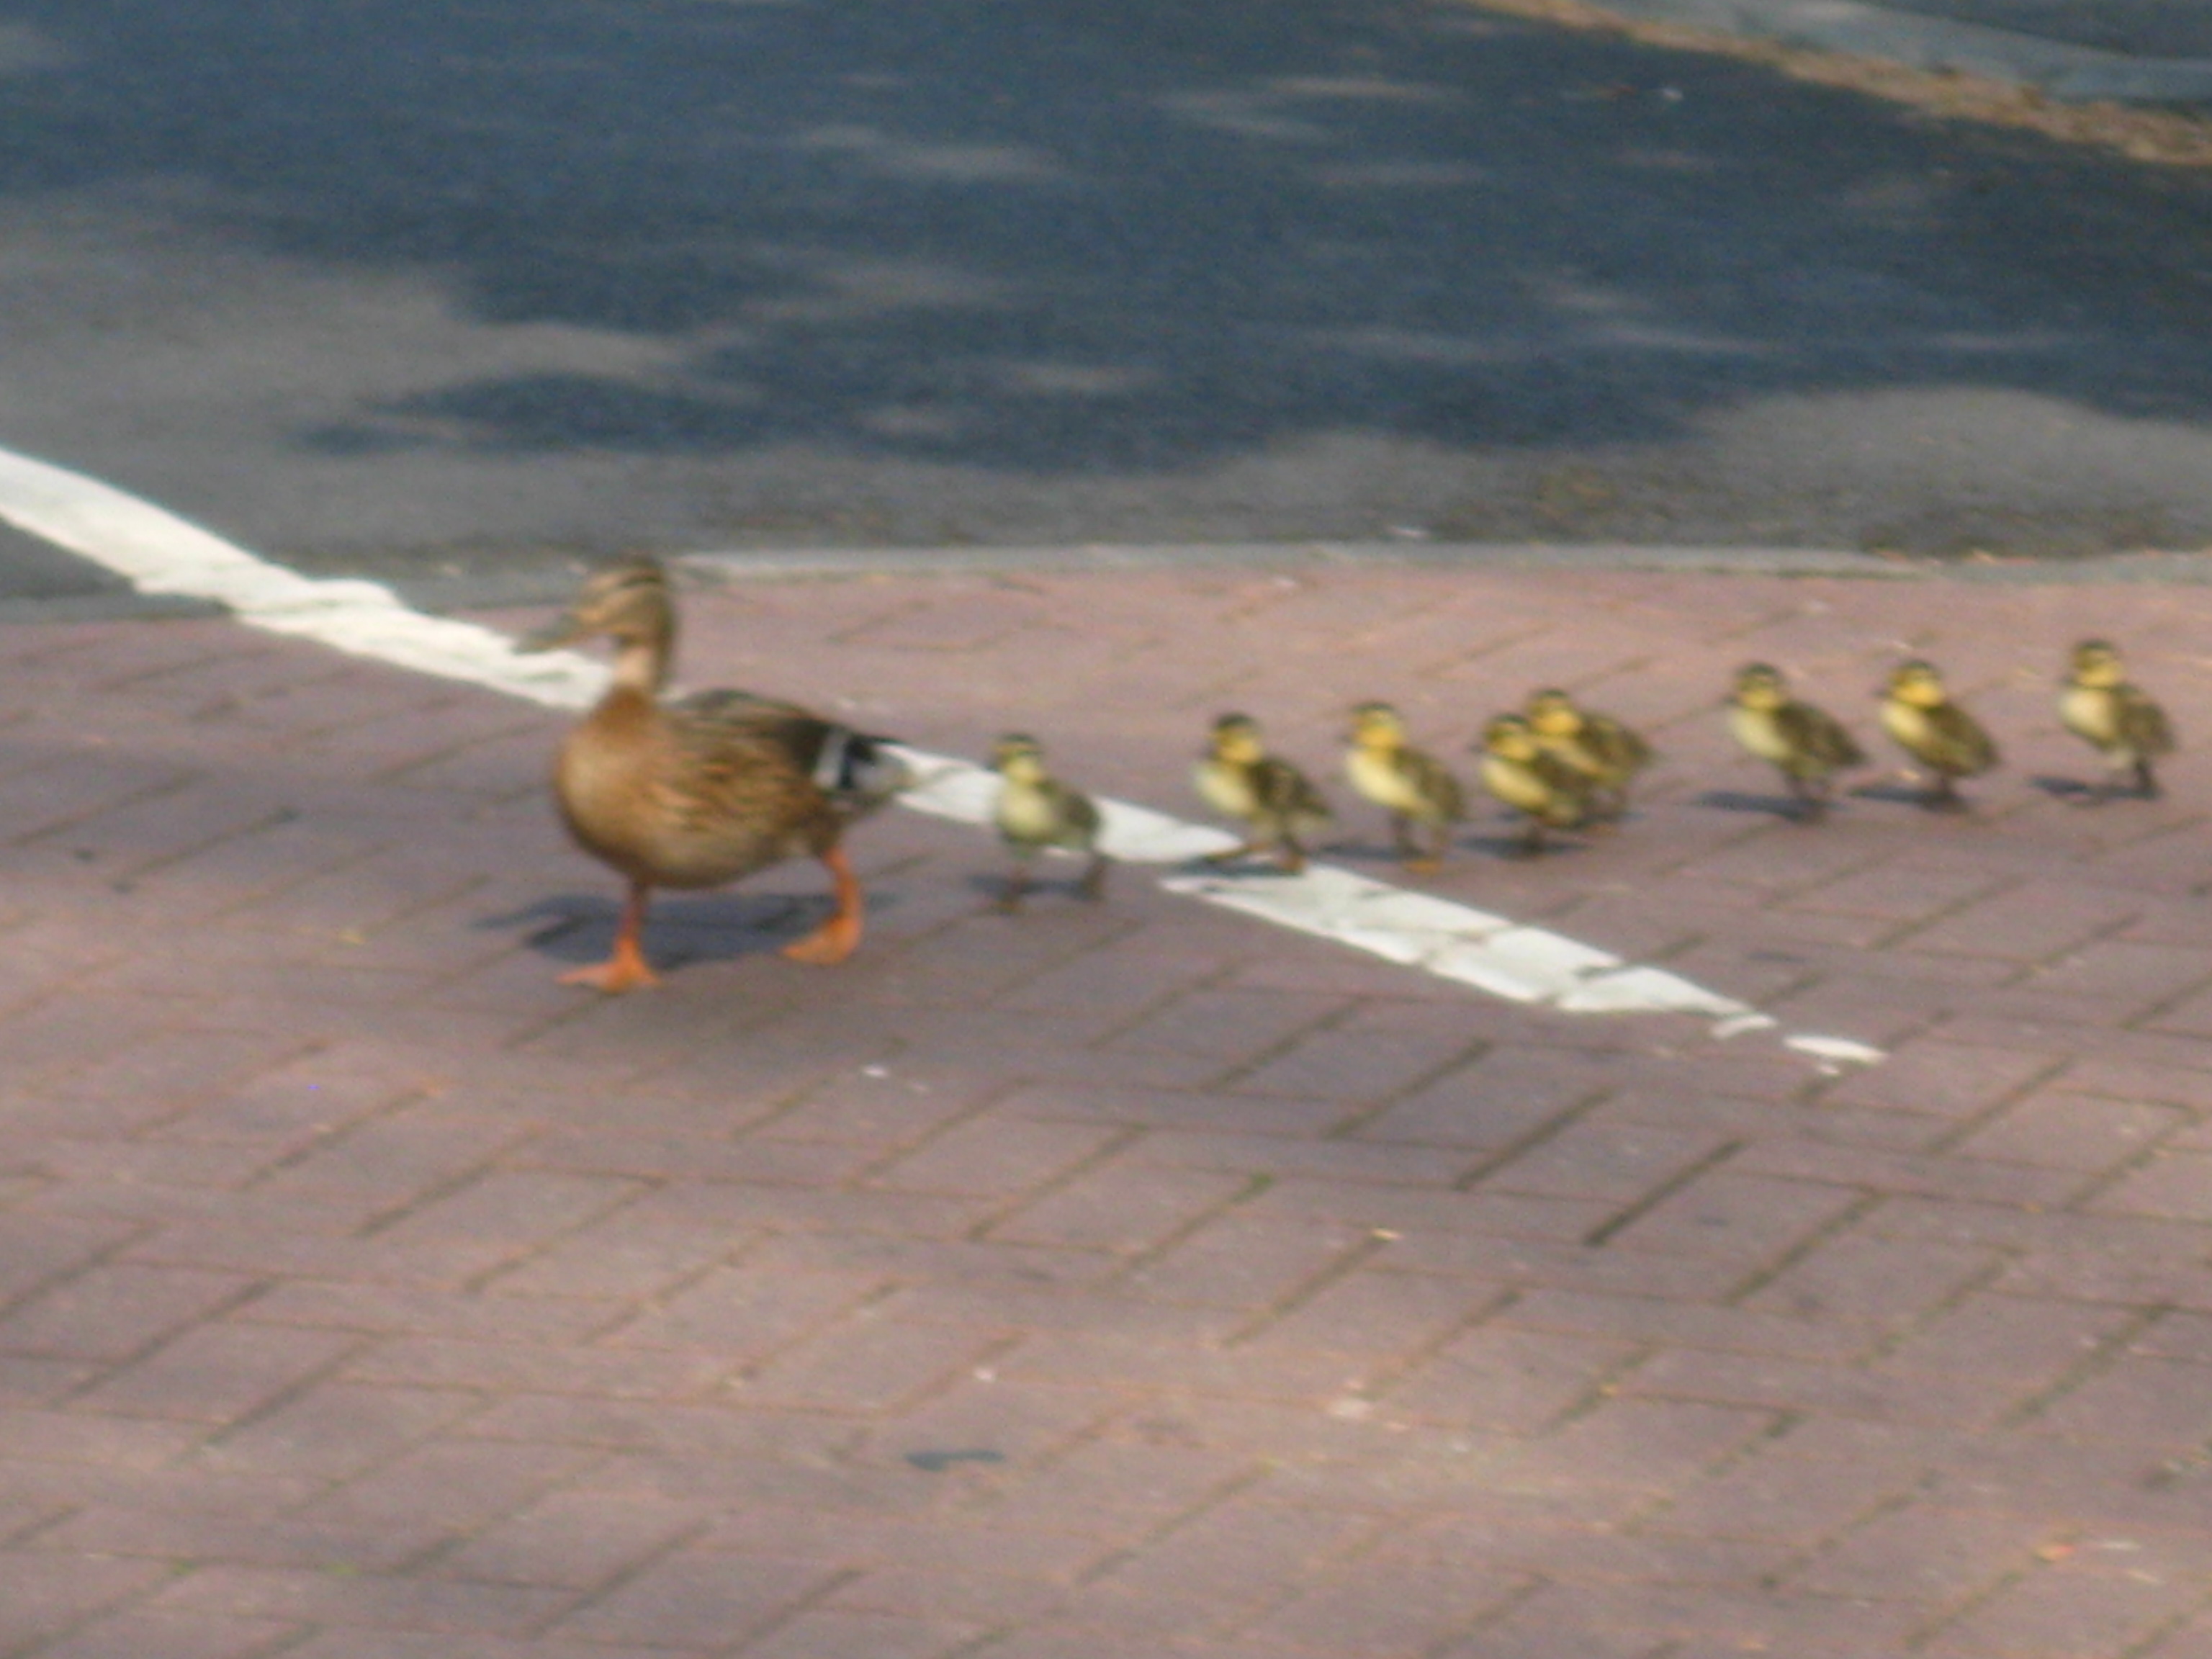
I took another closer view of the bird as she headed along parallel to the curb. There is an eighth duckling just out of shot at the back.

Closer view of female Mallard with seven ducklings in the picture. Photo Mick Burton, continuous line artist, 7.5.16, Gledhow Valley.
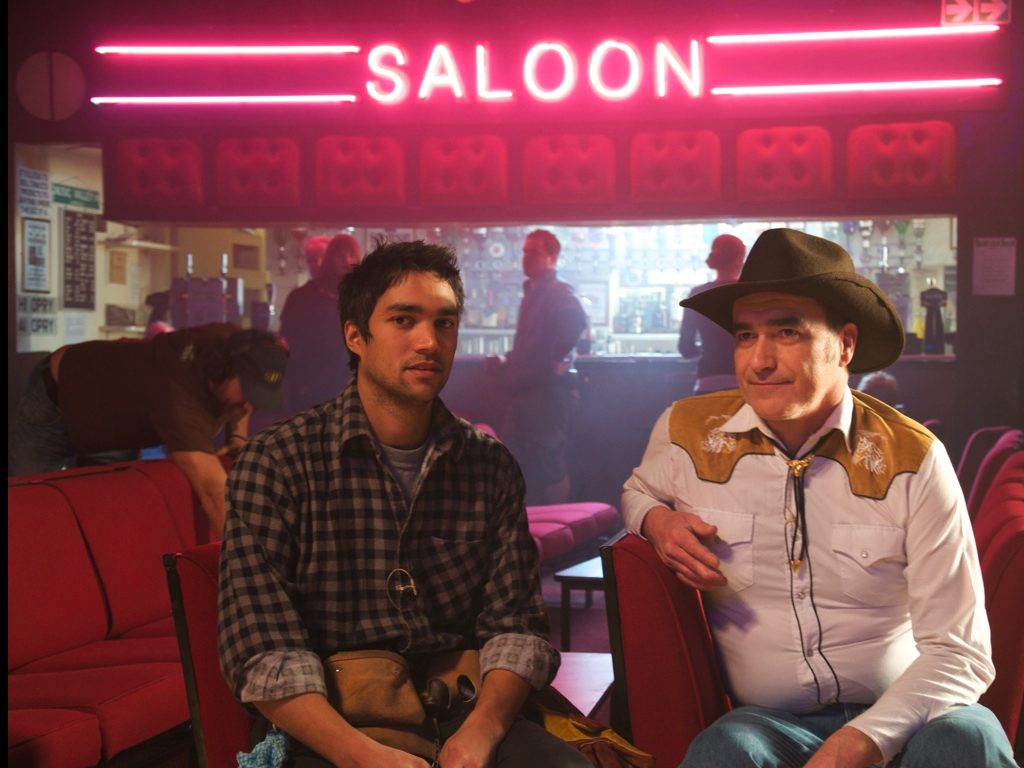
Looking at these photos reminds me of my train spotting days as a youth when I saw the A4 pacific steam engine “Mallard” at speed pulling many carriages. No wonder they decided to name the fastest ever steam locomotive after such a sleek bird. Here is a photo I took of the “Mallard” steam engine at the National Railway Museum in York three years ago, along with my son Matthew.

Mallard, the fastest ever steam engine, at York National Railway Museum along with Matthew Burton. Photo Mick Burton, continuous line artist.
Now back to the ducks and the dangerous task of crossing the road. The road seemed clear so Mum decided to cross. A car was signalling to turn left into our road and I flagged it down just as it was turning, which gave me little time to get a photo of the ducks in the middle of the road. The result was a bit shaky.
Mallard Mum and eight ducklings crossing the road in front of a waiting car in Gledhow Valley. Photo Mick Burton, continuous line artist.
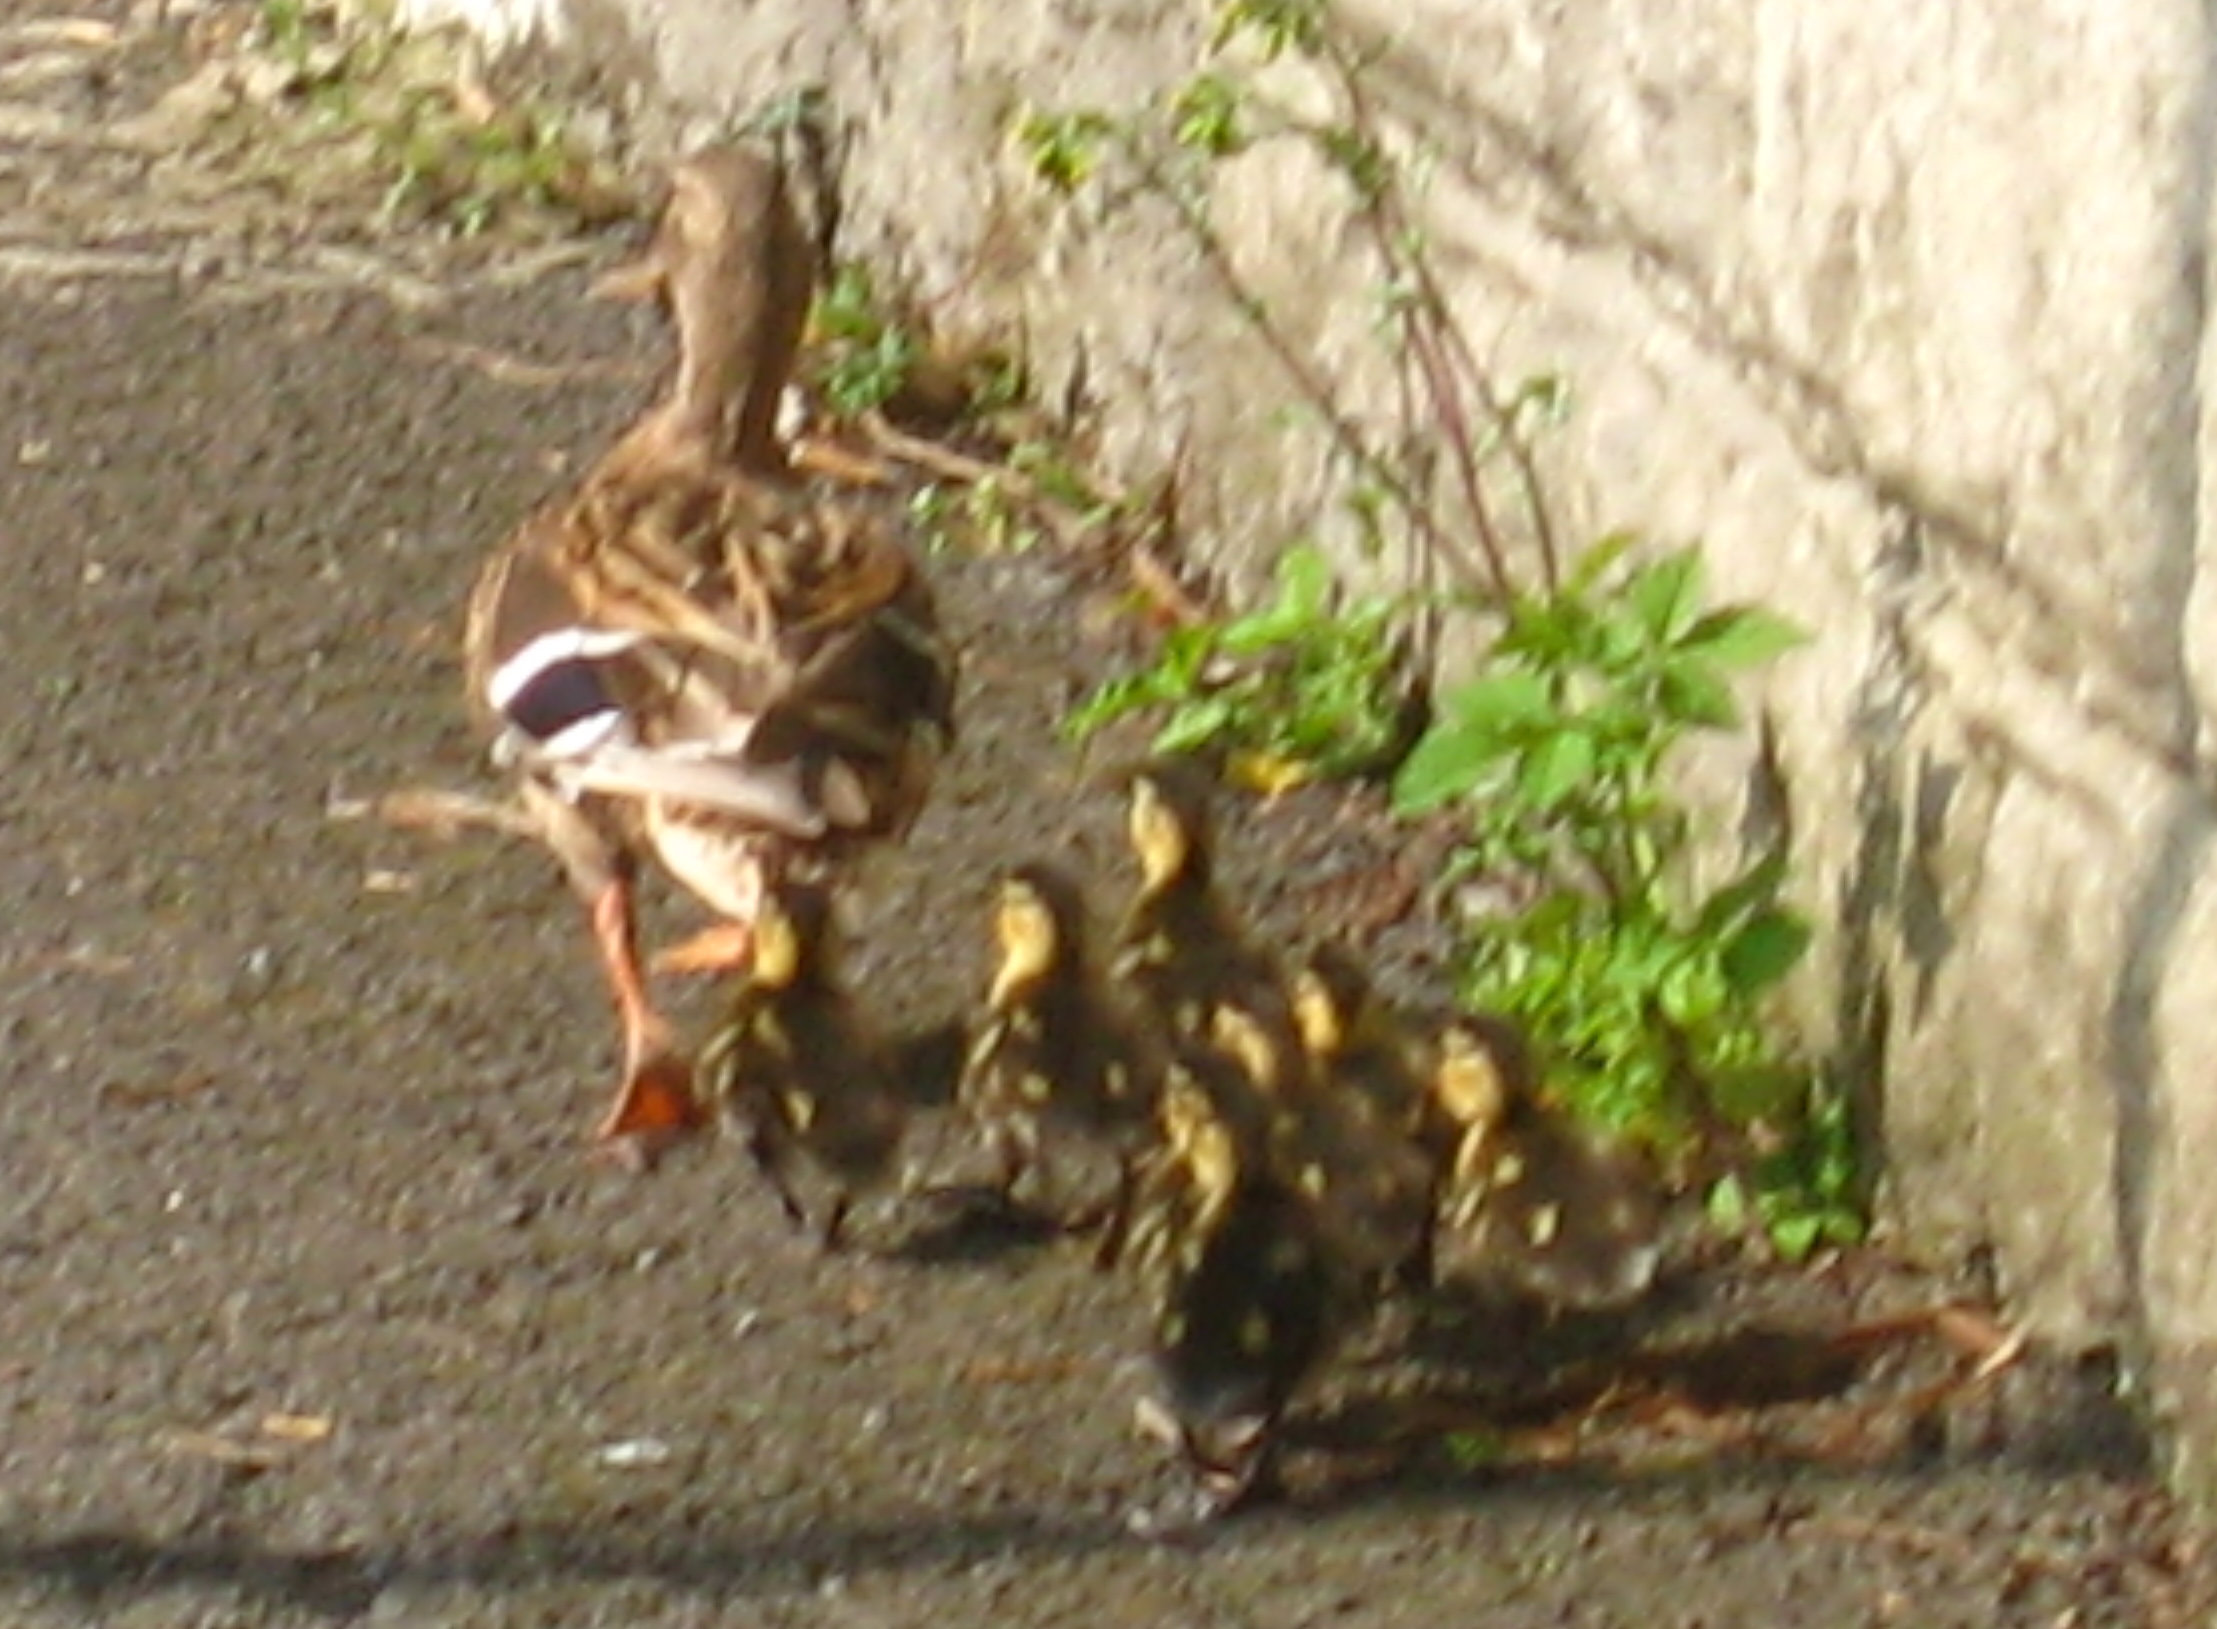
When you are a very small duckling it’s not easy to mount a pavement you can’t really see over, and there’s not much sympathy from Mum.
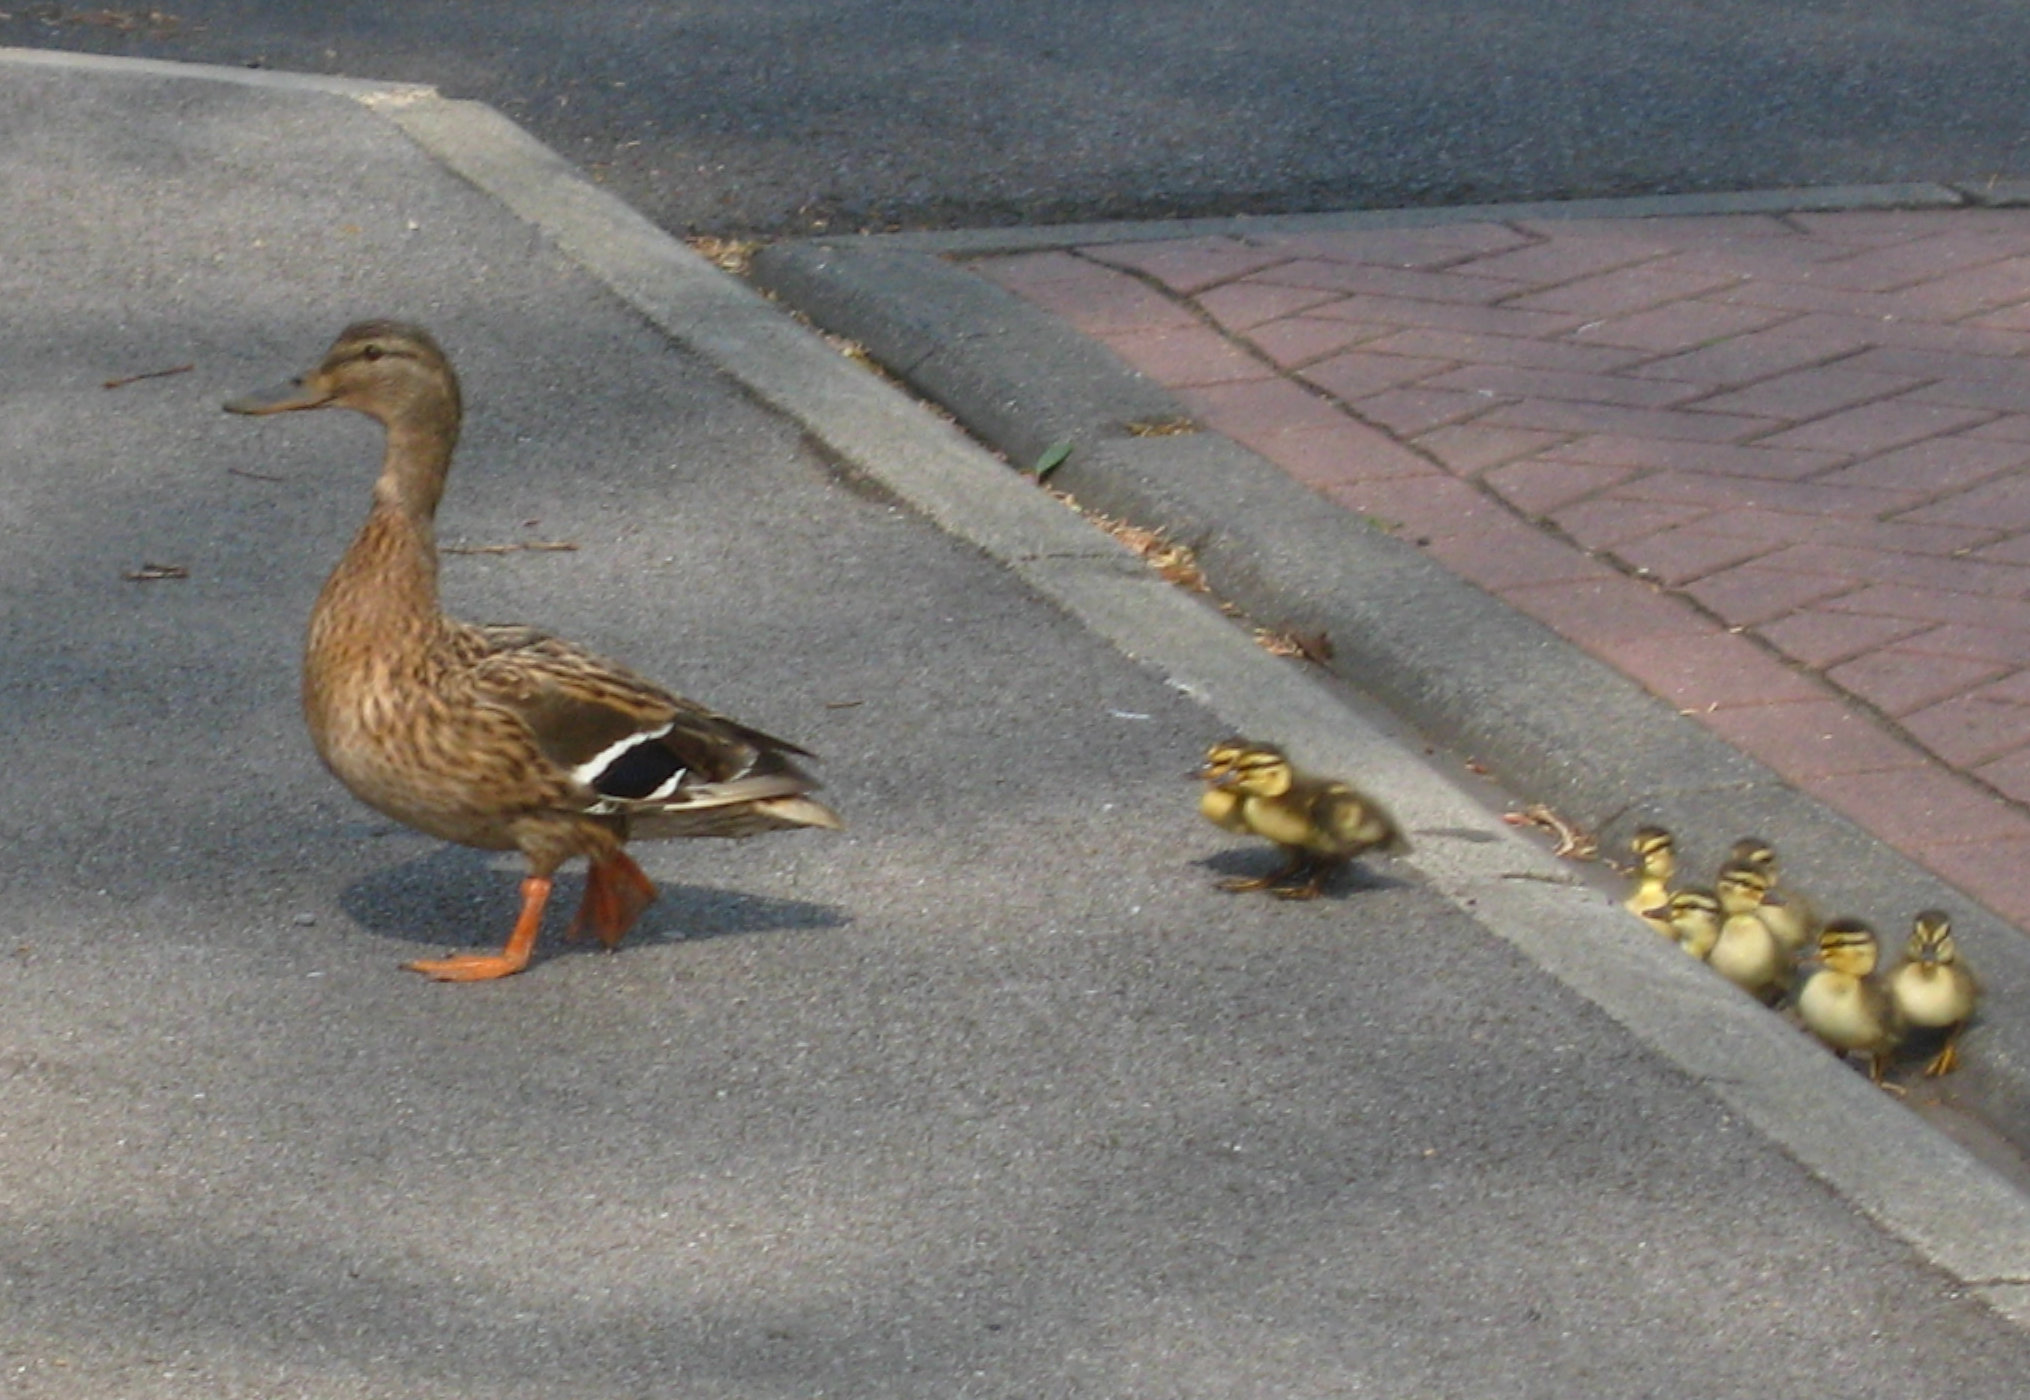
Ducklings struggle to mount a pavement higher than they are. Photo Mick Burton, continuous line artist.
Pause to regroup and a crowd of kids is starting to gather.
Ducklings regroup on the pavement after mounting to kerb. Photo Mick Burton, continuous line artist.
The worst is over and the female Mallard turns right into Gledhow Valley Road.

Mallard and ducklings turn right into Gledhow Valley. Photo Mick Burton, continuous line artist.
The Mallard Mum and her train of ducklings can speed up as they enter the home straight. I am sure now that they will turn right into a drive soon.
The train of Mallard ducklings speed up as they enter the home straight. Photo Mick Burton, continuous line artist.
The crowd of kids is becoming a bit intrusive and I ask them to keep their distance, but without much effect.
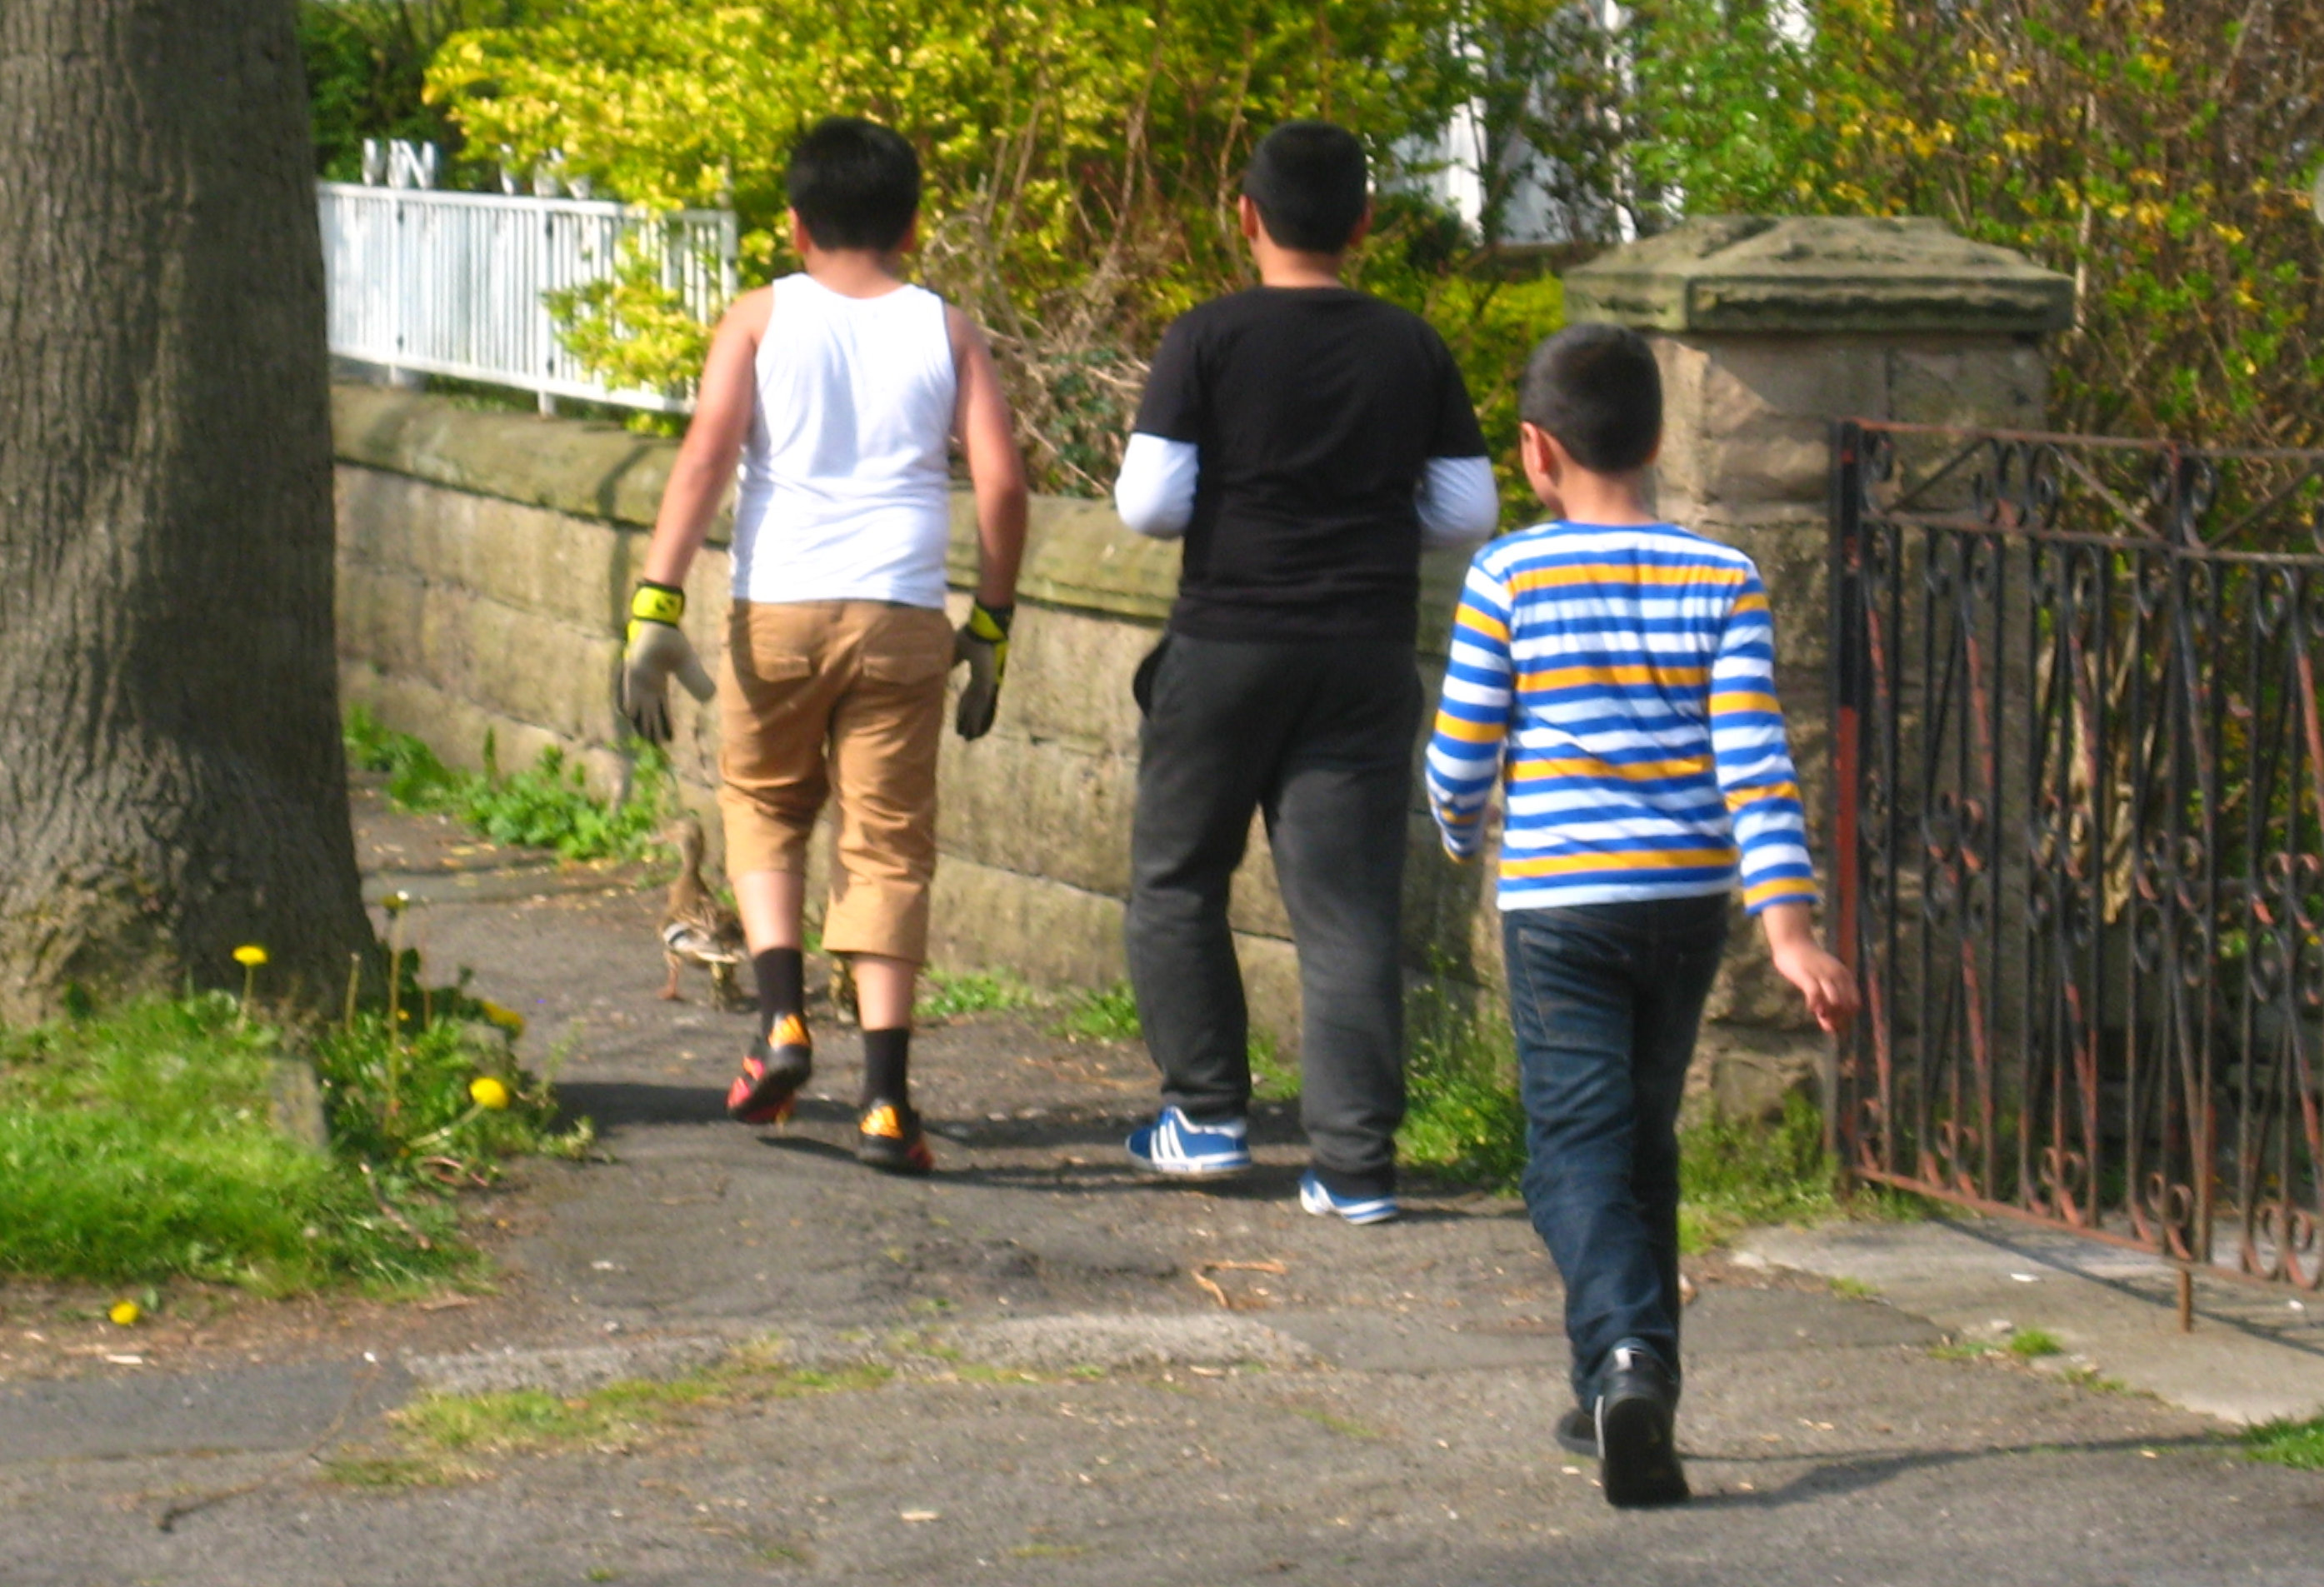
Kids arriving from all directions are beginning to crowd the ducks. Photo Mick Burton, continuous line artist.
The Mallard Mum’s preferred garden is a bit further along I think, but she decides that she will turn into this drive anyway to escape the kids and go down to the stream.

The Mallard and her brood turn down a drive to escape the kids and to head for their stream. Photo Mick Burton, continuous line artist.
Just another incident with wildlife in the valley. Not long ago Joan and I helped a family of swans to cross Gledhow Valley Road, whilst policemen held up traffic from both directions, but that’s a story for another day.